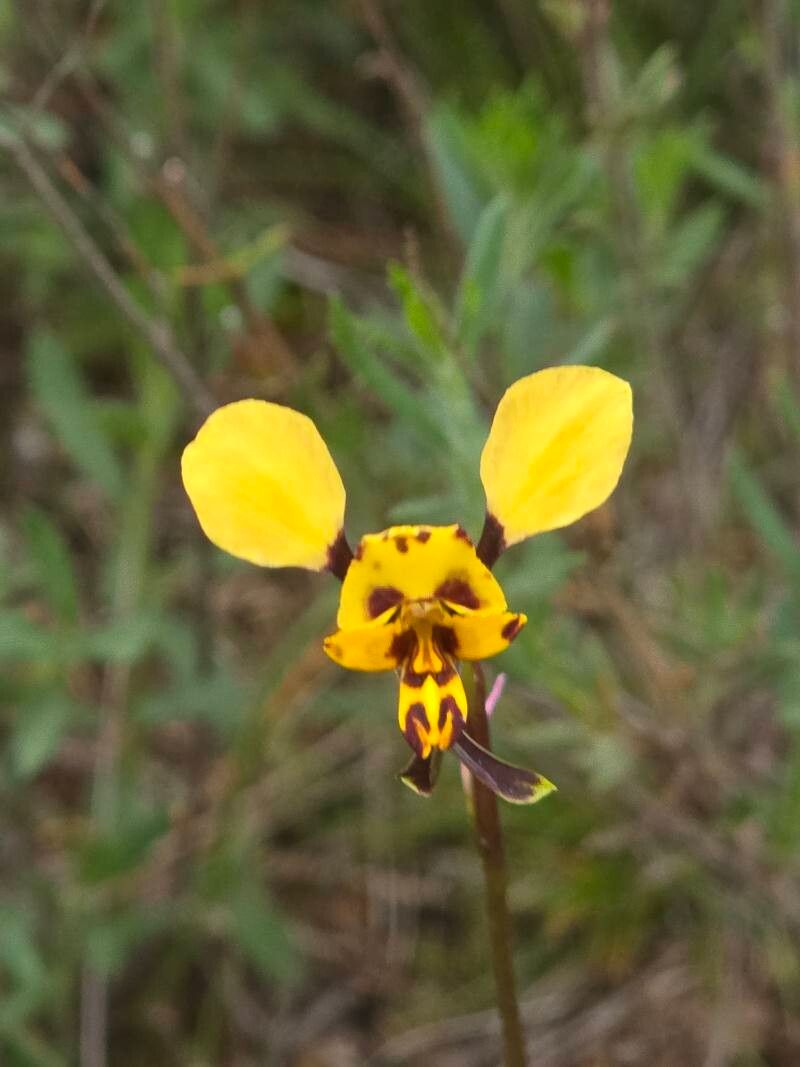
Oh, hello there! Pull up a chair and let’s talk about one of my absolute favorite orchids to coax into new life: the Diuris maculata, or the Spotted Donkey Orchid. Isn’t she just a charm? Those delicate, bee-like flowers with their distinctive spots are such a joy to have gracing the garden. And you know what’s even better? Being able to create more of them yourself! It’s incredibly satisfying to watch a tiny new sprout emerge, knowing you played a part in it. Now, if you’re wondering whether this is a beginner-friendly propagation project, I’d say it’s moderately challenging. It’s not quite as straightforward as a pothos clipping, but with a little attention and the right approach, you’ll find it quite doable.
The Best Time to Start
Timing is everything, as we gardeners know! For Diuris maculata, your golden window for propagation is generally early spring to mid-spring. This is when the plant has typically finished its flowering cycle and is entering a period of active vegetative growth. You want to catch it while it’s feeling energetic and ready to put out new shoots. Avoid attempting propagation when the plant is dormant or at the very peak of its flowering – it’s just too much stress then.
Supplies You’ll Need
Before we dive in, let’s make sure you’re kitted out. Here’s what you’ll want to have on hand:
- Sharp, sterilized pruning shears or a sharp knife: For clean cuts, vital to prevent disease.
- Well-draining potting mix: A specific orchid mix is ideal, or a blend of bark chips, perlite, and a bit of sphagnum moss. We want excellent aeration.
- Small pots or trays: For your new cuttings to get started in.
- Rooting hormone (optional but helpful): A powder or liquid can give your cuttings a good boost.
- A spray bottle: For gentle misting.
- A clean trowel or dibber: To make planting holes.
Propagation Methods
Diuris maculata is primarily propagated through division, which is my go-to method for its reliability. You can also, with a bit more finesse, try to encourage new plants from basal shoots.
Division (My Top Pick!)
This is how you’ll have the most success.
- Gently excavate: When the time is right (early spring!), carefully dig up the entire plant. Loosen the soil around it with your hands or a trowel.
- Identify the divisions: Look for naturally separated sections of the plant. You’ll usually see several clumps or pseudobulbs that are connected by a rhizome. Each division should ideally have at least one healthy pseudobulb and some emerging root growth.
- Separate with care: Using your sterilized pruners or knife, carefully cut through the rhizome to separate the divisions. Make sure each piece has enough roots to sustain it. If there are any damaged or mushy parts, trim them away.
- Pot them up: Plant each division into its own small pot filled with your well-draining orchid mix. Ensure the top of the pseudobulb is at or just slightly above the soil line.
- Water lightly: Water them in gently, just enough to settle the potting mix.
Basal Shoots (For the Adventurous)
Sometimes, you’ll see small, leafy shoots emerging from the base of the main plant. These can be encouraged to root.
- Wait for size: Don’t try this when the shoots are tiny. Wait until they’re a decent size, maybe an inch or two tall, and have a few leaves.
- Careful severing: Using your sharpest, sterilized tool, slice the basal shoot away from the parent plant, trying to get as many tiny roots with it as possible.
- Potting: Plant the basal shoot in a small pot with your orchid mix, just like you would a division.
- Create humidity: These little guys can be finicky. I often place a clear plastic bag over the pot (making sure the leaves don’t touch the bag!) to create a humid microclimate. You’ll need to vent this regularly to prevent fungal issues.
The “Secret Sauce” (Pro Tips)
Now for a couple of little tricks I’ve learned over the years:
- Don’t rush the separation: When dividing, it’s easy to get impatient. Take your time to gently tease apart the roots or rhizomes as much as possible before resorting to cutting. The less you wound the plant, the better.
- The magic of bottom heat: If you’re trying to root a basal shoot or if your space is a bit chilly, a heating mat designed for seedlings can make a world of difference. Orchids love warmth from below, which encourages root development.
Aftercare & Troubleshooting
Once your divisions or shoots are potted, the real nurturing begins!
- Misting is key: Keep the potting mix lightly moist but never soggy. I like to mist the surface a couple of times a day, especially if it’s warm.
- Bright, indirect light: Place your new plants in a spot that gets plenty of bright, indirect light. Avoid harsh, direct sun, as it can scorch delicate new growth.
- Patience, dear one: It can take several weeks, sometimes even a couple of months, for new root growth to become apparent. Resist the urge to tug to check for roots!
- Watch out for rot: The most common sign of trouble is mushy, blackened sections on the pseudobulbs or leaves. This is usually a sign of overwatering or poor drainage. If you see this, remove the affected parts immediately with sterilized tools and try to let the plant dry out a bit more. If it’s widespread, sadly, it might be time to start again.
A Little Bit of Encouragement
Propagating Diuris maculata is a journey, and like all good gardening adventures, it requires a dash of patience and a lot of observation. Don’t be discouraged if your first few attempts aren’t perfect. Each plant is a learning experience, and the reward of seeing your own Spotted Donkey Orchid thrive and multiply is absolutely worth it. So, get your hands dirty, enjoy the process, and happy growing!
Resource:
https://identify.plantnet.org/k-world-flora/species/Diuris%20maculata%20Sm./data