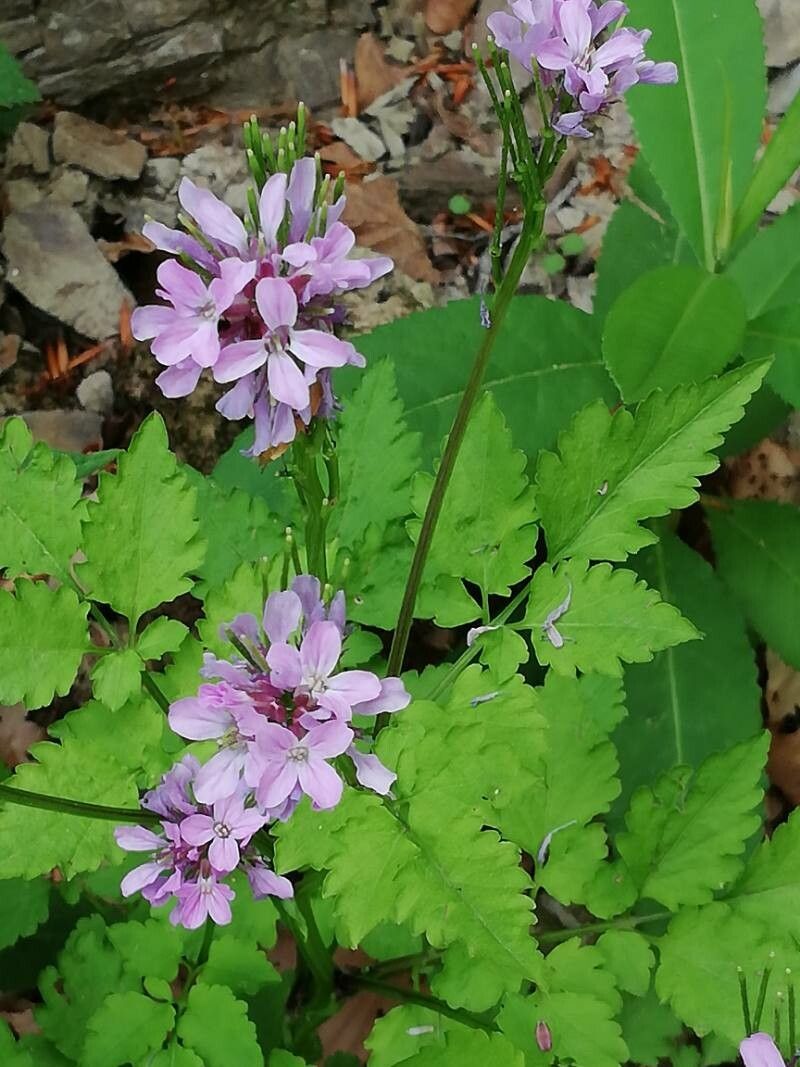
Hello, fellow garden enthusiasts! If you’ve ever admired the delicate charm of Cardamine chelidonia, that lovely native woodland native with its cheerful little flowers, you’re in for a treat. I’ve been growing and sharing this beauty for years, and let me tell you, propagating it yourself is incredibly rewarding. It’s a fantastic way to fill your own garden spaces or share the joy with friends. For beginners, I’d say Cardamine chelidonia is moderately easy to propagate, which is great news! A little patience goes a long way.
The Best Time to Start
For the highest success rate with Cardamine chelidonia, I’ve found that working with new growth in early spring is your best bet. As the plant emerges from dormancy and starts stretching towards the sun, its energy is focused on growth, making it more receptive to propagation. Late spring, just as flowering is finishing, is also a good window. Avoid propagating during the heat of summer or when the plant is stressed.
Supplies You’ll Need
- Sharp, clean pruning shears or a knife: For making precise cuts. Sterilize them with rubbing alcohol if you can.
- Well-draining potting mix: I like a blend of peat moss or coco coir, perlite, and a touch of compost.
- Small pots or trays: With drainage holes, of course!
- Rooting hormone (optional but helpful): A powdered or gel type.
- Watering can with a fine rose attachment: To avoid disturbing your new cuttings.
Propagation Methods
Cardamine chelidonia is quite adaptable, and I’ve had success with a couple of different methods.
Stem Cuttings
This is my go-to method for Cardamine chelidonia.
- Take your cuttings: In early spring or late spring, select healthy, non-flowering stems that are about 4-6 inches long. Make a clean cut just below a leaf node (where a leaf attaches to the stem).
- Prepare the cuttings: Gently remove the lower leaves from the bottom half of the stem. You want at least one node exposed to encourage rooting.
- Apply rooting hormone (if using): Dip the cut end into your rooting hormone, tapping off any excess.
- Plant your cuttings: Fill your small pots with your prepared potting mix. Moisten the soil lightly. Make a small hole with your finger or a pencil and insert the cutting, ensuring the stripped portion of the stem is below the soil surface. Gently firm the soil around it.
- Water in: Water gently to settle the soil.
Division
This method is best done when the plant is actively growing but not stressed.
- Gently excavate: Carefully dig up the whole plant, trying to disturb the root ball as little as possible.
- Identify divisions: Look for natural separations in the root system, where new shoots are emerging. You want each division to have a healthy clump of roots and at least one new shoot.
- Separate gently: Using your hands or a clean trowel, carefully pull or cut the divisions apart.
- Replant immediately: Pot each division as you would a new plant, in well-draining soil. Water thoroughly.
The “Secret Sauce” (Pro Tips)
- Don’t crowd your cuttings: Give them space to breathe! Overcrowding can lead to fungal issues. If you’re using a tray, aim for a few inches between each cutting.
- Humidity is key: For stem cuttings, I like to create a mini-greenhouse effect. Cover the pot with a clear plastic bag or a propagator lid. Make sure the leaves don’t touch the plastic too much, as this can cause rot. Poke a few small holes in the bag for ventilation.
- Bottom heat is your friend: While not strictly necessary for Cardamine chelidonia, placing your pots on a heating mat can significantly speed up root development, especially if your home is on the cooler side.
Aftercare & Troubleshooting
Once your cuttings are potted, place them in a bright location out of direct, harsh sunlight. Keep the soil consistently moist but not waterlogged. Check for roots after about 4-6 weeks. You can gently tug on a stem; if there’s resistance, you’ve got roots! Once your new plants have established a good root system, you can gradually introduce them to more light and begin a very dilute feeding schedule.
The most common issue you might encounter is rot, which usually happens if the soil is too wet or there’s poor air circulation. If you see a stem turning black and mushy, it’s usually a sign of overwatering or a fungal infection. Unfortunately, these cuttings are usually lost, so it’s best to remove them and try again, ensuring better drainage and air flow.
A Tiny Triumph Awaits
Propagating Cardamine chelidonia is a wonderfully rewarding experience. It’s a chance to connect with your plants on a deeper level and multiply the beauty in your own garden. Be patient with the process; nature has its own rhythm. Soon enough, you’ll be surrounded by even more of these delightful woodland treasures. Happy gardening!
Resource:
https://identify.plantnet.org/k-world-flora/species/Cardamine%20chelidonia%20L./data