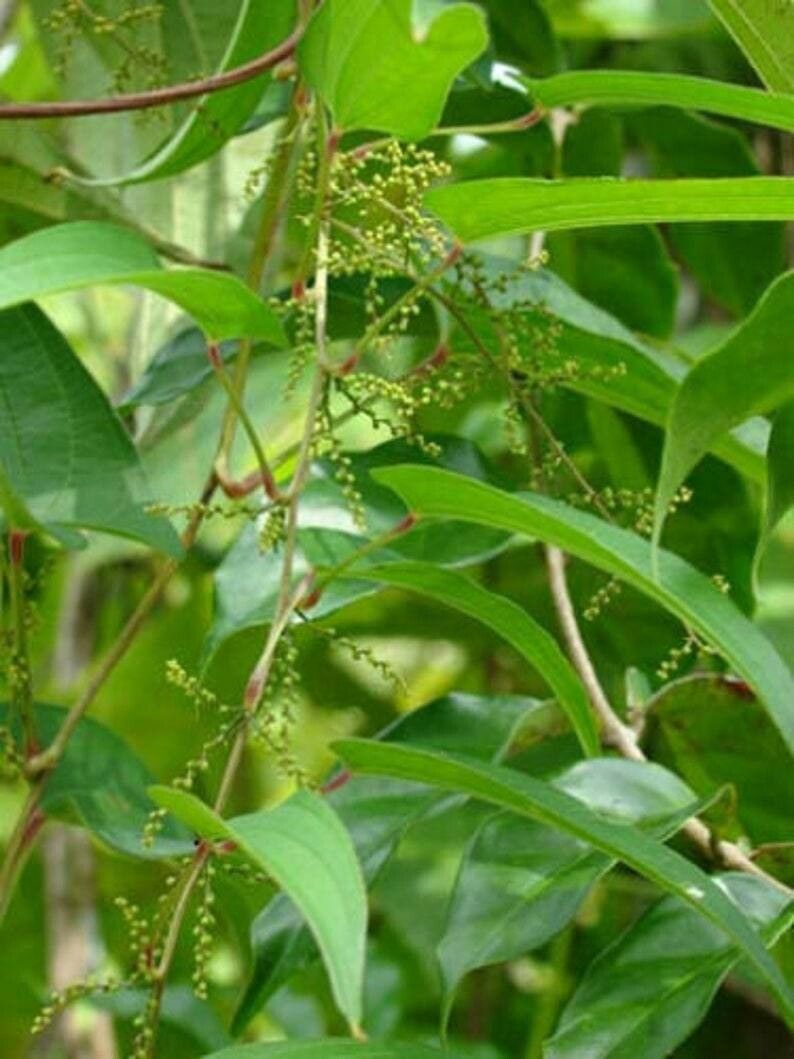
Oh, Dioscorea hamiltonii! If you’re anything like me, you’ve probably fallen in love with the charming, delicate vines of this fascinating plant. Its delicate foliage and unique aerial tubers (often called “air potatoes”!) make it a real conversation starter in the garden. Propagating it is such a rewarding endeavor; it’s like giving the gift of a new beginning, and honestly, it’s not as tricky as some might think. For beginners, I’d say it’s moderately easy, with a little attention to detail.
The Best Time to Start
My favorite time to get started with propagating Dioscorea hamiltonii is late spring or early summer. This is when the plant is actively growing and has plenty of energy to put into forming new roots. You’ll notice new shoots emerging, and the existing vines are firm and robust. Waiting for this growth spurt really gives your cuttings the best chance to thrive.
Supplies You’ll Need
Gathering your tools beforehand makes the whole process smoother. Here’s what I usually have on hand:
- Sharp, clean pruning shears or a sharp knife: Essential for making clean cuts.
- Potting mix: A well-draining mix is key. I like to combine equal parts peat moss, perlite, and compost. Some gardeners swear by a slightly sandy mix, too.
- Small pots or trays: For your cuttings. Look for ones with drainage holes.
- Rooting hormone (optional but recommended): A good quality powder can give your cuttings a significant boost.
- Watering can with a fine rose: Gentle watering is crucial for delicate cuttings.
- Clear plastic bags or a propagator: To create a humid environment for your cuttings.
- Sharpie: For labeling your pots (trust me, you’ll thank me later!).
Propagation Methods
Dioscorea hamiltonii is quite obliging, and a few methods work beautifully. My go-to, and the one I find most reliable, is stem cuttings.
Stem Cuttings:
- Select a healthy vine: Look for a vigorous, non-flowering stem.
- Make the cut: Using your clean shears, take a cutting that’s about 4-6 inches long. Make sure the cutting has at least two sets of leaves. Trim off any leaves from the bottom half of the cutting.
- Prepare the cutting: If you’re using rooting hormone, lightly dip the wounded end of the cutting into the powder. Tap off any excess.
- Plant your cutting: Make a hole in your prepared potting mix using a pencil or your finger. Gently insert the cutting, ensuring the nodes (where the leaves attach) are buried in the soil.
- Water gently: Water thoroughly but carefully, so you don’t dislodge the cutting.
- Create humidity: Cover the pot with a clear plastic bag, sealing it around the rim with a rubber band, or place it in a propagator. This keeps the moisture in, which is vital.
- Place in indirect light: Find a warm spot that gets bright, indirect light. Avoid direct sun, as it can scorch young cuttings.
Air Potato Division (for mature plants):
If you have a mature Dioscorea hamiltonii with several well-established vines, you might have some “air potatoes” forming.
- Harvest the bulblets: Gently detach any healthy-looking air potatoes from the parent vine.
- Plant them: You can plant these directly into well-draining potting mix, burying them about an inch deep. They’ll sprout roots and shoots themselves. It’s like magic!
The “Secret Sauce” (Pro Tips)
Over the years, I’ve picked up a few tricks that seem to make all the difference:
- Bottom Heat is Your Friend: If you can, place your pots on a gentle heat mat designed for seedlings. This warmth from below really encourages root development, especially in cooler conditions. Don’t go too hot, though; a gentle warmth is all you need.
- Don’t Let Those Leaves Drip-Dry: When you water your cuttings, make sure the leaves aren’t constantly sitting in water trapped by the plastic bag. If you see condensation pooling on the leaves, take the bag off for a few hours to let them air out a bit. Excessive moisture on the leaves can lead to fungal issues.
- Patience with the Potting Mix: When you first plant your cuttings, the potting mix might seem a bit loose. Resist the urge to compact it too much! A slightly airy mix allows for better root growth and prevents waterlogging, which is the quickest way to lose a precious cutting.
Aftercare & Troubleshooting
Once you start seeing signs of new growth, usually after 3-6 weeks, you know your cuttings are rooting! You can test gently by giving the cutting a very light tug. If there’s resistance, roots are forming.
- Gradually Acclimate: Once roots are established, slowly remove the plastic bag or propagator over a few days to get the new plant used to normal humidity levels.
- Watering: Keep the soil consistently moist but not waterlogged. Water when the top inch of soil feels dry to the touch.
- Light: Continue to provide bright, indirect light. As the plant grows stronger, it can tolerate a bit more direct morning sun.
- Troubleshooting: The most common issue is rot. If your cutting looks yellow, mushy, or black at the base, it’s likely rotted. This usually means too much moisture and not enough air circulation. Unfortunately, rotted cuttings can’t be saved. Make sure your potting mix is excellent and you’re not overwatering. Another sign of trouble is if the leaves are wilting and the soil is dry – it means the cutting just isn’t getting enough water uptake, and might have failed to root, so it’s time to try again.
A Warm Encouragement
Propagating plants is a journey, and sometimes there are bumps along the way. Don’t be discouraged if your first few attempts aren’t perfect. Each cutting you try, each little sprout you nurture, is a learning experience. Take your time, enjoy the process of watching new life emerge, and celebrate every success, no matter how small. Happy propagating!
Resource:
https://identify.plantnet.org/k-world-flora/species/Dioscorea%20hamiltonii%20Hook.f./data