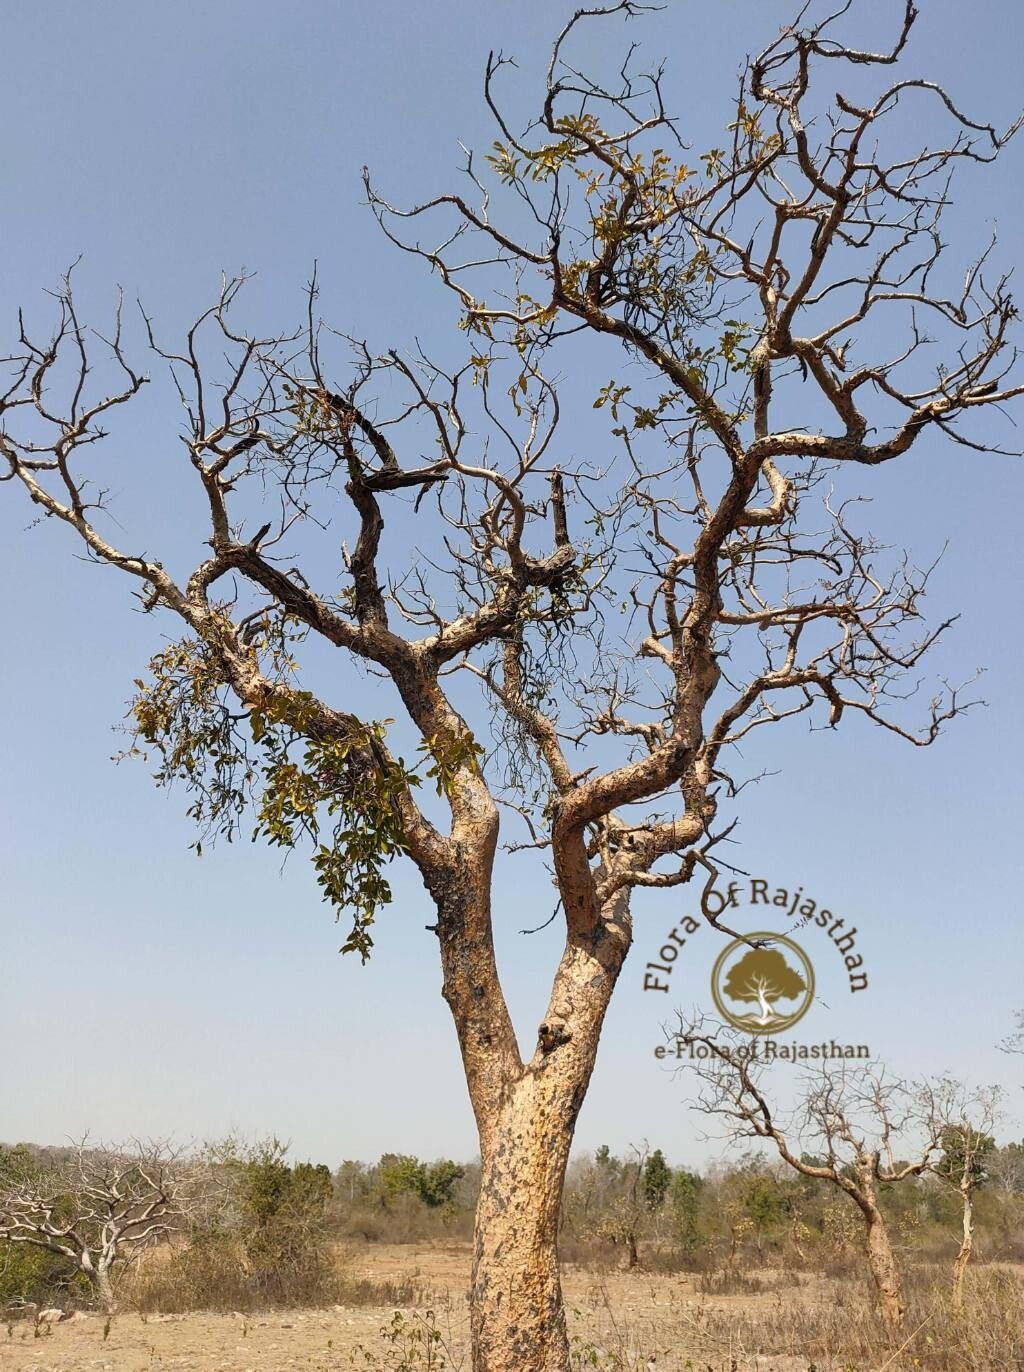
Oh, Boswellia serrata! It’s a plant that truly speaks of ancient wisdom and resilience, isn’t it? Known far and wide for its medicinal frankincense resin, the Boswellia tree also offers a unique, sculptural beauty to the garden or home collection. Its gnarled branches and sparse, aromatic foliage have a quiet charm that grows on you. And the thought of bringing new life from an existing beauty? That’s pure gardening joy! Now, full disclosure, propagating Boswellia can be a bit of a journey. It’s not your beginner-friendly pothos cutting, but with a little patience and the right approach, it’s wonderfully rewarding.
The Best Time to Start
For the highest chance of success, I always recommend aiming for propagation during the active growing season. This usually means late spring through early summer. The plant’s energy is high, it’s ready to push out new growth, and any cuttings taken then will have a good head start on rooting. Avoid taking cuttings when the plant is dormant or stressed.
Supplies You’ll Need
Gathering your tools beforehand makes the whole process much smoother. Here’s what I’ve found essential:
- Sharp, clean pruning shears or a craft knife: Sterility is key to preventing disease.
- Rooting hormone (optional, but recommended): A good quality rooting powder or gel can make a significant difference.
- Well-draining potting mix: I prefer a blend of equal parts perlite, coarse sand, and a good quality peat-free compost. Think gritty!
- Small pots or trays: Clean ones, of course. Tiny terracotta pots are lovely for this.
- Clear plastic bags or a propagation propagator: To create a humid environment.
- A stick or skewer: For making planting holes.
- Watering can or spray bottle: For gentle hydration.
Propagation Methods
While Boswellia can be grown from seed, it’s a much slower and less common method for home gardeners. For us, stem cuttings are the way to go.
Stem Cuttings: My Go-To Method
- Select a healthy branch: Look for a stem that’s not actively flowering or fruiting. A semi-hardwood cutting, meaning it’s woody but still has some flexibility, is ideal. You’re aiming for a piece that’s about 4-6 inches long.
- Take your cutting: Using your sterilized shears or knife, make a clean cut just below a leaf node. This is where the magic happens for root formation.
- Prepare the cutting: Gently remove any lower leaves, leaving just a few at the very tip. If the leaves are quite large, you can even cut them in half to reduce water loss through transpiration.
- Apply rooting hormone (if using): Dip the cut end of the stem into the rooting hormone, tapping off any excess. This helps stimulate root development.
- Plant your cutting: Fill your clean pot with your gritty potting mix. Use your skewer to make a pilot hole in the center. Carefully insert the cut end of your Boswellia cutting into the hole, and gently firm the soil around it.
- Hydrate gently: Water the soil thoroughly but avoid waterlogging. You want it moist, not soggy.
- Create humidity: Place the pot inside a clear plastic bag or your propagator. Seal it loosely, or ensure it has ventilation holes. This traps moisture and creates a mini-greenhouse effect.
The “Secret Sauce” (Pro Tips)
Here are a few things I’ve learned over the years that can really boost your propagation success for trickier plants like Boswellia:
- Let it callous: After taking your cutting and before dipping in rooting hormone, let the cut end air dry for a day or two. This allows a protective callus layer to form, which can help prevent rot. Keep it in a dry, shaded spot.
- Bottom heat is your friend: For many woody-stemmed plants, a gentle bottom heat source can really encourage root development. A seedling heat mat set to a low temperature (around 70-75°F or 21-24°C) placed underneath the pot can be a game-changer.
- Don’t be tempted to water too much: This is probably the biggest mistake I see. While humidity is important, overwatering the potting mix is a fast track to rot. Let the top inch of soil dry out slightly between waterings.
Aftercare & Troubleshooting
Once your cutting is planted, place it in a bright spot with indirect light. Avoid direct sun, which can scorch the delicate cutting. Keep the humidity high.
The real test comes when new roots start to form. This can take a few weeks to a couple of months. You’ll know it’s rooting when you gently tug on the cutting and feel resistance, or if you see new leaf growth emerging.
Signs of failure usually mean rot. Look out for:
- Mushy, black stems: This is rot setting in, often due to overwatering or poor drainage.
- Wilting that doesn’t improve with watering: If the cutting wilts and stays wilted, it’s likely not rooting and is struggling.
If you suspect rot, immediately remove the cutting from the pot, trim away any rotted parts with a sterilized knife, and try re-rooting in fresh, dry medium, ensuring better airflow and less watering. It’s a tough learning curve sometimes, but don’t get discouraged!
A Encouraging Closing
Propagating your own Boswellia serrata is a beautiful act of nurturing. Be patient with your little green babies. Some will take their time, and some might not make it – that’s just part of the gardening adventure. Celebrate each success, learn from each setback, and most importantly, enjoy the process of coaxing new life from your beloved plant. Happy propagating!
Resource:
https://identify.plantnet.org/k-world-flora/species/Boswellia%20serrata%20Roxb./data