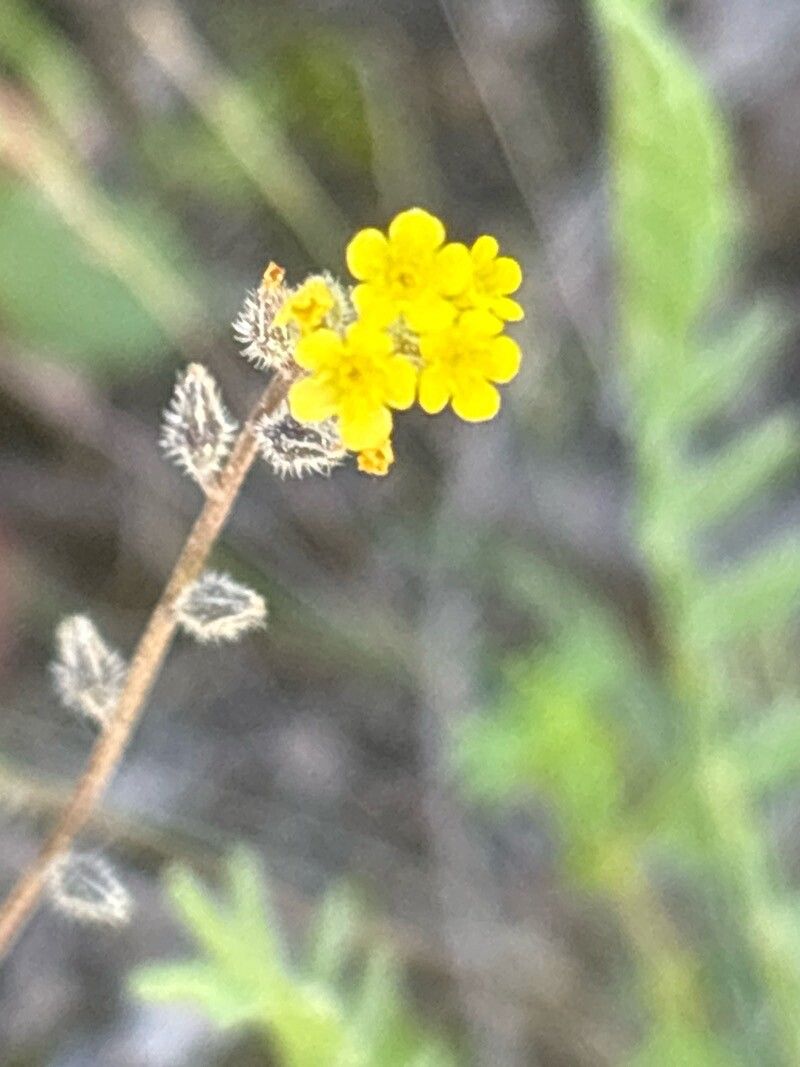
Hello, fellow garden enthusiasts! It’s me, your resident plant mentor, here to talk about one of my absolute favorites: Myosotis persoonii. You know, those delightful little forget-me-nots that bring such a charming splash of blue to beds and borders. Their delicate blooms are like tiny pieces of sky. And guess what? Propagating them is a wonderfully rewarding way to spread that bit of magic throughout your garden. This isn’t a fussy plant by any means – it’s quite beginner-friendly, which is always a plus in my book!
The Best Time to Start
For the best chance of success with your Myosotis persoonii propagation, I’ve found that late spring to early summer, right after they’ve finished their main flush of blooming, is the sweet spot. You want to catch them when they’re actively growing but have a bit of a lull. This is when they’re most receptive to sending out new roots.
Supplies You’ll Need
Here’s what I always have on hand when I’m getting ready to propagate:
- Sharp pruning shears or a clean knife: For making clean cuts.
- A well-draining potting mix: I like a blend of peat moss and perlite, or a specialized seed-starting mix.
- Small pots or seed trays: With drainage holes, of course!
- Rooting hormone (optional but recommended): A powdered or liquid hormone can really give your cuttings a boost.
- A watering can with a fine rose: For gentle watering.
- A clear plastic bag or a propagation dome: To create a humid environment.
Propagation Methods
The easiest way to multiply your forget-me-nots is usually through stem cuttings. It’s straightforward and often yields great results.
- Take Your Cuttings: Look for healthy, non-flowering stems on your mature Myosotis persoonii. Using your clean shears, cut sections about 3-4 inches long. Make sure each cutting has at least a couple of sets of leaves.
- Prepare the Cuttings: Gently remove the lower leaves from the bottom half of the stem. This exposes the nodes where roots will form.
- Apply Rooting Hormone: If you’re using rooting hormone, dip the cut end of each stem into it. Tap off any excess powder.
- Plant the Cuttings: Fill your small pots or trays with your prepared potting mix. Make little holes with your finger or a pencil, and carefully insert the cut end of each forget-me-not cutting. Gently firm the soil around them.
- Water Gently: Water thoroughly until the soil is evenly moist but not waterlogged.
The “Secret Sauce” (Pro Tips)
Now, for a couple of little tricks I’ve picked up over the years that can make all the difference:
- Cleanliness is King: Always make sure your tools and pots are sparkling clean. This helps prevent any fungal diseases from taking hold, which can be a real setback for delicate cuttings.
- Bottom Heat is Your Friend: If you have a heat mat designed for seedlings, placing your pots on it can significantly speed up root development. Forget-me-nots appreciate a little extra warmth to get their roots going.
Aftercare & Troubleshooting
Once your cuttings are planted, it’s time to create a humid environment. Cover the pots with a clear plastic bag or place them under a propagation dome. This traps moisture and keeps the leaves from drying out. Place them in a bright spot, but avoid direct sunlight, which can scorch the new cuttings.
Keep an eye on the soil moisture – it should remain consistently damp, like a wrung-out sponge. You’ll start to see new leaf growth within a few weeks, which is a great sign! Once new growth is evident and the cuttings are resistant to a gentle tug, they’ve likely rooted. You can then gradually acclimate them to normal conditions by slowly opening the bag or dome over a few days.
The most common issue you might encounter is rot, usually caused by overwatering or poor drainage. If you see stems turning mushy or black, it’s a sign of rot. In this case, it’s best to discard the affected cuttings and ensure your remaining ones have better airflow and aren’t sitting in soggy soil.
A Encouraging Closing
Propagating Myosotis persoonii is a truly satisfying process. It’s a chance to learn, experiment, and ultimately, fill your garden with even more of that signature blue. Be patient with your little cuttings; they’re working hard to establish themselves. Enjoy watching them grow, and happy gardening!
Resource:
https://identify.plantnet.org/k-world-flora/species/Myosotis%20persoonii%20Rouy%20&%20E.G.Camus/data