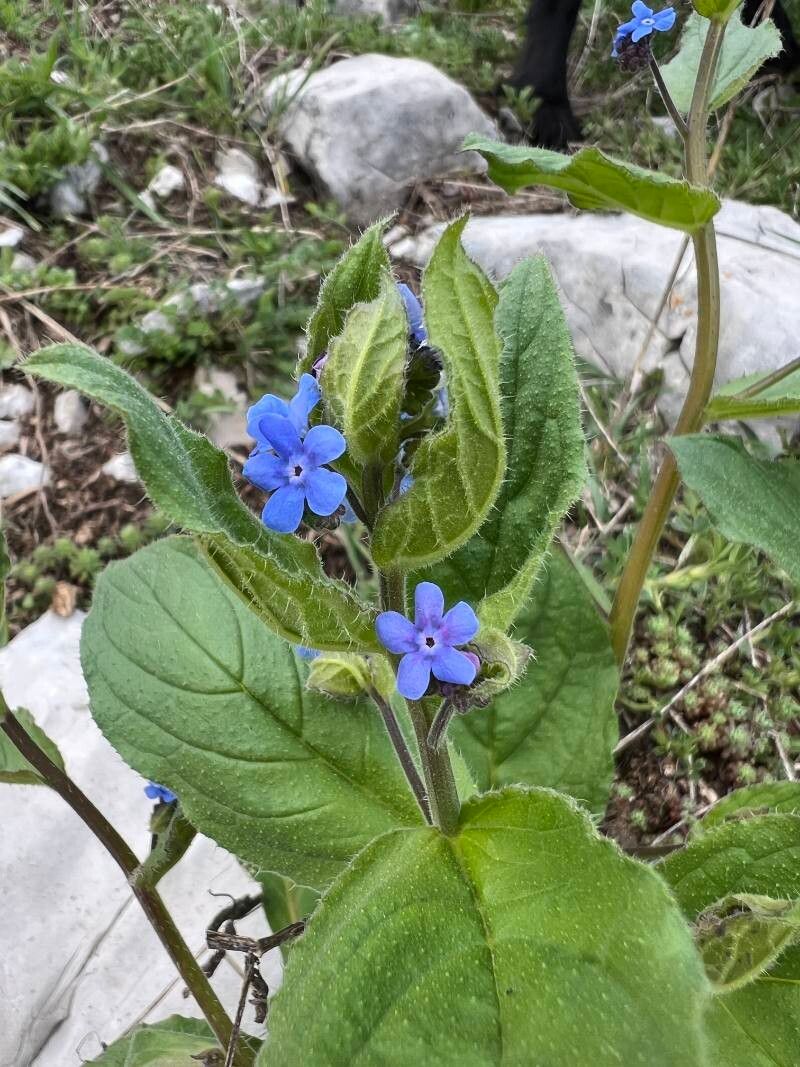
Oh, Brunnera orientalis! If you’re looking for a shade-loving gem with those gorgeous heart-shaped leaves and delicate blue forget-me-not flowers, you’ve found your match. Growing Brunnera is a joy, and propagating it? Well, that’s where the real magic happens. It’s like getting a little piece of your favorite plant to share with a friend, or just to fill in another shady corner of your garden. And for those of you just starting out with plant propagation, I think you’ll find Brunnera to be a rather forgiving friend.
The Best Time to Start
When it comes to getting the most bang for your buck with Brunnera cuttings or divisions, late spring or early summer is your golden window. Think about it – the plant is actively growing, pushing out new shoots, and has plenty of energy reserves. This is when it’s most receptive to starting fresh. You can get away with it a little later in the season, but aim for that earlier period for the best results.
Supplies You’ll Need
Before we dive in, let’s make sure you’re prepped:
- Sharp pruning shears or a clean knife: For taking cuttings and making divisions.
- Small pots or trays: With drainage holes, of course!
- A good potting mix: Something light and airy. I often use a blend of peat moss or coco coir, perlite, and a bit of compost. You don’t want anything too heavy that will keep moisture trapped.
- Rooting hormone (optional but helpful): A little boost can speed things up.
- A plastic bag or propagator: To create a humid environment.
- Watering can with a fine rose attachment: Gentle watering is key.
Propagation Methods
Brunnera is a plant that happily gives back, and there are a couple of straightforward ways to multiply your stock.
Division
This is hands-down the easiest method for Brunnera, especially if you already have a mature plant.
- Dig it up: In late spring or early summer, gently dig up your established Brunnera plant. Try to disturb the roots as little as possible.
- Inspect the root ball: You’ll see that the plant naturally forms clumps. Look for natural breaks in the root system.
- Separate the clumps: Using your hands or a clean knife, carefully separate the root ball into smaller sections. Each section should have at least a few healthy roots and some leafy shoots.
- Replant immediately: Pot up your new divisions into your prepared potting mix. Water them well.
Stem Cuttings
This method is a bit more hands-on, but very rewarding!
- Take your cuttings: Look for healthy, non-flowering basal shoots that are a few inches long. Using your sharp shears, make a clean cut just below a leaf node. You want your cuttings to be about 3-4 inches long.
- Prepare the cutting: Remove the lower leaves, leaving just a couple at the top. If you’re using rooting hormone, dip the cut end into it now.
- Pot them up: Fill your small pots or trays with your light potting mix. Make a small hole in the center and insert the prepared cutting, ensuring the leaf node is buried in the soil. Gently firm the soil around it.
- Create humidity: Water the soil gently. Then, cover the pot or tray with a clear plastic bag or place it in a propagator. This keeps the humidity high, which is crucial for cuttings to root. Make sure the leaves don’t touch the sides of the bag if possible.
The “Secret Sauce”
You know, it’s the little things that make a big difference. Here are a couple of tricks I’ve picked up over the years:
- When taking stem cuttings, don’t be afraid to take a few more than you think you need. Not every single one will make it, and that’s perfectly normal!
- For divisions, if the root ball seems a bit tight and stuck together, a gentle soak in a bucket of water can help loosen it up and make separation easier. You can also see the root structure better.
- Bottom heat is your friend for stem cuttings, though not strictly necessary for Brunnera division. A gentle warming mat under your propagator can significantly speed up root development and give those cuttings a head start.
Aftercare & Troubleshooting
Once your divisions are replanted or your cuttings are in their humid haven, the waiting game begins.
For divisions, keep them consistently moist but not soggy. They might droop a little initially as they adjust, but they should perk up within a week or two.
For stem cuttings, the most important thing is to maintain that high humidity. You’ll start to see new leaf growth on the top of the cutting – that’s your signal that roots are forming! Once you see this new growth, you can gradually start to open up the plastic cover or propagator over a few days to acclimate the new plant to drier air. You’ll know it’s rooted when it resists a gentle tug. This can take anywhere from 3 to 6 weeks.
The main thing to watch out for with cuttings is rot. This usually happens if the soil is too wet and there isn’t enough air circulation. If you see a cutting turning black and mushy, sadly, it’s likely a goner. Just remove it and try to keep the remaining soil a bit less saturated.
A Little Patience, A Lot of Joy
Propagating Brunnera is a truly rewarding endeavor. It’s a chance to connect with nature, learn about plant life cycles, and, of course, grow more of those beautiful plants you love. Be patient with the process, celebrate every little bit of new growth you see, and don’t get discouraged if a few don’t make it. Happy propagating!
Resource: