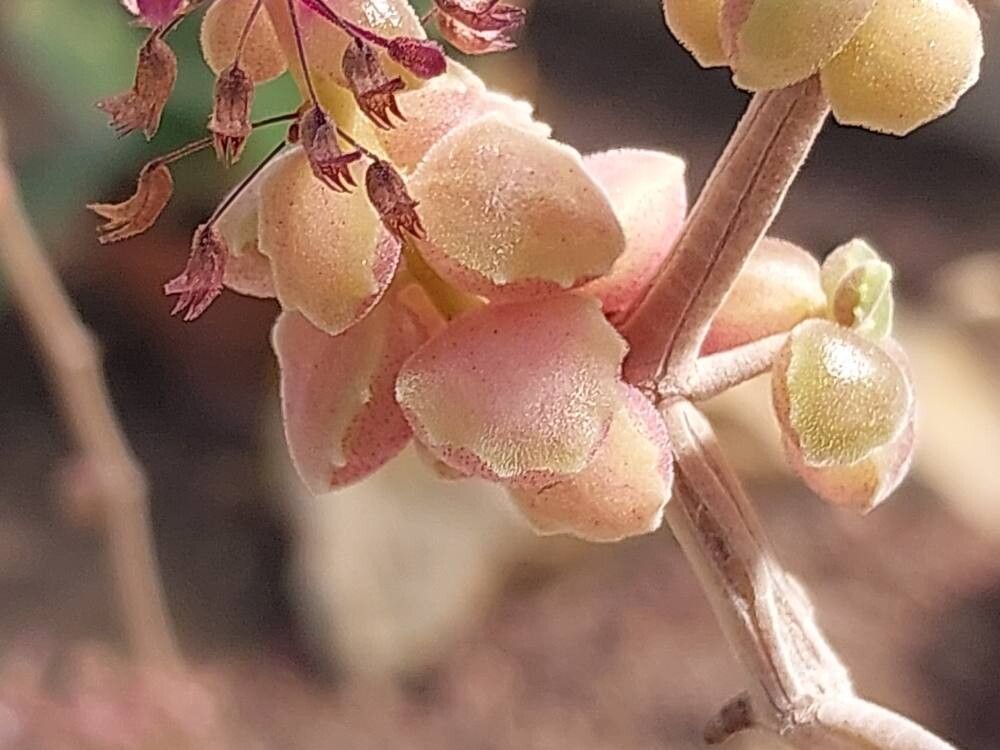
Oh, hello there! Come on in, grab a mug of your favorite brew. Today, we’re diving into something truly special: Coleus prostratus. If you haven’t met this little charmer yet, prepare to be smitten. With its delicate, trailing stems and gem-like foliage, it’s like a miniature cascade ready to spill over the edges of pots or weave through a hanging basket. And the best part? It’s incredibly rewarding to multiply! For beginners, I’d say Coleus prostratus is quite forgiving, making it a fantastic plant to start your propagation journey with.
The Best Time to Start
For the absolute highest success rate, I always reach for my pruning shears in late spring or early summer. This is when the plant is in its most vigorous growth phase. The new stems are tender and full of life, which means they’re eager to root. You can certainly try it at other times, but you’ll likely find a bit more patience is needed.
Supplies You’ll Need
Gathering your supplies beforehand makes the whole process so much smoother. Here’s what I usually have on hand:
- Sharp pruning shears or a clean knife: For taking clean cuttings.
- A container with drainage holes: For starting your cuttings. An old yogurt cup with a few holes poked in the bottom works in a pinch!
- Well-draining potting mix: I like a blend of peat moss or coco coir, perlite or vermiculite, and a little bit of standard potting soil. About a 1:1:1 ratio usually does the trick. For Coleus prostratus, a lighter mix is best.
- Rooting hormone (optional but recommended): This little boost can really speed things up. You can find it in powder or liquid form.
- A clear plastic bag or dome: To create a humid environment for your cuttings.
- Watering can or spray bottle: For gentle watering.
Propagation Methods
Coleus prostratus is wonderfully versatile, and I’ve had great success with a couple of different methods.
Stem Cuttings
This is my go-to for this particular Coleus.
- Select healthy stems: Look for stems that are at least 3-4 inches long and have a few sets of leaves. Avoid any that look leggy or have signs of stress.
- Make the cut: Using your sharp shears or knife, take a cutting just below a leaf node. A leaf node is that little bump where a leaf attaches to the stem – that’s where the magic happens and roots will emerge.
- Prepare the cutting: Gently remove the lower leaves, leaving about two to four leaves at the top. This prevents the leaves from rotting when they’re buried.
- Apply rooting hormone (if using): Dip the cut end into the rooting hormone, tapping off any excess.
- Plant your cutting: Make a hole in your prepared potting mix with a pencil or your finger and gently insert the cut end. Firm the soil gently around the base to ensure good contact.
- Water gently: Give the soil a good, gentle watering to settle it.
- Create humidity: Cover the pot with a clear plastic bag or dome. This is crucial for keeping the humidity high, which helps the cuttings stay turgid while they form roots. Prop the bag up with a few stakes or skewers so it doesn’t touch the leaves directly.
- Place in bright, indirect light: Find a spot that gets plenty of light but no direct sun, which can scorch the tender cuttings.
Water Propagation
This is another wonderfully visual and easy method.
- Take cuttings as above, making sure to remove the lower leaves.
- Place them in a jar or glass of water: Ensure the leaf nodes where you removed the leaves are submerged.
- Change the water regularly: I aim to change the water every 2-3 days to keep it fresh and prevent stagnation.
- Watch for roots: Within a week or two, you should start seeing tiny white roots emerging.
- Pot them up: Once the roots are about an inch long, you can gently pot them in your prepared potting mix, following steps 5-8 from the stem cutting method.
The “Secret Sauce” (Pro Tips)
After years of playing with plants, a few little tricks always come to mind:
- Don’t let the leaves touch the water when propagating in water. If the leaves are submerged, they tend to rot way before roots can form. Keep those leaves high and dry!
- Bottom heat is your friend. If you have a seedling heat mat, place your potted cuttings on it. This gentle warmth from below encourages roots to develop much faster. It’s like giving your cuttings a warm hug!
- Be patient with wilting. It’s completely normal for cuttings to droop a bit for the first few days. Don’t panic! As long as the humidity is good and the stems are still firm, they’re usually just adjusting.
Aftercare & Troubleshooting
Once you see those first signs of roots – a gentle tug on the cutting will reveal resistance, or you might see tiny new leaves emerging – it’s time to transition your baby Coleus.
- Gradually acclimate them. If you used a plastic bag, start by opening it for a few hours each day. This slowly reduces the humidity, allowing the new plants to adjust to normal conditions. Remove the bag entirely once they look perky.
- Water consistently but don’t overwater. Keep the soil evenly moist, but never soggy. The leaves of Coleus prostratus are quite sensitive to overwatering once they’ve established roots.
- Watch out for rot. The biggest culprit for failure is usually rot. This happens when the cutting sits in waterlogged soil or has too much humidity for too long without good air circulation. If a cutting turns black and mushy, it’s a sign of rot. Unfortunately, there’s usually no coming back from that, so remove it promptly to prevent it from affecting other cuttings. Another sign is yellowing leaves that then fall off, which can also indicate overwatering.
A Little Encouragement
There you have it – a simple path to lots of beautiful Coleus prostratus! Remember that every cutting is a learning experience. Don’t be discouraged if a few don’t make it. Just keep trying, keep observing, and most importantly, enjoy the magical process of nurturing new life. Happy propagating!
Resource:
https://identify.plantnet.org/k-world-flora/species/Coleus%20prostratus%20(Gürke)%20A.J.Paton/data