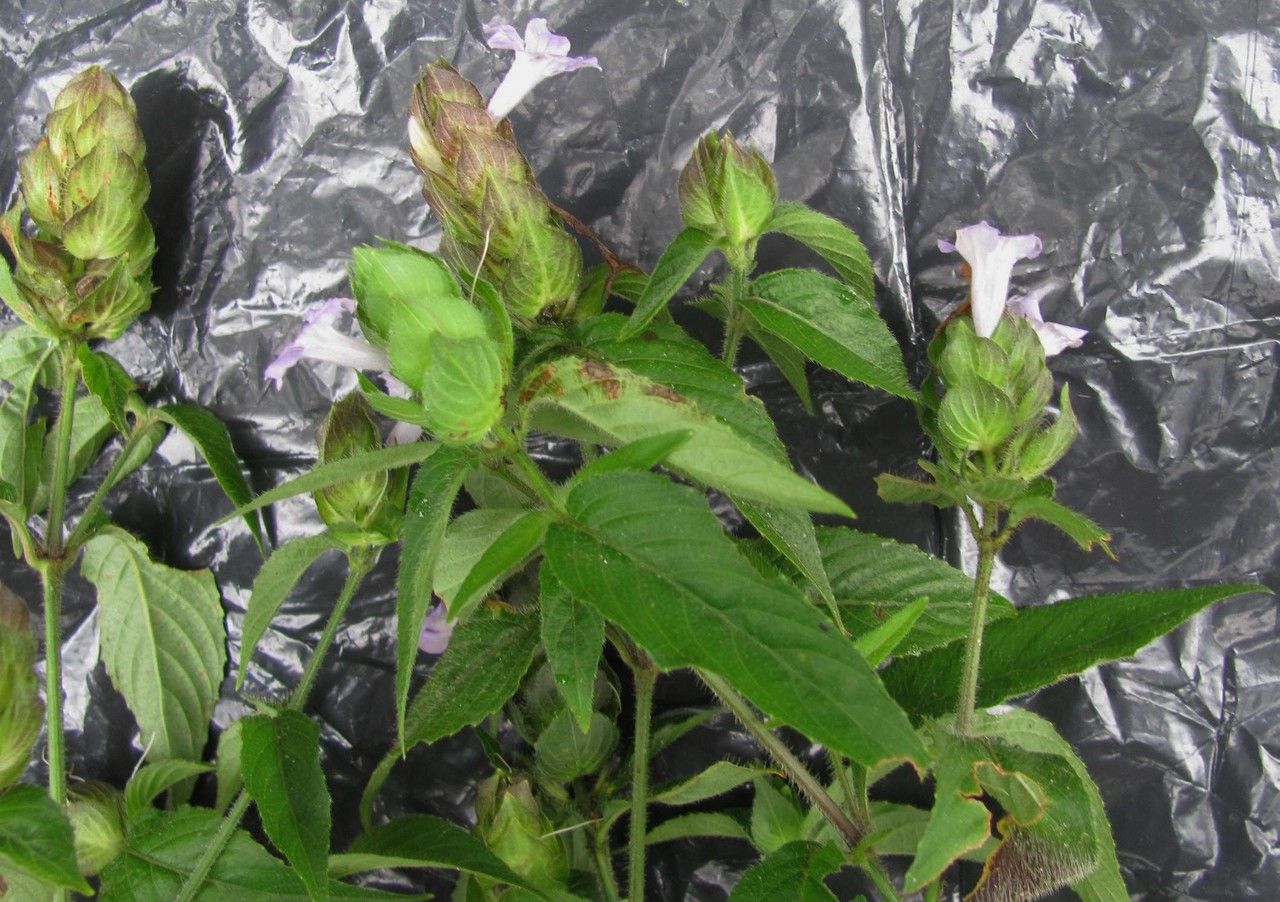
Hey there, fellow plant lovers! It’s so good to connect with you today. I wanted to chat about a plant that’s really stolen my heart – Ruellia costaricensis. If you’ve ever seen one of these beauties gracing a garden, you know what I’m talking about. The vibrant blooms, often a lovely shade of purple or pink, just pop against the lush green foliage. And the best part? This plant is a propagator’s dream!
This isn’t a fussy diva that demands a horticultural degree to get going. Nope. Ruellia costaricensis is quite generous, making it a wonderful plant for beginners looking to expand their green collection without too much stress. There’s a real joy in watching those tiny roots emerge, knowing you’ve helped a new life begin.
The Best Time to Start
For propagating Ruellia costaricensis, I find the late spring and summer months to be absolutely ideal. This is when the plant is in its most vigorous growth phase. The longer days and warmer temperatures give cuttings the energy they need to root successfully. Aim for when the plant is actively producing new growth, not when it’s stressed by extreme heat or drought.
Supplies You’ll Need
Gathering your supplies before you begin makes the whole process much smoother. Here’s what you’ll want on hand:
- Sharp Pruning Shears or Scissors: Clean cuts are crucial for preventing disease.
- Rooting Hormone (Optional but Recommended): A good quality rooting hormone powder or gel can significantly speed up the process and improve success rates.
- Potting Mix: A well-draining mix is paramount. I like a blend of equal parts peat moss or coco coir, perlite, and compost.
- Small Pots or Seedling Trays: These should have drainage holes.
- Plastic Bag or Humidity Dome: To create a mini-greenhouse effect.
- Watering Can with a Fine Rose: For gentle watering.
- Gloves (Optional): If you prefer not to get your hands dirty.
Propagation Methods
Ruellia costaricensis is wonderfully adaptable, and I’ve had great success with a couple of methods.
Stem Cuttings
This is my go-to for this plant.
- Take Your Cuttings: In your chosen timeframe, select healthy, non-flowering stems that are about 4-6 inches long. Look for stems that are somewhat firm but still flexible – not woody, but not brand new, floppy growth either.
- Make the Cut: Using your sterilized pruning shears, make a clean cut just below a leaf node (where a leaf attaches to the stem). This node is where roots are most likely to form.
- Prepare the Cutting: Gently remove the leaves from the bottom half of the cutting. You want to expose at least two leaf nodes. Let it sit for an hour or two – some say this helps it to callus slightly, but honestly, many plants root fine without this step.
- Dip in Rooting Hormone: If you’re using rooting hormone, dip the cut end into the powder or gel, tapping off any excess.
- Plant the Cuttings: Fill your small pots with your well-draining potting mix. Make a shallow hole with your finger or a pencil and insert the cutting, making sure at least one leaf node is buried in the soil. Gently firm the soil around it.
- Water and Cover: Give the soil a gentle watering until it’s moist but not waterlogged. Then, cover the pot with a plastic bag or place it under a humidity dome. This is key to keeping the cuttings from drying out.
Water Propagation
This is a simpler method for those who like to see the magic happen!
- Take Cuttings: Follow steps 1-3 from the stem cutting method.
- Place in Water: Put your prepared cuttings in a glass or jar filled with clean water. Make sure that no leaves are submerged below the waterline; they will rot.
- Change Water Regularly: Change the water every few days to keep it fresh and prevent bacterial growth.
- Watch for Roots: You should start to see tiny white roots emerging from the nodes in a few weeks. Once the roots are about an inch long, it’s time to transplant them into soil.
The “Secret Sauce” (Pro Tips)
Here are a couple of things I’ve learned over the years that really make a difference:
- Bottom Heat is Your Friend: If you can, place your pots on a heat mat designed for propagating plants. This gentle warmth from below encourages root development much faster than ambient room temperature alone. It’s like a cozy little incubator for your cuttings!
- Don’t Over-Water Initially: It’s tempting to douse the soil after planting cuttings, but too much moisture can lead to rot. Stick with a gentle watering and rely on that humidity dome to keep things moist. You’re aiming for “damp,” not “soggy.”
Aftercare & Troubleshooting
Once you start seeing new leaf growth on your cuttings, that’s a wonderful sign that roots have formed!
- Acclimatize Gradually: Begin to gradually introduce your new plants to drier air by opening the plastic bag or venting the humidity dome for longer periods each day over a week or two. This helps them adjust before you remove the cover entirely.
- Watering: Once they are fully exposed, water when the top inch of soil feels dry. They’re still young, so they appreciate consistent moisture but hate soggy feet.
- Light: Place your new plants in bright, indirect light. Avoid harsh, direct sun, which can scorch their tender leaves.
Troubleshooting: The most common issue is rot. If your cuttings turn black and mushy, it’s usually from too much moisture and poor air circulation. If you see signs of rot, it’s best to discard the affected cutting and try again, ensuring better drainage and perhaps more airflow. Yellowing leaves, especially at the bottom, can sometimes indicate overwatering, or that the cutting simply didn’t take. Don’t get discouraged; propagation is a process of trial and error!
A Little Encouragement
Propagating plants is such a rewarding journey, and Ruellia costaricensis is giving you a fantastic opportunity to experience that firsthand. Be patient with your little cuttings. Some will take off quickly, while others might be a bit slower. Just keep providing them with good conditions, and nature will do the rest. Happy propagating, and enjoy watching your new Ruellia beauties grow!
Resource: