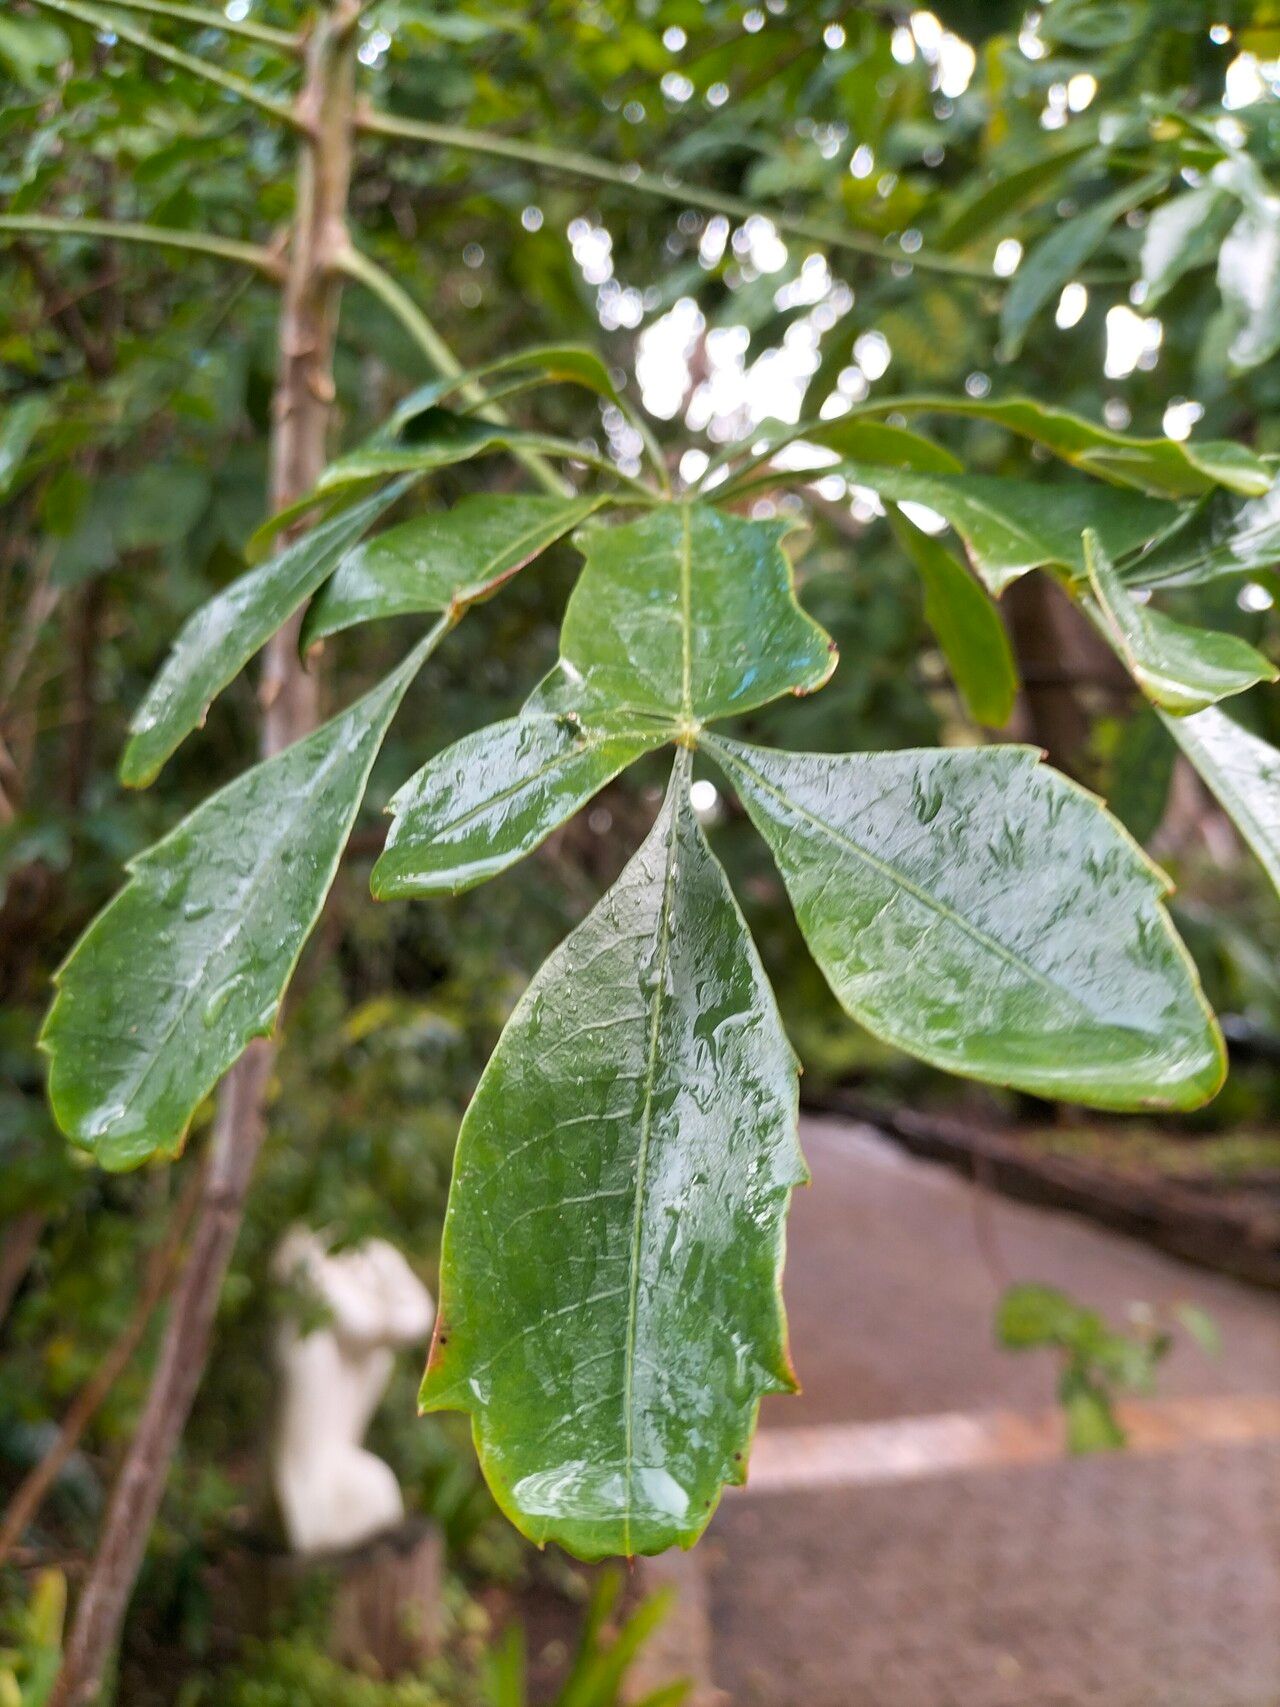
Oh, hello there, fellow plant lover! Come on in, grab a mug. Today, we’re diving into the wonderful world of Cussonia nicholsonii, often called the Coastal Cabbage Tree. If you love those architectural, almost tropical-looking plants with their large, hand-shaped leaves, then you’re in for a treat. Growing your own from scratch is incredibly satisfying, and I’m thrilled to share how I do it!
For beginners, I’d say propagating Cussonia nicholsonii falls somewhere in the middle. It’s not quite as foolproof as a spider plant, but with a little patience and the right approach, you’ll be rewarded with beautiful new specimens. Seeing a tiny cutting transform into a robust plant is just… magical.
The Best Time to Start
My absolute favorite time to get started with propagating Cussonia nicholsonii is during the active growing season. Think late spring through summer. The plant is full of energy then, and cuttings will be more vigorous and ready to root. Avoid propagating during the plant’s dormant period, unless you’re planning on dividing it in early spring before new growth really kicks off.
Supplies You’ll Need
Here’s what I keep handy when I’m ready to propagate:
- Sharp, clean pruning shears or a knife: Essential for making clean cuts to minimize damage and prevent disease.
- Rooting hormone (optional but recommended): This little helper gives cuttings a boost to develop roots faster. I like to use a powder-based one.
- Well-draining potting mix: A blend of perlite, coco coir, and a bit of coarse sand works wonders. You want something airy that won’t hold onto too much moisture. A cactus/succulent mix is also a great starter.
- Small pots or propagation trays: Clean ones, of course!
- Plastic bags or a propagation dome: To create a humid environment, which is crucial.
- Watering can with a fine rose or a spray bottle: For gentle watering.
- Labels and a marker: Trust me, you’ll thank yourself later!
Propagation Methods
Cussonia nicholsonii is a pretty adaptable plant, and I’ve had success with a couple of main methods.
Stem Cuttings—My Go-To!
This is usually my preferred method. It’s straightforward and I find it yields excellent results.
- Take the Cutting: On a healthy, mature Cussonia nicholsonii, select a stem that is about 6-12 inches long. Look for a section that has seen some growth this season, but isn’t too soft or woody. Use your sharp pruning shears to make a clean cut just below a leaf node (where a leaf attaches to the stem).
- Prepare the Cutting: Gently remove the lower leaves from the bottom half of the cutting, leaving just a few at the top. This prevents them from rotting when planted. If you’re using rooting hormone, dip the cut end into the powder, tapping off any excess.
- Planting Time: Fill your small pots with your well-draining potting mix. Make a hole in the center of the soil with your finger or a pencil. Carefully insert the cut end of the Cussonia stem into the hole, ensuring the leaf nodes are below the soil surface.
- Gently firm the soil around the cutting.
- Water lightly until the soil is evenly moist, but not waterlogged.
- Create Humidity: Cover the pot with a plastic bag or place it under a propagation dome. Make sure the bag doesn’t touch the leaves of the cutting. You can prop it up with a few chopsticks if needed.
- Place in Bright, Indirect Light.
Water Propagation (for smaller stem pieces)
This method is a bit more experimental for Cussonia, as they can be prone to rot if left in water too long, but it can work for smaller cuttings.
- Prepare the Cutting: Take a smaller stem cutting (around 3-6 inches) and remove all but the top few leaves.
- Place in Water: Put the cutting in a clean jar or glass of water. Crucially, make sure no leaves are submerged in the water. Only the stem should be in contact.
- Change Water Regularly: Change the water every few days to keep it fresh and prevent bacterial growth.
- Patience is Key: Keep it in bright, indirect light. You should start to see tiny roots forming from the nodes. Once the roots are about an inch or so long, you can carefully transplant it into your well-draining potting mix as described above.
The “Secret Sauce” (Pro Tips)
Here are a few of my little secrets that have helped me boost my success rates:
- The “Healing” Trick: After I make a cutting, I never pot it up immediately. I leave it to sit on a dry surface in a shady spot for 24-48 hours. This allows the cut end to callous over, which significantly reduces the risk of rot once it’s in the soil. It’s like giving it a little protective scab!
- Bottom Heat is Your Friend: If you can, especially if you’re propagating during cooler times, using a heat mat under your pots can make a HUGE difference. It encourages root development from the bottom up, giving your cuttings that extra push they need.
- Don’t Overwater, Ever! This is the cardinal sin with most cuttings, Cussonia included. The majority of rot comes from soggy soil. It’s better to err on the side of slightly too dry than too wet. Your goal is consistently moist, not soggy.
Aftercare & Troubleshooting
Once you see signs of new growth—which usually means tiny leaves or buds at the top—it’s a good sign that roots are forming!
- Gradual Acclimation: As roots develop, gradually acclimate your new plant to less humid conditions. Start by opening the bag or dome for a few hours a day, then progressively longer.
- Consistent Moisture: Continue to keep the soil evenly moist but not waterlogged. You can test this by sticking your finger about an inch into the soil. If it feels dry, it’s time to water.
- Potting Up: Once the roots have filled the small pot and are actively growing, you can pot up into a slightly larger container with fresh, well-draining soil.
Troubleshooting:
- Wilting/Drooping: This can be a sign of too little water or too much shock. Check the soil moisture. If it’s dry, water gently. If it’s consistently moist and the cutting is still wilting, it might be suffering from rot.
- Rot (Mushy, Black Stem): This is the most common failure. It’s usually caused by overwatering or poor drainage. Unfortunately, once rot sets in, it’s very difficult to save the cutting. If you catch it early, you might be able to cut away the rotten part and try to reroot the healthy portion, but it’s a long shot. This is why the “callousing” trick and well-draining soil are so vital!
- No Root Growth: Don’t despair! Some cuttings just take their sweet time. Ensure it has consistent warmth and bright, indirect light. If it’s been weeks and you see absolutely no sign of life, it might not have taken. Sometimes, you just have to try again.
A Gentle Encouragement
Propagating plants is a journey, and every gardener, no matter how experienced, has had cuttings that didn’t quite make it. The most important thing is to be patient, observe your cuttings, and learn from each attempt. Don’t be discouraged if your first try isn’t perfect. Enjoy the process of nurturing something new, and soon you’ll have your very own collection of Cussonia nicholsonii to admire! Happy gardening!
Resource:
https://identify.plantnet.org/k-world-flora/species/Cussonia%20nicholsonii%20Strey/data