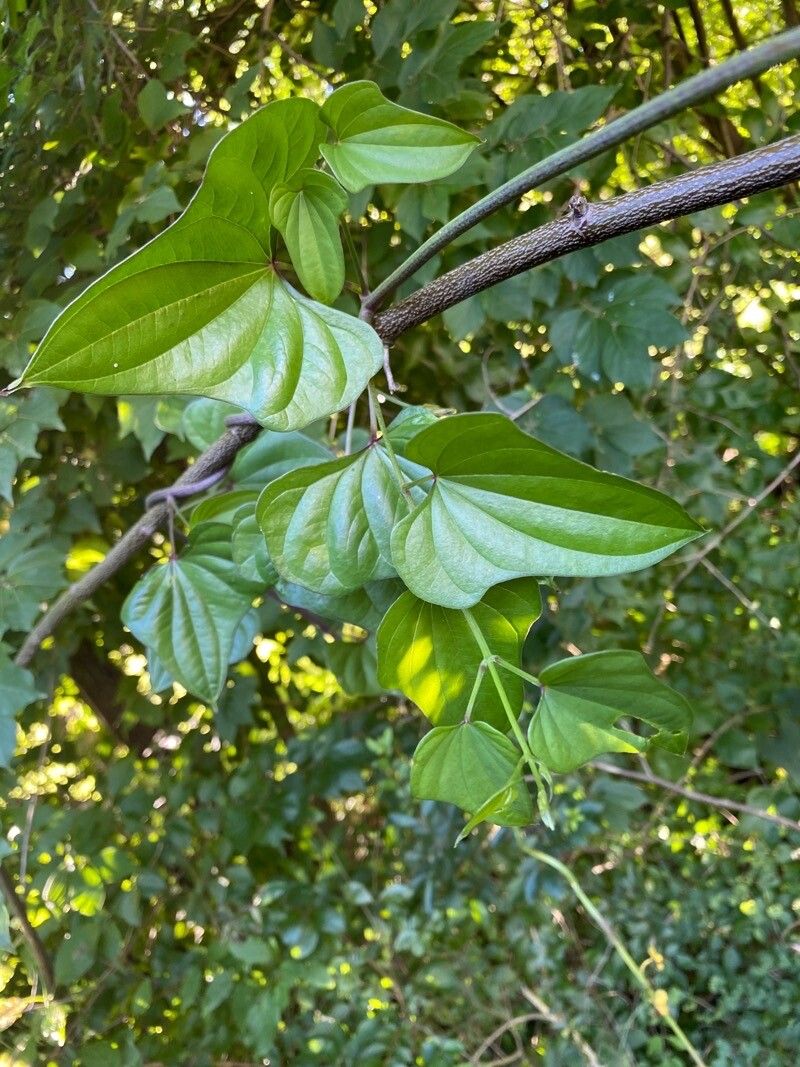
Hello fellow plant lovers! Today, we’re diving into a plant that’s really captured my heart over the years: Dioscorea oppositifolia. You might know it better as Chinese Yam, or some call it Cinnamon Vine. Its delicate, fragrant white flowers that appear in late summer and fall are just heavenly, and the little bulbils, like tiny green pearls, that form along its stems are too cute for words. Plus, the fact that you can grow your own edible tubers? What’s not to love!
If you’re new to the plant propagation game, you’ll be happy to hear that Dioscorea oppositifolia is generally a pretty forgiving plant to start with. While nothing is ever guaranteed in the garden, this one tends to give new propagators a good chance at success. It’s a wonderfully rewarding feeling to watch something you planted grow into a healthy, thriving plant.
The Best Time to Start
For the highest success rate with Dioscorea oppositifolia, I’ve found that late spring or early summer is your golden ticket. This is when the plant is really energized and actively growing. You want to start when the weather is warming up and there’s plenty of sunlight. Trying to propagate too early in the spring, when things are still cool and damp, can sometimes lead to rot.
Supplies You’ll Need
Gathering your supplies beforehand makes the whole process so much smoother. Here’s what I usually have on hand:
- Clean, sharp pruning shears or scissors: Essential for making clean cuts.
- Small pots or trays: With drainage holes, of course!
- Well-draining potting mix: A good mix of peat moss, perlite, and a bit of compost works wonders. You can also use a seed-starting mix.
- Rooting hormone (optional but recommended): Particularly helpful for encouraging faster root development.
- A spray bottle: For misting.
- Plastic bags or a propagation dome: To create a humid environment.
- Labels and a marker: Trust me, you’ll thank yourself later!
Propagation Methods
Dioscorea oppositifolia is a champion at reproducing itself, and thankfully, it’s pretty easy to encourage its growth. My go-to methods involve either using those charming little bulbils or taking stem cuttings.
Propagating from Bulbils
These little gems are your secret weapon!
- Harvest the bulbils: Gently twist or snip the bulbils from the mother plant once they start to loosen. You’ll see them detach fairly easily.
- Plant them shallowly: Fill your small pots with your well-draining mix. Plant the bulbils about 1 inch deep, like tiny potatoes. You can plant a few per pot, giving them a little space.
- Water gently: Lightly water the soil. You want it moist, not soggy.
- Provide humidity: Cover the pots with a plastic bag or a propagation dome to keep the moisture in.
- Find a warm spot: Place them in a bright location, but out of direct, harsh sunlight.
Propagating from Stem Cuttings
This method takes a little more timing, but it’s very effective.
- Take cuttings: In late spring or early summer, look for healthy, non-flowering stems. Using your clean shears, cut pieces about 4-6 inches long. Make your cut just below a leaf node (where a leaf attaches to the stem).
- Prepare the cuttings: Remove the lower leaves, leaving just a couple at the top. If you’re using rooting hormone, dip the cut end into it.
- Plant the cuttings: Insert the cut end of the stem into your prepared potting mix, about 1-2 inches deep. You can plant several cuttings in one pot, spacing them a few inches apart.
- Water and humidify: Water gently and cover the pot with a plastic bag or propagation dome.
- Location, location, location: Place the pots in a warm, brightly lit spot, away from intense sun.
The “Secret Sauce” (Pro Tips)
Over the years, I’ve picked up a few tricks that seem to make a real difference.
- Don’t overcrowd your bulbils or cuttings. Give them room to breathe and develop. When I first started, I was always tempted to pack them in. Resist that urge! Good air circulation is key to preventing rot.
- Bottom heat is your friend. Especially for stem cuttings, placing your pots on a heat mat set to a gentle warmth (around 70-75°F) can significantly speed up root formation. It mimics that warm soil feeling they crave.
- Watch for the “wake-up call.” With bulbils, you might not see much above ground for a while. Be patient! The true sign that they’re happy is when you see a tiny sprout pushing through the soil. For cuttings, new leaf growth is your signal.
Aftercare & Troubleshooting
Once you see roots forming (you might gently tug on a cutting to feel resistance, or peek at the drainage holes for root tips), it’s time for slightly adjusted care.
- Gradually reduce humidity: As your new plants become established, start to open up the plastic bag or dome gradually over a few days. Wean them off that high humidity.
- Water consistently, but don’t drown them. Allow the top inch of soil to dry out between waterings.
- Watch for rot: The biggest enemy here is overwatering, especially in cooler conditions. Mushy stems or a black, slimy base are clear signs of rot. If you see this, usually it’s best to toss out the affected cutting or bulbil and try again, perhaps with a slightly drier soil mix or better air circulation.
So there you have it! Growing your own Dioscorea oppositifolia from cuttings or bulbils is a simple joy. Remember to be patient. Nature has its own timing, and part of the fun is observing and learning along the way. Happy propagating, and enjoy the beautiful blooms and delicious tubers to come!
Resource:
https://identify.plantnet.org/k-world-flora/species/Dioscorea%20oppositifolia%20L./data