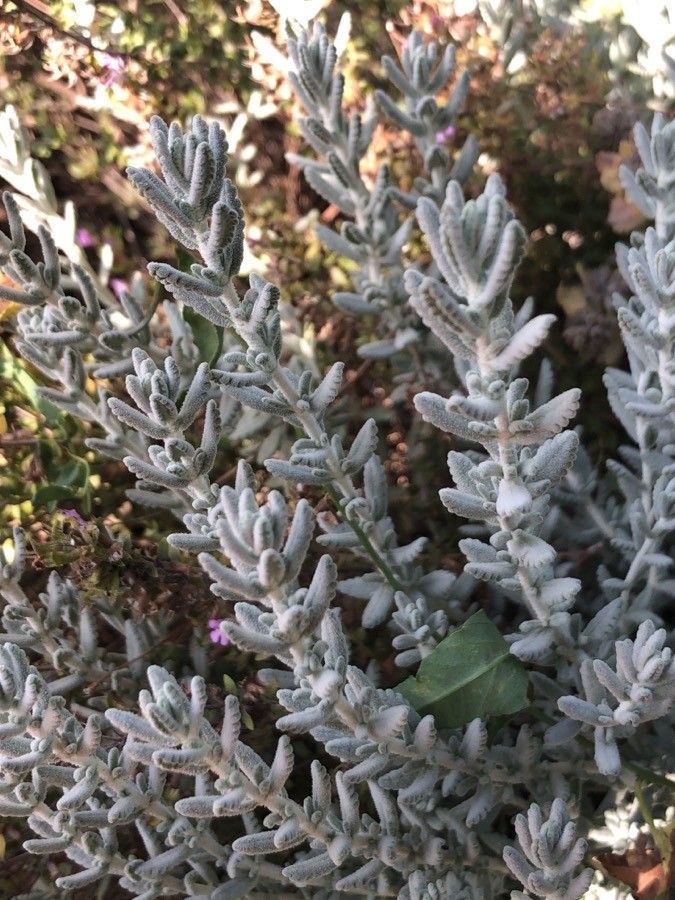
Hey there, fellow plant lovers! If you’ve ever admired those lovely, silver-leafed Teucrium plants – maybe you’ve got Teucrium homotrichum gracing your garden with its fragrant, low-growing charm – you might be wondering how to get more of them. I know I was!
Why Propagate Teucrium?
Besides the simple joy of creating new life from something you already love, propagating Teucrium homotrichum is incredibly rewarding. These drought-tolerant beauties are perfect for sunny, arid spots, and having extras means you can fill in gaps, share with friends, or even create a whole new patch. For beginners, it’s a fantastic plant to try your hand at propagation with – it’s quite forgiving!
The Green Light: When to Propagate
The sweet spot for propagating Teucrium homotrichum is definitely late spring to early summer. This is when the plant is actively growing and has plenty of young, pliable stems that are more inclined to root. You want to catch it before things get too hot and dry.
Your Propagation Toolkit
Here’s what you’ll want to have on hand:
- Sharp Pruning Shears or a Craft Knife: Clean cuts are key for reducing stress and disease.
- Propagation Potting Mix: A well-draining mix is crucial. I like to use a blend of one part perlite to one part peat moss or coco coir, or a good quality commercial seed-starting mix.
- Rooting Hormone (Optional but Recommended): A powder or gel can give your cuttings a nice boost.
- Small Pots or Trays: For housing your cuttings. Make sure they have drainage holes!
- Plastic Bag or Dome: To create a mini-greenhouse effect.
- Watering Can or Spray Bottle: For gentle watering.
- Labels: To keep track of what you’ve potted!
Bringing New Teucrium to Life
My favorite way to propagate Teucrium homotrichum is through stem cuttings. It’s straightforward and usually yields great results.
- Take Your Cuttings: On a bright morning, select healthy, non-flowering shoots. You want stems that are about 4-6 inches long. Make a clean cut just below a leaf node (where a leaf joins the stem). These nodes are where the magic happens, where roots will emerge.
- Prepare the Cuttings: Gently remove the lower leaves, leaving just a few at the top. This prevents them from rotting in the soil. If the leaves are quite large, I sometimes snip them in half to further reduce water loss.
- Dip in Rooting Hormone (If Using): Lightly moisten the cut end of each stem and dip it into your rooting hormone powder or gel. Tap off any excess.
- Plant Your Cuttings: Fill your pots or trays with your prepared potting mix. Make a small hole with a pencil or your finger, then insert the cutting, ensuring the leaf nodes are buried in the soil. Gently firm the soil around the base.
- Water Gently: Water the cuttings thoroughly but with a gentle stream, so you don’t dislodge them.
- Create a Humid Environment: Cover the pot or tray with a clear plastic bag or a propagation dome. This will keep the humidity high, which is essential for cuttings to form roots. Make sure the leaves aren’t touching the plastic.
The “Secret Sauce”: Insider Tips
Here are a few things I’ve learned over the years that really make a difference:
- Bottom Heat is Your Friend: While not strictly necessary for Teucrium homotrichum, placing your pots on a heat mat can significantly speed up root formation, especially if your propagation space is a bit cooler. It mimics that lovely warm soil temperature the plant loves.
- Don’t Overwater: This is the biggest killer! The soil should be consistently moist, not soggy. If you see water pooling, you’ve gone too far. The humidity within the plastic cover will help keep the cuttings hydrated.
- Patience is a Virtue (and a Necessity): Honestly, it can take anywhere from 4 to 8 weeks for cuttings to develop a good root system. Don’t be tempted to pull them out too early to check!
Aftercare and When Things Go Wrong
Once you start to see new growth on your cuttings, it’s a good sign that roots are forming. You can also give them a very gentle tug – if there’s resistance, they’ve likely rooted.
- Gradual Acclimation: Once you see roots, it’s time to slowly wean them off the cover. Gradually lift the plastic for longer periods over a week or two.
- Transplanting: When the roots have filled the pot and are starting to poke out the bottom, it’s time to pot them up into slightly larger pots with a good quality potting mix.
- Troubleshooting: The most common problem is rot. If your cuttings turn black and mushy, it’s usually a sign of too much moisture and not enough air circulation. Ensure excellent drainage and don’t overwater. If they just shrivel up and die, they might have dried out too much, or the environment was too dry.
Happy Gardening!
Propagating plants is such a wonderful way to connect with nature and expand your garden without spending a fortune. Be patient with your little Teucrium babies, give them the right conditions, and before you know it, you’ll have a delightful little nursery ready to bloom! Enjoy the process, and happy growing!
Resource: