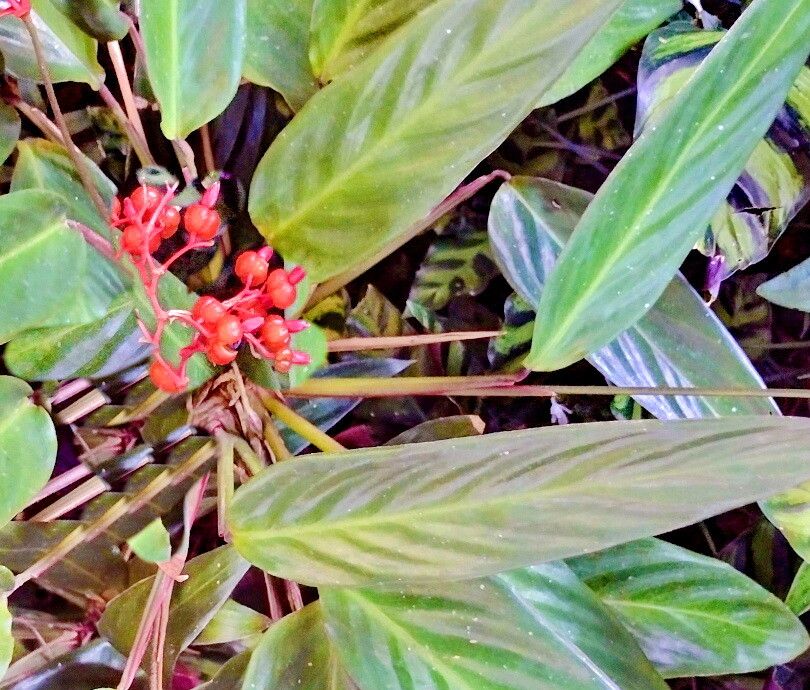
Hey there, fellow plant lovers! If you’ve ever admired the vibrant, painterly leaves of a Stromanthe triostar, you know they add such a magnificent splash of color to any indoor jungle. Those deep green, cream, and shocking pink stripes are just stunning, aren’t they? Well, I’m here to tell you that bringing more of this beauty into your home is absolutely achievable. Propagating Stromanthe thalia (that’s the specific beauty we’re focusing on today) is a really rewarding process. It’s not the absolute easiest plant to start with for complete beginners, but with a little patience and these tips, you’ll be well on your way to success.
The Best Time to Start
Honestly, spring and early summer are your best bets. This is when your Stromanthe is actively growing, full of energy, and ready to put out new shoots. It’s like they’re just bursting with life, making them much more receptive to putting down new roots. Trying to propagate when the plant is dormant in winter will be a much slower, and frankly, less successful endeavor. So, mark your calendars for when the days start getting longer and warmer!
Supplies You’ll Need
Before we get our hands dirty, let’s gather our tools:
- Sharp, clean pruning shears or a knife: Essential for making clean cuts without crushing the plant’s delicate stems.
- Well-draining potting mix: I like a blend of regular potting soil with perlite and a bit of orchid bark. It needs to be airy!
- Small pots or containers: Terracotta pots are great because they allow the soil to breathe.
- Rooting hormone (optional but recommended): This stuff really gives your cuttings a boost. I usually opt for a powder form.
- Clear plastic bag or a propagation dome: To create a humid environment for your cuttings.
- Water (distilled or filtered is best): For water propagation or to moisten your soil.
Propagation Methods
Stromanthe thalia is primarily propagated through division or stem cuttings. Let’s break down how to do each.
Division
This is often the simplest method for Stromanthe because they tend to form clumps.
- Gently remove the parent plant from its pot. You might need to jiggle it a bit.
- Loosen the soil around the base of the plant.
- Carefully identify distinct sections that have their own roots and at least one shoot or leaf. You can often gently pull these apart with your hands. If a section is particularly stubborn, use your clean knife to cut through the roots.
- Inspect the roots on each new division. Trim away any dead or mushy parts.
- Pot up each division into its own container with your fresh, well-draining potting mix. Water them in lightly.
Stem Cuttings
This method takes a bit longer for roots to appear but can yield multiple new plants from one mother stem.
- Select a healthy stem with at least two to three nodes (those little bumps where leaves emerge).
- Using your clean shears, make a cut just below a node. Angle the cut slightly – it can help with rooting.
- Remove the lower leaves, leaving just one or two at the very top to reduce moisture loss.
- Dip the cut end into your rooting hormone powder, tapping off any excess.
- Gently insert the cutting into your prepared, pre-moistened potting mix. Make sure at least one node is buried in the soil.
- Water lightly and place the pot inside a clear plastic bag or under a propagation dome to maintain high humidity.
The “Secret Sauce” (Pro Tips)
Here are a few things I’ve learned over the years that make a big difference:
- Humidity is key, but don’t let leaves touch water: When using a plastic bag or dome for stem cuttings, occasionally open it up for a few minutes to allow for air circulation. This prevents fungal issues. Also, if you opt for water propagation (which I don’t love for Stromanthe as much as division or soil cuttings, but it’s possible), make sure no leaves are submerged. They’ll just rot right off.
- Bottom heat is your friend: Placing your pots on a propagation mat or even a heating pad set on low can significantly speed up root development for stem cuttings. It mimics a warm spring soil bed.
- Patience with division: When dividing, don’t be discouraged if a section looks a little sad at first. As long as the roots are healthy, it will bounce back once it settles into its new pot.
Aftercare & Troubleshooting
Once your cuttings have taken hold (you’ll see new growth and feel resistance when you gently tug), or your divisions are established, treat them like any other Stromanthe. Keep the soil consistently moist but not soggy. They love bright, indirect light.
Now, about those potential hiccups. The most common problem you’ll encounter is rot. This is usually a sign of too much moisture and not enough air circulation. If you see mushy stems or blackened leaves, act fast. Try to salvage any healthy parts and start over with drier soil. Yellowing leaves can also indicate it’s thirsty or getting too much direct sun. If your stem cuttings shrivel up and look completely dead, it likely means they didn’t root and have dried out. Don’t give up; try again!
A Little Encouragement
Watching a new plant unfurl its first shy leaves from a cutting or a divided clump is pure magic. It’s a testament to resilience and the cycle of life. So, be patient with your new Stromanthe babies. They’re on their own little journey; your job is to provide a good environment for them to thrive. Enjoy the process, experiment, and soon you’ll have a whole collection of these gorgeous plants. Happy propagating!
Resource:
https://identify.plantnet.org/k-world-flora/species/Stromanthe%20thalia%20(Vell.)%20J.M.A.Braga/data