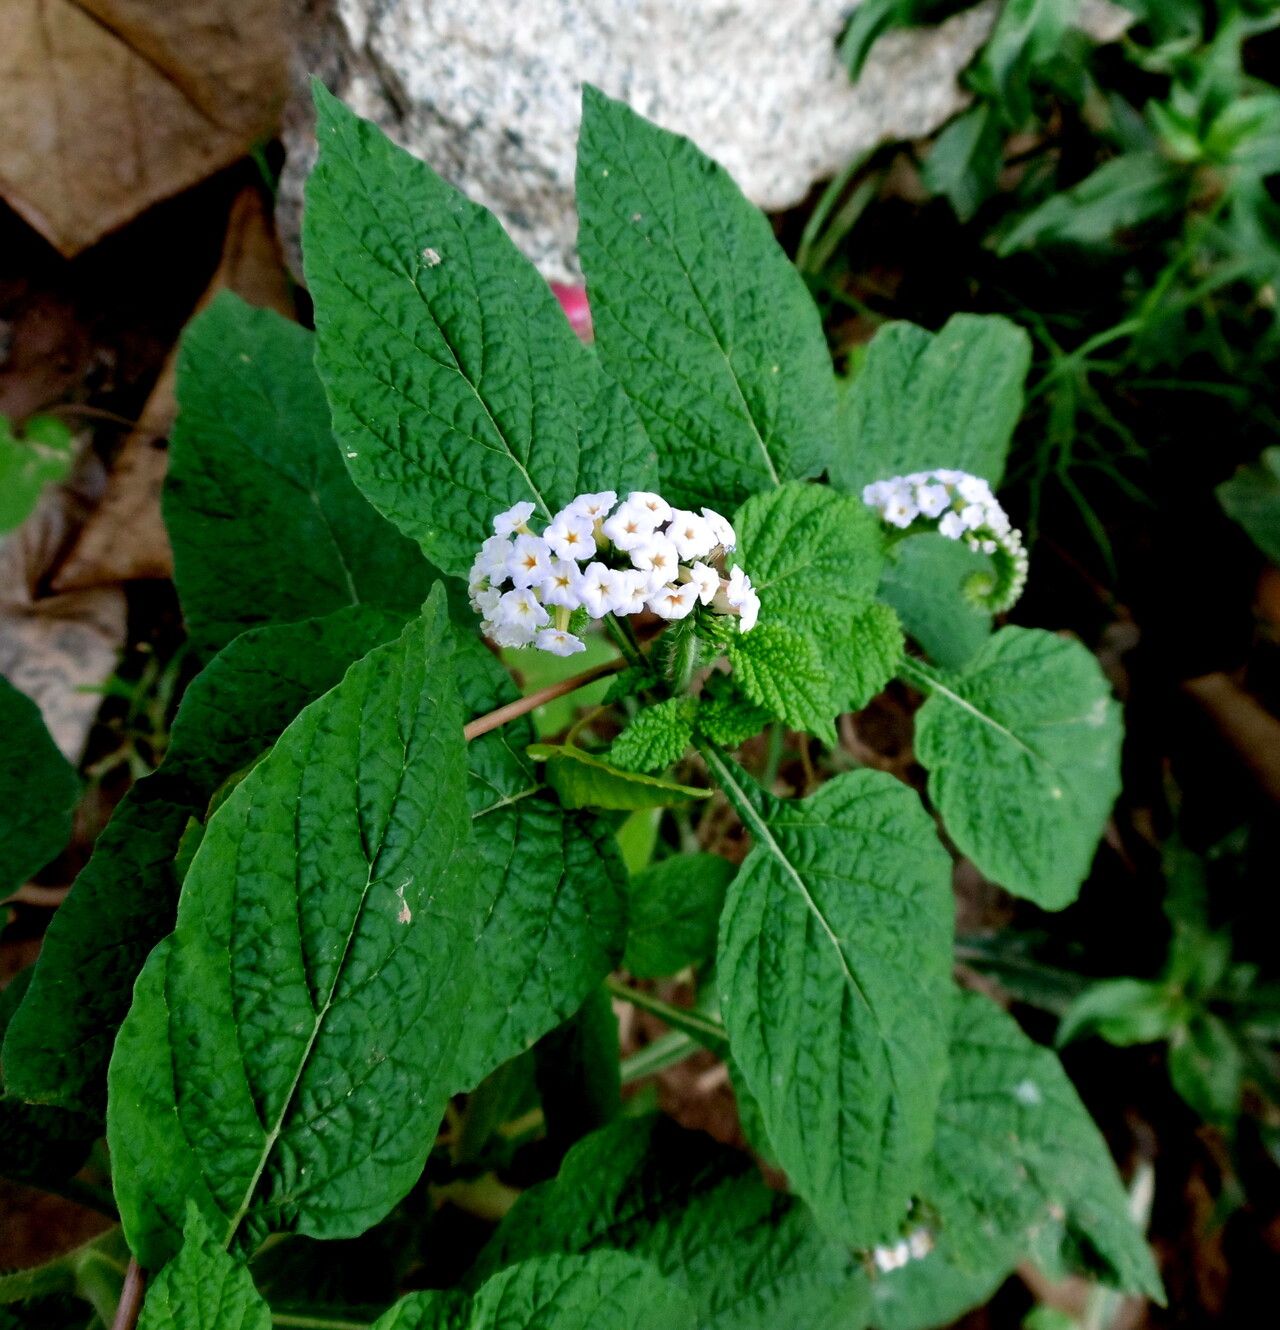
Oh, hello there! I’m so glad you’re curious about propagating Heliotropium angiospermum, also known as the cheerful Cherry Pie plant. If you love that intoxicating vanilla-almond scent and those lovely purple-blue flower clusters, then you’re in for a treat! Being able to create new plants from your existing favorites is one of the most deeply satisfying parts of gardening, and I find Heliotropium to be a wonderfully rewarding plant to propagate. For beginners? I’d say it’s moderately easy, but with a few key pointers, you’ll be swimming in new plants in no time.
The Best Time to Start
Spring is your golden ticket for propagating Heliotropium. As the days lengthen and the plant starts showing robust new growth, it’s sending out all sorts of energy. Think of it like a teenager eager to spread their wings – perfect timing! You can also take cuttings in early summer, as long as you can maintain consistent warmth and moisture. Avoid propagation when the plant is stressed, perhaps from drought or extreme heat.
Supplies You’ll Need
Before we get our hands dirty, let’s gather our tools:
- Sharp Pruning Shears or a Clean Knife: For making clean cuts, which prevents disease.
- Rooting Hormone (Optional, but Recommended): A good powder or gel really gives cuttings a boost.
- Well-Draining Potting Mix: I like a blend of equal parts peat moss or coco coir and perlite. Some folks swear by vermiculite, too. The key is aeration.
- Small Pots or Trays: Clean ones, please!
- Plastic Bags or a Propagation Dome: To create a humid environment for your cuttings.
- Water: For misting and, well, watering.
- Labels: Trust me, you’ll thank me later!
Propagation Methods
Let’s get down to business! The most successful way to propagate Heliotropium angiospermum is through stem cuttings. It’s a straightforward process that usually yields great results.
Stem Cuttings: Your Best Bet
- Select Your Cuttings: Look for healthy, non-flowering stems on your mature Heliotropium. You want stems that are slightly woody at the base but still flexible and green at the tip. About 4-6 inches long is ideal.
- Make the Cut: Using your clean shears or knife, make a cut just below a leaf node (the point where a leaf or bud emerges from the stem). This is where roots are most likely to form.
- Prepare the Cutting: Gently remove the lower leaves from your cutting, leaving just a set or two at the very top. If your cutting has any flower buds, pinch them off. They steal energy that the plant needs for root development.
- Apply Rooting Hormone (Optional): Dip the cut end of the stem into your rooting hormone, tapping off any excess.
- Plant Your Cuttings: Moisten your well-draining potting mix. Make a small hole with your finger or a pencil in the soil of your pot or tray. Insert the cut end of the stem into the hole, making sure the leaf nodes are covered by soil. Gently firm the soil around the cutting.
- Create a Humid Environment: Water the soil lightly. Then, cover the pot or tray with a plastic bag, ensuring the leaves don’t touch the plastic. You can also use a clear propagation dome. This traps moisture and creates a mini-greenhouse.
Water Propagation (A Fun Alternative for a Few Cuttings)
If you only have one or two plants and want to try something simple, you can try water propagation, but it’s usually less successful for Heliotropium than soil.
- Prepare the Cutting: Follow steps 1-3 from the stem cuttings above.
- Place in Water: Fill a small, clean jar or glass with fresh water. Place the prepared cuttings in the water, ensuring that the leaf nodes are submerged.
- Change Water Regularly: Change the water every 2-3 days to keep it fresh and prevent bacterial growth.
The “Secret Sauce” (Pro Tips)
Here are a few little tricks I’ve learned over the years that can really make a difference:
- Bottom Heat is Your Friend: Heliotropium cuttings absolutely love consistent warmth from below. A heated propagation mat can dramatically speed up root formation and significantly increase your success rate. It mimics the conditions of spring soil.
- Don’t Be Too Eager to Pot Up: Resist the urge to constantly check for roots by pulling them out. Patience is key! You’ll know roots are developing when you see new leaf growth or feel slight resistance when gently tugging on the cutting. If you’re using water propagation, wait until you have a good inch or so of roots before moving to soil.
- Misting is Good, Soaking is Not: While you want to maintain high humidity, avoid overwatering the soil. The goal is consistently moist, not soggy. Soggy soil is the fast track to rot. A light misting of the leaves every so often can also help keep them happy.
Aftercare & Troubleshooting
Once you see those tiny, new leaves unfurling, it’s time to transition your propagated plants.
If you used soil: Gradually introduce your new plants to less humid conditions. You can start by opening the plastic bag or dome for a few hours each day. Once they seem sturdy and are growing well, you can remove the cover entirely.
If you used water: Gently transplant your rooted cuttings into small pots filled with your well-draining potting mix. Water them in well and then treat them as you would an established plant, but with extra care.
What if things go wrong? The most common issue is rot. If your cuttings turn mushy, black, or slimy, it’s usually a sign of too much moisture and not enough air circulation. Unfortunately, rotten cuttings are usually a lost cause. If you see this happening, it’s best to discard them and try again, adjusting your watering and humidity levels. Brown, crispy leaves can mean it’s too dry, or they’re getting too much direct sun too soon.
A Gentle Encouragement
Propagating plants is a journey, not a race. Some cuttings will take off immediately, while others might take their sweet time. Don’t get discouraged if your first attempt isn’t perfect! Each try is a learning experience. Enjoy the process of nurturing these tiny new lives, and before you know it, you’ll have a whole garden of fragrant Heliotropium to share. Happy propagating!
Resource:
https://identify.plantnet.org/k-world-flora/species/Heliotropium%20angiospermum%20Murray/data