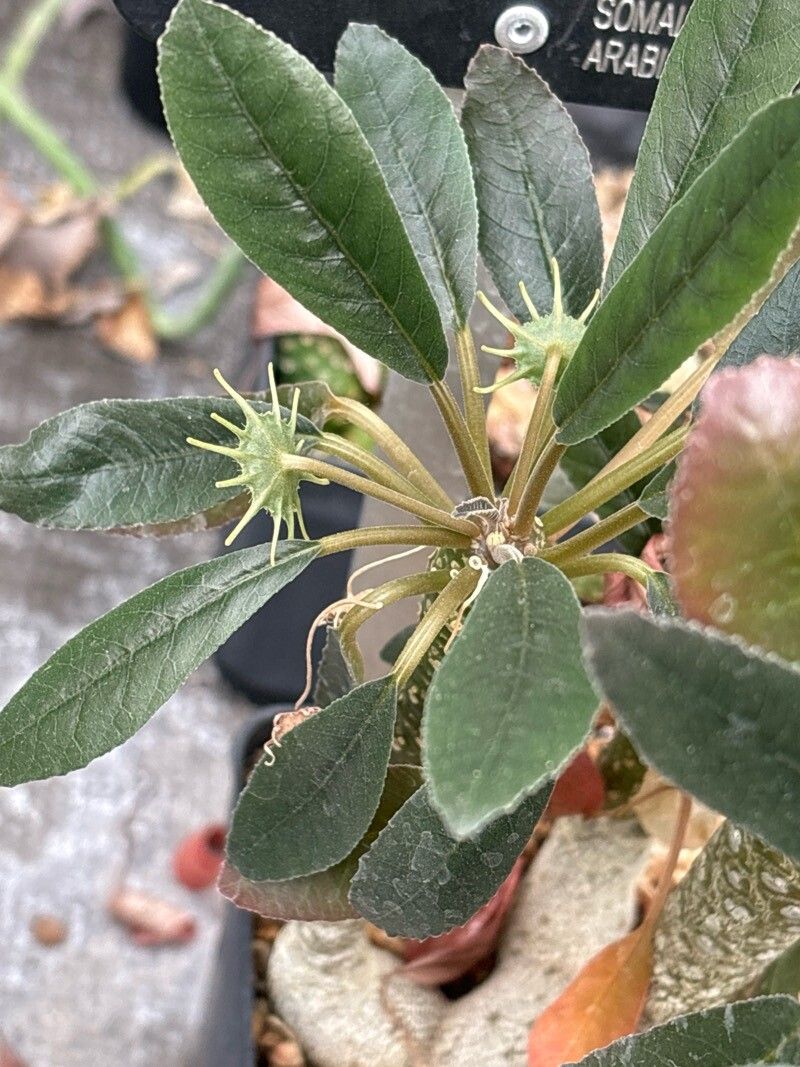
Hello fellow plant lovers! Today, I want to share a little secret from my own garden: the utterly charming Dorstenia foetida. If you’ve ever encountered this quirky succulent with its unique, flattened flower heads and interesting, often bulbous base, you’ve likely been captivated. I know I was. Propagating these little gems is truly one of my favorite garden joys, and I’m so excited to guide you through it. Honestly, while it might seem a little intimidating at first glance, I find Dorstenia foetida to be quite forgiving. I think even beginners can find success with a few key pointers.
The Best Time to Start
Spring is absolutely the sweet spot for propagating Dorstenia foetida. As the days get longer and warmer, and your plant is showing signs of vigorous new growth, it’s raring to go. This is when cuttings will have the best chance of rooting quickly. Aim for when the plant is actively growing, not during its dormancy period.
Supplies You’ll Need
Here’s what I always have on hand:
- A well-draining potting mix: I like a blend of cactus/succulent mix with some perlite or pumice thrown in. Good drainage is crucial!
- Sharp, clean pruning shears or a sharp knife: For making clean cuts.
- Rooting hormone (optional but recommended): A powder or liquid helps speed things up and increase success rates.
- Small pots or propagation trays: With drainage holes, of course!
- A spray bottle: For misting.
- A plant label and pen: To keep track of your new babies!
Propagation Methods
I’ve had the most success with stem cuttings for Dorstenia foetida. It’s straightforward and yields good results.
Stem Cuttings:
- Select a healthy stem: Look for a stem that’s at least a few inches long and has at least one or two nodes (where leaves emerge).
- Make the cut: Using your clean shears or knife, make a clean cut just below a node.
- Allow to callus: This is a really important step! Let the cut end of the stem dry and callus over for a day or two in a well-ventilated spot. This prevents rot.
- Apply rooting hormone (if using): Dip the callused end into your rooting hormone, tapping off any excess.
- Plant the cutting: Insert the callused end into your prepared, slightly damp potting mix. Make sure at least one node is buried.
- Water gently: Water the soil very lightly. You don’t want to saturate it.
- Provide bright, indirect light: Place your pot in a warm spot with lots of bright, indirect sunlight.
The “Secret Sauce”
Now, for a couple of my favorite tricks that have really upped my Dorstenia propagation game:
- Don’t let your cuttings sit in water: While some succulents can be propagated in water, I find it often leads to rot with Dorstenia foetida. Stick to soil for best results.
- Bottom heat is your friend: If you have a seedling heat mat, placing your pots on it can make a huge difference. This slightly warmer soil encourages roots to form much faster. You’ll be amazed!
Aftercare & Troubleshooting
Once you’ve potted up your cuttings, be patient. It can take anywhere from a few weeks to a couple of months for roots to form. You can gently tug on the cutting; if it resists, you likely have roots!
Continue to keep the soil slightly moist but never soggy. Mist occasionally if the air is very dry. Watch out for rot. If you see the cutting turning mushy and black, it’s likely succumb to rot. In this case, sadly, it’s best to discard it and try again. Also, yellowing leaves on the cutting can be a sign of it needing a bit more light, or sometimes it’s just the plant shedding old foliage as it focuses energy on rooting.
A Wonderful Journey
Propagating Dorstenia foetida is a rewarding endeavor. It’s a chance to multiply these fascinating plants and share them with friends. Don’t be discouraged if your first attempt isn’t perfect; gardening is all about learning. Be patient, enjoy the process, and happy propagating!
Resource:
https://identify.plantnet.org/k-world-flora/species/Dorstenia%20foetida%20Schweinf./data