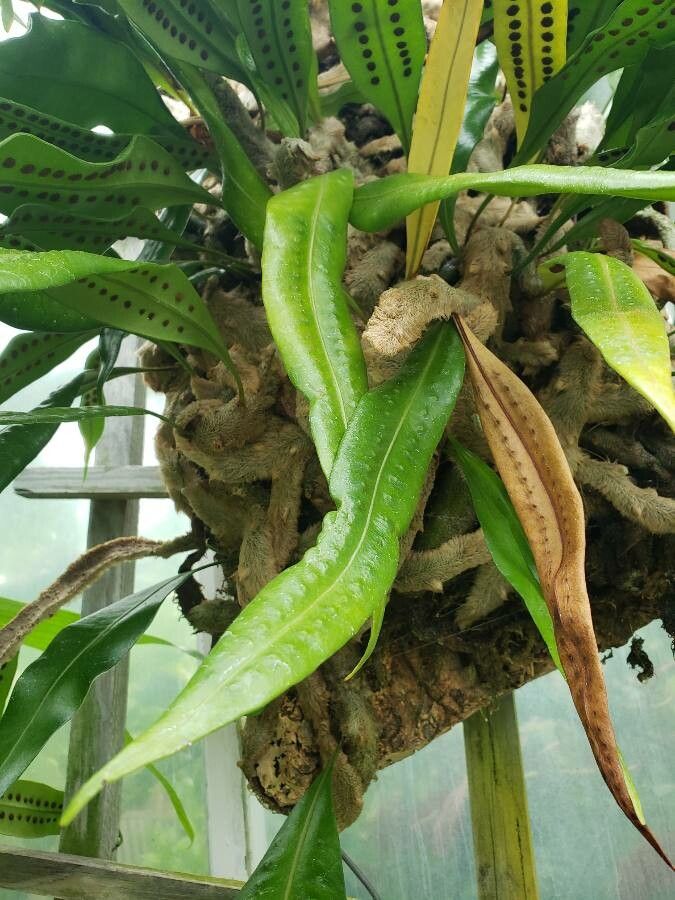
Oh, hello there! Grab your favorite mug, let’s chat about a truly special fern: Elaphoglossum acrostichoides. If you’re drawn to plants with a bit of drama and an elegant presence, this one’s for you. Its glossy, lance-shaped fronds can really elevate a shady corner or a terrarium. And the best part? Bringing new plants to life from cuttings or divisions is incredibly satisfying. Now, I won’t sugarcoat it: Elaphoglossum acrostichoides can be a tad particular, so it’s probably not the very first plant I’d suggest for a brand-new propagator. But with a little patience and the right approach, you can absolutely succeed!
The Best Time to Start
The sweet spot for propagating Elaphoglossum acrostichoides is definitely during its active growing season. Think late spring to mid-summer. This is when the plant has the most energy to put into creating new roots and shoots. Trying to propagate when it’s dormant or stressed is like asking for a favor when someone’s exhausted – it’s just not going to go as smoothly.
Supplies You’ll Need
Here’s what you’ll want to have on hand:
- Sharp, clean pruning shears or a razor blade: For making clean cuts is crucial.
- A well-draining potting mix: I like a blend of peat moss, perlite, and a bit of orchid bark. You want it to hold some moisture but not get waterlogged.
- Small pots or propagation trays: Clean ones, of course!
- A clear plastic bag or a propagation dome: This creates that humid microclimate our ferns love.
- Rooting hormone (optional but recommended): A powder or gel can significantly boost your success rate.
- Watering can with a fine rose or spray bottle: For gentle watering.
Propagation Methods
Most often, I find success with division for Elaphoglossum acrostichoides. While stem cuttings are possible for some ferns, this one tends to respond better to being carefully separated.
Division: Sharing the Beauty
- Gently extract the plant: Carefully remove your Elaphoglossum from its pot. If it’s a bit root-bound, that’s okay.
- Inspect the root ball: Gently loosen the soil around the base of the plant with your fingers. You’re looking for distinct clumps of growth that have their own roots.
- Make clean cuts: Using your clean shears or razor, carefully separate sections of the plant. Try to ensure each division has at least one or two healthy fronds and a good portion of roots attached. If the roots are very tangled, don’t be afraid to gently tease them apart, but avoid ripping.
- Pot up your new babies: Fill your small pots with your prepared potting mix. Make a little hollow in the center and place your division in it, spreading the roots out.
- Gently firm the soil: Pat the soil down around the base of the plant.
- Water gently: Water thoroughly until you see water draining from the bottom of the pot.
- Create a humid environment: Cover the pots with a clear plastic bag (use stakes to keep it from touching the leaves, or poke a few holes) or place them under a propagation dome. Find a bright, indirect light spot.
The “Secret Sauce” (Pro Tips)
Here are a couple of things I’ve learned over the years that really make a difference:
- Don’t overwater early on. While ferns love humidity, soggy soil is the quickest way to invite rot. Let the top inch of soil dry slightly between waterings, especially before roots are well-established.
- Avoid direct sunlight like the plague. Elaphoglossum acrostichoides loves bright, but indirect light. Too much sun will scorch those delicate new shoots faster than you can say “oops!”
- Consider bottom heat. If you have a propagation mat, placing your pots on it can encourage root development. It mimics the warmth you’d find on a forest floor and can really speed things up.
Aftercare & Troubleshooting
Once your divisions look like they’re taking off – you’ll see new frond growth unfurling – you can gradually reduce the humidity. Start by taking the plastic bag off for a few hours each day, and then leave it off entirely. Continue to water when the top inch of soil feels dry.
The most common problem you might encounter is rot. If you see a cutting turning mushy or developing black spots, it’s likely due to too much moisture. Remove the affected part immediately and check your watering habits. Sometimes, a division might just not take. Don’t get discouraged; it happens! Keep the original plant healthy and try again next growing season.
A Little Patience Goes a Long Way
Propagating plants is a journey, and with Elaphoglossum acrostichoides, it’s about understanding its specific needs for warmth and moisture. Be patient with your new charges. Celebrate the small victories – a new frond, a hint of root activity. Enjoy the process of coaxing new life from an already beautiful plant. Happy propagating!
Resource: