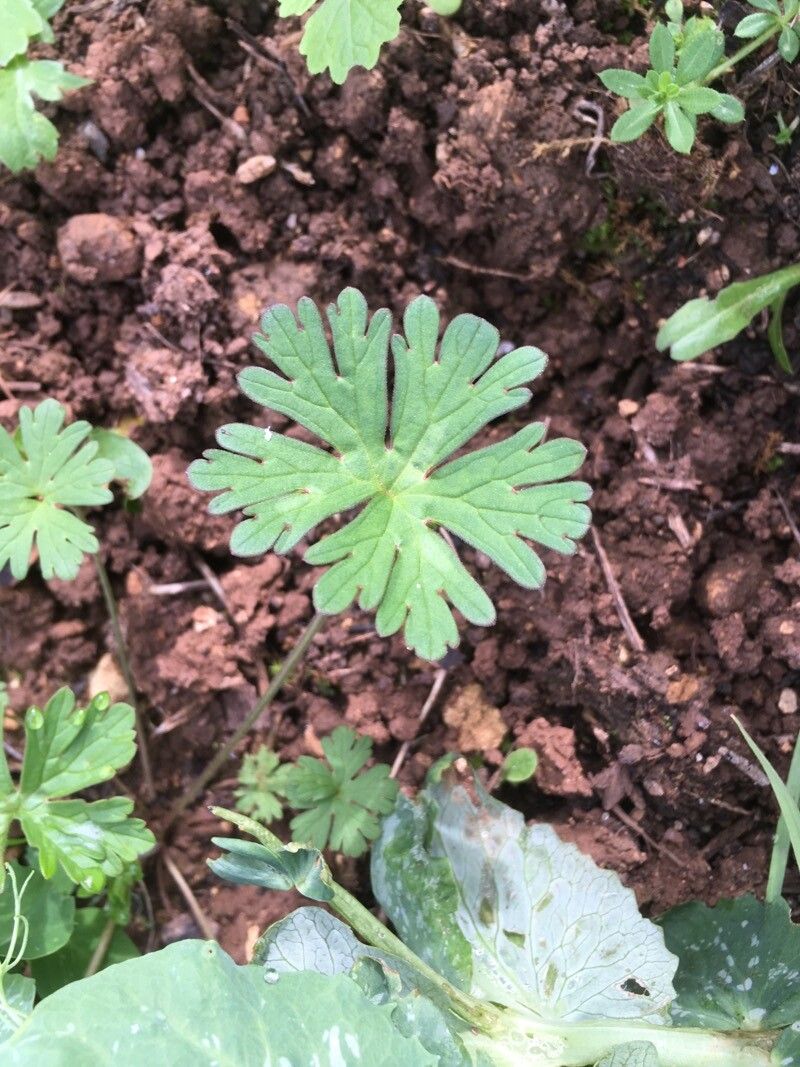
Hello fellow plant enthusiasts! Today, we’re diving into the wonderful world of Geranium dolomiticum. If you’re looking for a hardy, charming plant that flowers its little heart out, this is one you’ll definitely want in your garden. Its delicate, often purple or pink blooms bring such a lovely touch of color, and there’s something incredibly satisfying about creating new life from an existing plant.
For those just starting out in the gardening journey, don’t you worry! Propagating Geranium dolomiticum is generally quite straightforward. I’ve found it to be a very forgiving plant, which makes it a fantastic one to practice your propagation skills on. You’ll be amazed at how easy it is to fill your garden beds or share these beauties with friends.
The Best Time to Start
When it comes to getting the most out of your propagation efforts, timing is key. I usually find the late spring to early summer to be the absolute sweet spot. This is when the plant is actively growing, so it has plenty of energy to put into developing new roots. You’re looking for new, but firm, growth. Avoid taking cuttings from stems that are already flowering or have woody, old growth. Tender, flexible stems are your best bet.
Supplies You’ll Need
Here’s a quick rundown of what you’ll want to have on hand:
- Sharp Pruning Shears or a Clean Knife: For making clean cuts.
- Rooting Hormone (Optional but Recommended): A little booster can significantly improve your success rates.
- Small Pots or Propagation Trays: With drainage holes, of course!
- Well-Draining Potting Mix: A mix of potting soil and perlite or coarse sand works wonderfully.
- Watering Can or Spray Bottle: For gentle watering.
- Plastic Bag or Clear Dome: To create a mini-greenhouse effect.
Propagation Methods
There are a couple of tried-and-true ways to multiply your Geranium dolomiticum. I often lean towards stem cuttings as my go-to, but division is also an option.
Stem Cuttings: My Personal Favorite
This is my preferred method because it’s so reliable!
- Take Your Cuttings: Using your sharp shears, select a healthy stem from your Geranium dolomiticum. Cut a section that is about 4-6 inches long. Make sure this cutting has at least two sets of leaves.
- Prepare the Cutting: Gently remove the leaves from the bottom half of the cutting. You want to expose the nodes, as this is where the roots will emerge. If there are any tiny leaves at the very tip, you can leave those.
- Apply Rooting Hormone (If Using): Dip the cut end of the stem into your rooting hormone. Tap off any excess.
- Pot Them Up: Fill your small pots with the well-draining potting mix. Make a hole in the center with your finger or a pencil.
- Insert the Cutting: Place the cut end of the stem into the hole and gently firm the soil around it.
- Water Gently: Water thoroughly but gently, ensuring the soil is moist but not waterlogged.
- Create Humidity: Cover the pot with a plastic bag or a clear dome. This traps moisture, which is vital for the cuttings as they don’t have roots yet to take up water from the soil.
- Provide Bright, Indirect Light: Place the pots in a spot that receives bright, indirect sunlight. Avoid direct sun, which can scorch the tender cuttings.
Division: For Established Plants
If you have a larger, established plant that’s looking a bit crowded, division is a great option.
- Gently Uproot: Carefully dig up the entire plant from its pot or garden bed.
- Separate the Roots: You want to gently tease apart the root ball with your hands or carefully use a clean trowel. Aim to separate it into sections, each with its own healthy roots and shoots.
- Replant: Pot up the divisions into their own containers with fresh, well-draining soil. Water them in well.
The “Secret Sauce” (Pro Tips)
Here are a few little tricks I’ve picked up over the years that really make a difference:
- Sterilize Everything! Before you start, wipe down your pruning shears or knife with rubbing alcohol. This prevents the spread of any diseases from the parent plant to your new propagations.
- Don’t Over-Water: This is probably the biggest mistake beginners make. While cuttings need moisture, soggy soil is a recipe for rot. Let the top inch of soil dry out slightly between waterings.
- Bottom Heat is Your Friend: If you’re a bit of a propagation fanatic, investing in a small seedling heat mat can be a game-changer. Warm soil encourages roots to form faster. Just place your pots on top of it.
Aftercare & Troubleshooting
Once you start to see new growth on your cuttings – usually in a few weeks – that’s a fantastic sign that roots are forming!
- Acclimatize Slowly: Once roots are established, you can gradually remove the plastic bag, opening it up a little more each day over a week. This helps them adjust to normal humidity levels.
- Watering: Continue to water when the top inch of soil feels dry.
- Transplanting: When your new plants have a good root system and show consistent new growth, you can transplant them into slightly larger pots.
The most common issue you’ll encounter is rot. If a cutting turns black and mushy, it’s usually a sign of too much moisture and not enough air circulation. If this happens, it’s best to discard it and start fresh, paying closer attention to your watering and humidity levels. Fungal issues can also arise, so good airflow is important.
A Little Patience Goes a Long Way
There you have it! Propagating Geranium dolomiticum is a truly rewarding experience. Don’t get discouraged if your first attempt isn’t perfect. Gardening is all about learning and experimenting. Just keep trying, observe your plants, and most importantly, enjoy the process of nurturing new life. Happy propagating!
Resource:
https://identify.plantnet.org/k-world-flora/species/Geranium%20dolomiticum%20Rothm./data