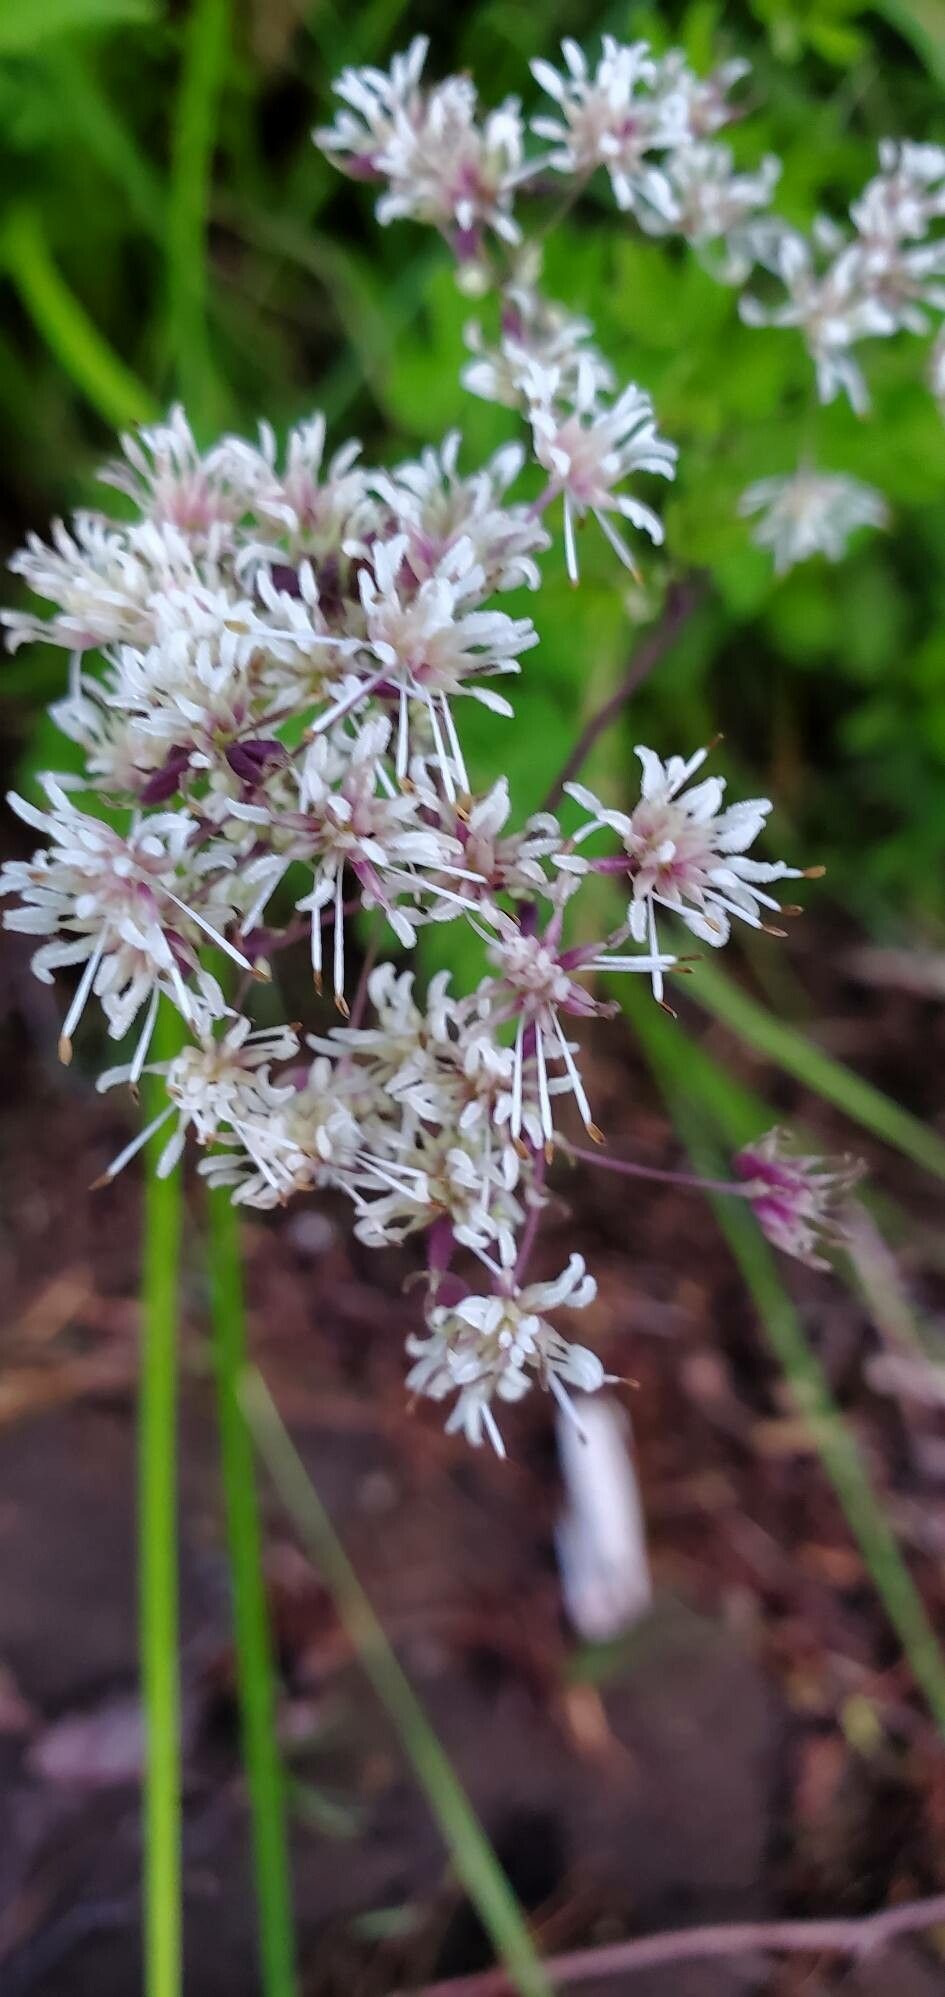
Oh, Meadow Rue! What a gorgeous plant to get your hands on, and even better, to grow more of yourself. Thalictrum dasycarpum, or Purple Meadow Rue, is one of those garden beauties that just whispers elegance. Its delicate, airy flowers, often a lovely soft purple, dance on tall stems, providing a wonderful textural contrast to bolder blooms. And the satisfaction of nurturing a brand new plant from a tiny cutting or a division? Simply unparalleled.
Now, about it being easy or challenging for beginners. Honestly, I’d put Thalictrum dasycarpum in the “moderately easy” category. It’s not going to sprout overnight, but with a little patience and the right approach, you’ll absolutely find success.
The Best Time to Start
When it comes to Meadow Rue, division is best done in early spring. As soon as the ground is workable, and before those strong shoots get too tall, is the sweet spot. For cuttings, late spring to early summer, when the plant is actively growing, is your best bet. You want those stems to be firm but not woody.
Supplies You’ll Need
Before we dive in, let’s gather our little garden toolkit:
- Sharp pruning shears or a clean knife: For clean cuts, essential for preventing disease.
- Propagation pots or trays: Small ones are fine to start; they don’t need to be large.
- Well-draining potting mix: A blend of peat moss, perlite, and vermiculite works wonders. Or, a good quality seed starting mix.
- Rooting hormone (optional but recommended): This can give your cuttings a real boost.
- Watering can with a fine rose: Gentle watering is key.
- Plastic bag or propagation dome: To create a humid environment for cuttings.
- Labels: So you remember what’s what!
Propagation Methods
Let’s get our hands dirty with a couple of methods that work beautifully for Thalictrum.
1. Division (My Favorite for This Plant!)
This is how I usually expand my Meadow Rue collection. It’s fantastic because you’re essentially just splitting up an established plant.
- Step 1: Dig it Up. Gently excavate the parent plant in early spring. Be careful not to damage the roots too much.
- Step 2: Assess and Divide. You’ll see fleshy roots. Look for areas where you can gently pull or cut the root ball into sections. Each section should have at least one healthy bud or shoot and a good bit of root.
- Step 3: Replant. Pot up your divisions in your well-draining mix, ensuring the crown (where the shoots emerge) is just at the soil surface. Water them in well.
2. Stem Cuttings
This method requires a bit more finesse, but it’s incredibly rewarding to watch those baby plants grow from a single stem.
- Step 1: Take the Cuttings. In late spring or early summer, select healthy, non-flowering stems. Cut a section about 4-6 inches long, making a clean cut just below a leaf node (where a leaf attaches to the stem).
- Step 2: Prepare the Cutting. Remove the lower leaves, leaving just a couple at the top. If the remaining leaves are large, you can cut them in half horizontally to reduce transpiration.
- Step 3: Add Rooting Hormone. If you’re using rooting hormone, dip the cut end into it, tapping off any excess.
- Step 4: Plant the Cutting. Insert the cutting into your prepared, moist potting mix, about an inch or two deep. Use a pencil or dowel to make a small hole first to avoid rubbing off the hormone.
- Step 5: Create Humid Conditions. Water gently, and then cover the pot with a plastic bag or propagation dome. This keeps the humidity high, which is crucial for cuttings to root. Place it in a bright spot, but out of direct, scorching sun.
The “Secret Sauce” (Pro Tips)
Here are a couple of things I’ve learned over the years that really make a difference:
- Don’t Be Afraid to Go Deep with Division: When dividing, if you can’t easily pull sections apart, it’s fine to use your knife to make a clean cut through the root mass. Just aim to give each piece a decent root system and at least one active bud.
- Bottom Heat is a Game-Changer for Cuttings: If you have space and a heat mat (often used for starting seeds or rooting cuttings), placing your Thalictrum cuttings on it can significantly speed up root formation. It mimics the warmth of spring soil and really encourages those roots to emerge.
Aftercare & Troubleshooting
Once roots have formed (you might see new growth or feel gentle tug when you lightly pull on a cutting), it’s time for a little extra care.
- Gradual Acclimation: If you used a plastic bag or dome, gradually remove it over a few days. Start by opening it for an hour or two, then longer, allowing the plant to adjust to the lower humidity of your home.
- Watering: Keep the soil consistently moist but not soggy. As the plant grows larger, you can transplant it into a slightly bigger pot.
- Trouble Signs: The most common issue you’ll see is rot, often due to overwatering or poor drainage. Your cuttings might turn mushy and black at the base. If this happens, sadly, it’s usually not salvageable. Another sign of distress is wilting that doesn’t improve with watering; this can indicate that the cutting isn’t rooting.
A Little Patience Goes a Long Way
Propagating plants is a journey, not a race. There will be times when things don’t quite go as planned, and that’s okay! The beauty of gardening is in the learning and the steady, gentle rhythm of nurturing life. So, be patient with your Meadow Rue, enjoy the process, and soon you’ll be rewarded with even more of that airy, garden magic. Happy propagating!
Resource: