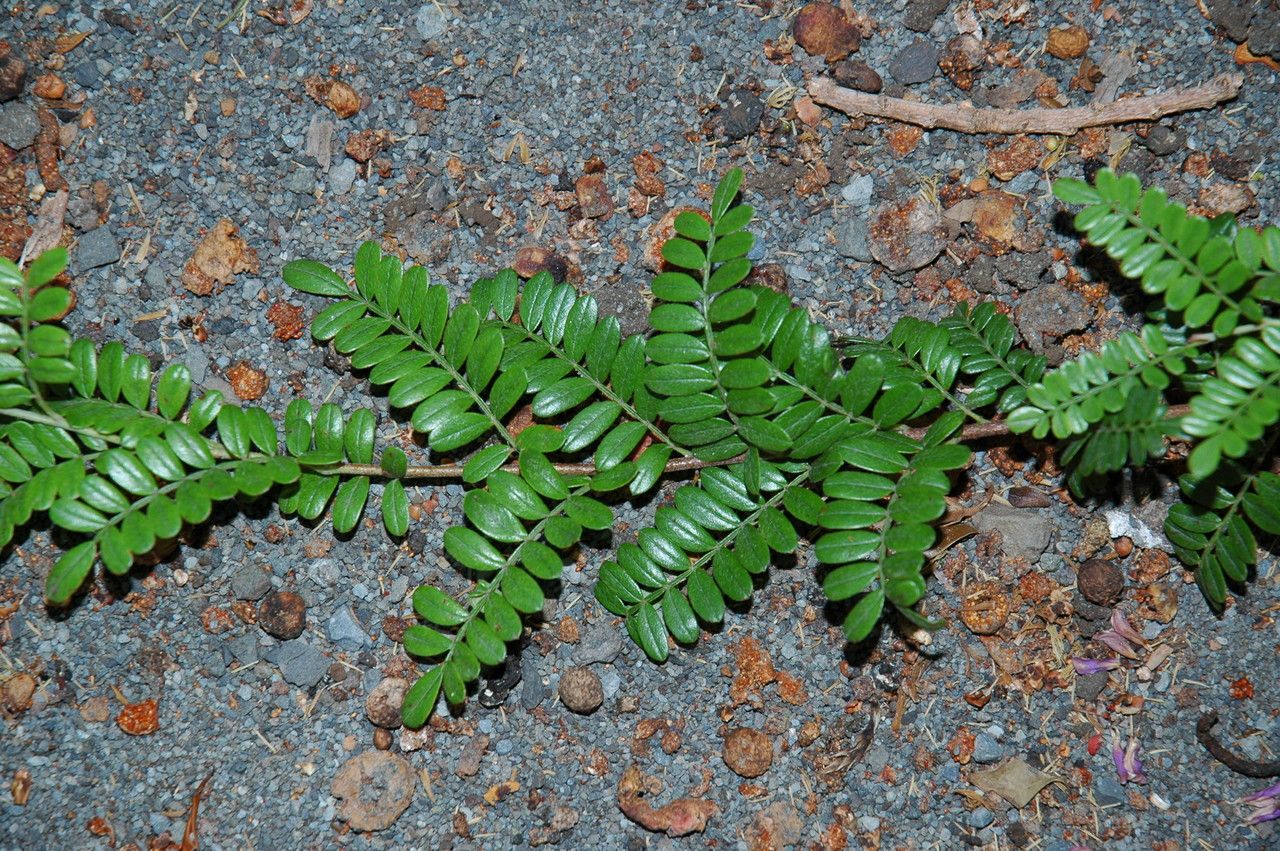
Oh, hello there! Come on in, grab a cup of tea. I’m so glad you’re interested in Osteomeles anthyllidifolia. This lovely little shrub, often called Chinese Hawthorn or Taiwan Dogwood, is such a delight in the garden. Its delicate white flowers in spring give way to pretty, dark berry-like fruits. Plus, its fine, ferny foliage adds a touch of elegance. For me, the real joy is in watching a tiny cutting transform into a thriving plant. And I’m happy to tell you, for most home gardeners, propagating Osteomeles is quite achievable, even for beginners!
The Best Time to Start
Timing, as with so many things in gardening, is key! The best time to take cuttings of Osteomeles anthyllidifolia is typically in late spring to early summer, just as the new growth has started to harden off a bit but is still quite pliable. You’re looking for stems that are flexible but not floppy. This is when the plant has plenty of energy stores to dedicate to root development.
Supplies You’ll Need
Before we get our hands dirty, let’s gather our supplies. You probably have most of these lying around your shed or garage.
- Sharp pruning shears or a clean knife: For making clean cuts.
- Rooting hormone (optional but recommended): Helps speed up the rooting process.
- Small pots or a propagation tray: With good drainage holes!
- A well-draining potting mix: A 50/50 mix of perlite and peat moss or coco coir works wonderfully. You can also find specialized seed-starting or propagation mixes.
- Plastic bags or a propagation dome: To create a humid environment.
- Watering can or spray bottle: For gentle watering.
Propagation Methods
Osteomeles anthyllidifolia is a pretty obliging plant, and the most straightforward way to start new ones is through stem cuttings.
Stem Cuttings:
- Select your stems: Look for healthy, non-flowering shoots that are about 4-6 inches long. As I mentioned, the ideal stems are semi-hardwood – they’ll snap if bent too sharply but aren’t completely woody.
- Make your cuts: Using your clean shears or knife, take cuttings by making a cut just below a leaf node (where a leaf attaches to the stem). This is where the magic happens with root formation.
- Prepare the cuttings: Gently remove the lower leaves, leaving just two or three at the top. This prevents them from rotting in the soil and reduces moisture loss. If the remaining leaves are large, you can even cut them in half horizontally.
- Apply rooting hormone (if using): Dip the cut end of the stem into your rooting hormone powder, tapping off any excess.
- Plant your cuttings: Make a hole in your potting mix with a pencil or your finger. Insert the prepared cutting, ensuring the leaf nodes are buried. Gently firm the soil around the base.
- Water thoroughly: Water gently until the soil is moist but not waterlogged.
- Create humidity: This is crucial! You can either place a plastic bag loosely over the pot, making sure the leaves don’t touch the plastic, or cover the tray with a propagation dome.
- Find a bright, warm spot: Place your cuttings in a location that receives bright, indirect light. Avoid direct sun, which can scorch the delicate cuttings.
The “Secret Sauce” (Pro Tips)
Now, a couple of little tricks I’ve picked up over the years that can really give you an edge:
- Bottom Heat is Your Friend: If you have a propagation mat, now’s the time to use it! A little bit of gentle bottom heat can significantly speed up root development. It mimics the warmth of spring soil and really encourages those roots to form.
- Don’t Rush the Potting: Resist the urge to check for roots too soon! You want to let them establish a good little system before disturbing them. I usually wait at least 4-6 weeks, and honestly, sometimes longer is better. The best indicator is seeing new leaf growth at the top – that’s a sure sign roots are happily drinking.
Aftercare & Troubleshooting
Once you see those first signs of new growth, congratulations! You’re on your way.
- Gradual Acclimation: Slowly harden off your new plants by gradually increasing ventilation over a week or two. This means opening the plastic bag or dome for longer periods each day.
- Gentle Watering: Continue to water carefully, allowing the soil to dry slightly between waterings. Overwatering is the most common mistake at this stage.
- Potting Up: When your cuttings have a healthy root system (you can gently tug on a cutting to feel resistance), it’s time to pot them up into slightly larger individual pots with good quality potting soil.
- Troubleshooting: The most common problem you’ll encounter is rot. If a cutting turns black and mushy, it’s usually a sign of too much moisture and not enough air circulation. If your cuttings simply fail to root after several weeks, they might have been too old when you took them, or they weren’t getting enough consistent warmth or humidity. Don’t get discouraged! Just grab a few more stems and try again.
Propagating plants is a wonderful journey of patience and observation. It allows you to connect with nature on a deeper level. So be patient, enjoy the process of nurturing these little lives, and soon you’ll have a whole garden of your very own Osteomeles anthyllidifolia to admire! Happy gardening!
Resource: