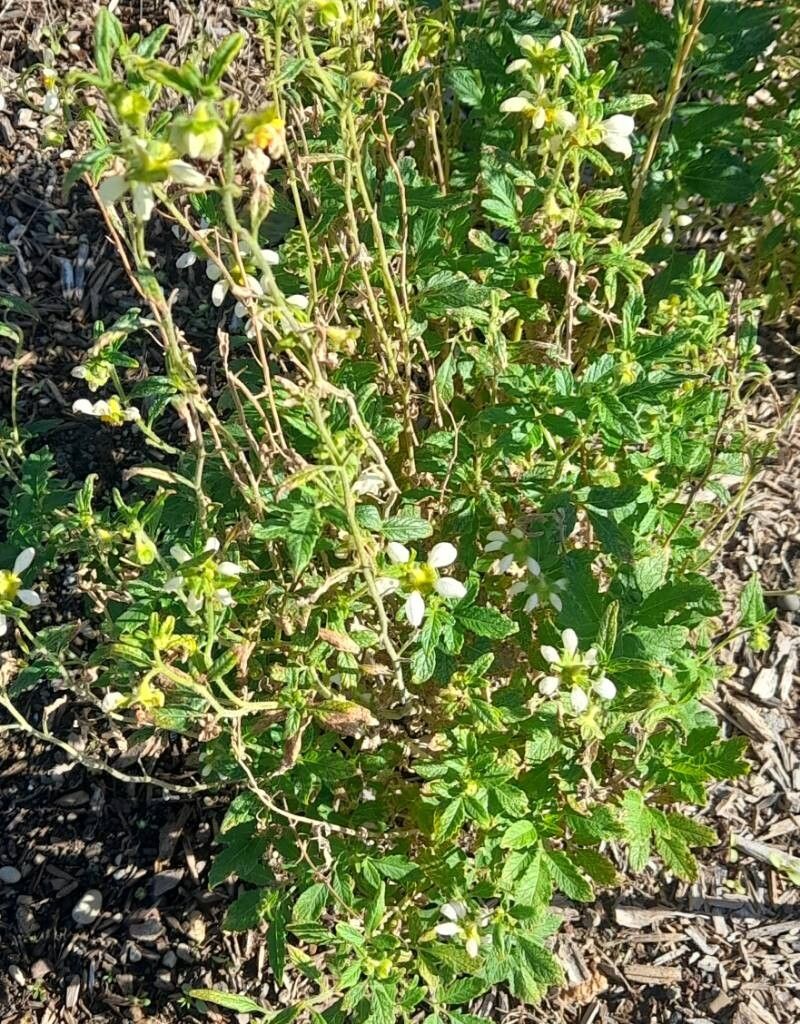
Oh, hello there! It’s so lovely to have you over. We’re going to chat about something truly special today: Nasa triphylla. You might know it by its more common name, Jewel Orchid, and trust me, it lives up to that moniker. Those intricate, velvety leaves with their network of shimmering veins? Absolutely breathtaking. Propagating these beauties is such a rewarding journey. It’s like coaxing a little bit of that magic into your own hands. Now, for beginners, I’d say Nasa triphylla can be a little bit of a challenge, but not impossible! With a bit of care and attention, you’ll be well on your way.
The Best Time to Start
For the highest success rate with Nasa triphylla propagation, I always recommend the spring and early summer months. This is when your parent plant is in its most active growth phase. Think of it as its prime time for energy and vigor, making it more likely to push out those new roots when you encourage it. You can also have success in late summer, but spring is generally the sweet spot.
Supplies You’ll Need
To get started, you’ll want to have these on hand:
- Sharp, clean pruning shears or a razor blade: Sterilize them with rubbing alcohol to prevent disease.
- A good quality potting mix: I love a well-draining mix, often a blend of peat moss or coco coir, perlite, and a bit of orchid bark. This mimics their natural environment.
- Small pots or propagation trays: Clean and with drainage holes, of course!
- Rooting hormone (optional but recommended): This can give your cuttings a helpful boost.
- A clear plastic bag or propagation dome: To create a humid microclimate.
- A spray bottle: For misting.
- A well-lit spot, but out of direct sunlight: Bright, indirect light is key.
Propagation Methods
There are a couple of ways we can encourage new Nasa triphylla plants.
Stem Cuttings
This is my go-to method for these plants.
- Take a cutting: Look for a healthy stem that has at least two to three nodes. A node is where a leaf attaches to the stem. Use your clean shears to make a cut just below a node.
- Prepare the cutting: Gently remove the lowest leaf, exposing the node. You can leave the other leaves on, but if they are very large, you might want to trim them in half to reduce water loss.
- Apply rooting hormone (if using): Dip the cut end into your rooting hormone, tapping off any excess.
- Plant the cutting: Fill your small pot with your prepared potting mix. Make a small hole with your finger or a pencil and insert the cut end of the stem, ensuring at least one node is buried in the soil. Gently firm the soil around it.
- Create humidity: Water the soil lightly until it’s evenly moist. Then, cover the pot with a clear plastic bag or place it in a propagation dome.
Division
If your Nasa triphylla is a more mature plant and has started to clump, division is a fantastic option.
- Remove from pot: Gently take your plant out of its pot.
- Inspect the roots: Loosen up the soil around the root ball. You are looking for distinct sections of the plant that have their own root structure.
- Gently separate: With clean hands or a clean trowel, carefully pull or cut the plant into sections. Ensure each division has a decent amount of roots attached.
- Repot: Pot each division into its own container with fresh, well-draining potting mix. Water them in.
The “Secret Sauce” (Pro Tips)
Here are a couple of things I’ve learned over the years that make a real difference.
- Don’t let those leaves touch the water (if doing water propagation): While water propagation can work for some Jewel Orchids, I find stem cuttings directly in soil with high humidity are more reliable for Nasa triphylla. If you do opt for water, make absolutely sure no leaves are submerged. Any contact can lead to rot.
- Bottom heat is your friend: If you can, place your pots or trays on a heating mat designed for seedlings. This gentle warmth encourages root development from below and can significantly speed up the process. It mimics the warmth of tropical soil.
Aftercare & Troubleshooting
Once your cuttings have been planted and are snug under their humidity dome, be patient!
- Keep the soil consistently moist, but not soggy: Check the moisture level by gently touching the soil. If it feels dry, lightly mist or water.
- Provide bright, indirect light: A spot near a window that gets plenty of light but no direct sunbeams is perfect.
- Watch for new growth: You’ll start to see little shoots or leaves emerging from the nodes. This is a great sign!
- Rooting can take time: It can take anywhere from 4-8 weeks or even longer for roots to develop. Don’t give up too soon! You can gently tug on a cutting after a few weeks. If there’s resistance, it’s a good indicator that roots are forming.
The biggest thing to watch out for is rot. Signs of rot include mushy stems and leaves that turn yellow and die off quickly. This is usually a sign of overwatering and not enough air circulation. If you see this, remove the affected cutting immediately and adjust your watering habits. Sometimes, a bit of rot can be salvaged if you catch it early enough by cutting away the diseased part.
A Little Encouragement
Propagating Nasa triphylla is a delightful way to expand your collection and share these stunning plants with others. Don’t be discouraged if your first attempt isn’t perfect. Gardening is all about learning and experimenting. Take a deep breath, enjoy the process of nurturing a new life, and celebrate every tiny success. You’ve got this!
Resource:
https://identify.plantnet.org/k-world-flora/species/Nasa%20triphylla%20(Juss.)%20Weigend/data