Welcome, fellow plant lovers! Today, we’re diving into the delightful world of propagating Hedera maderensis, also known as Madeira ivy. If you’re a fan of lush, cascading foliage and want to fill your home or garden with more of this beauty, you’ve come to the right place.
Why Propagate Madeira Ivy?
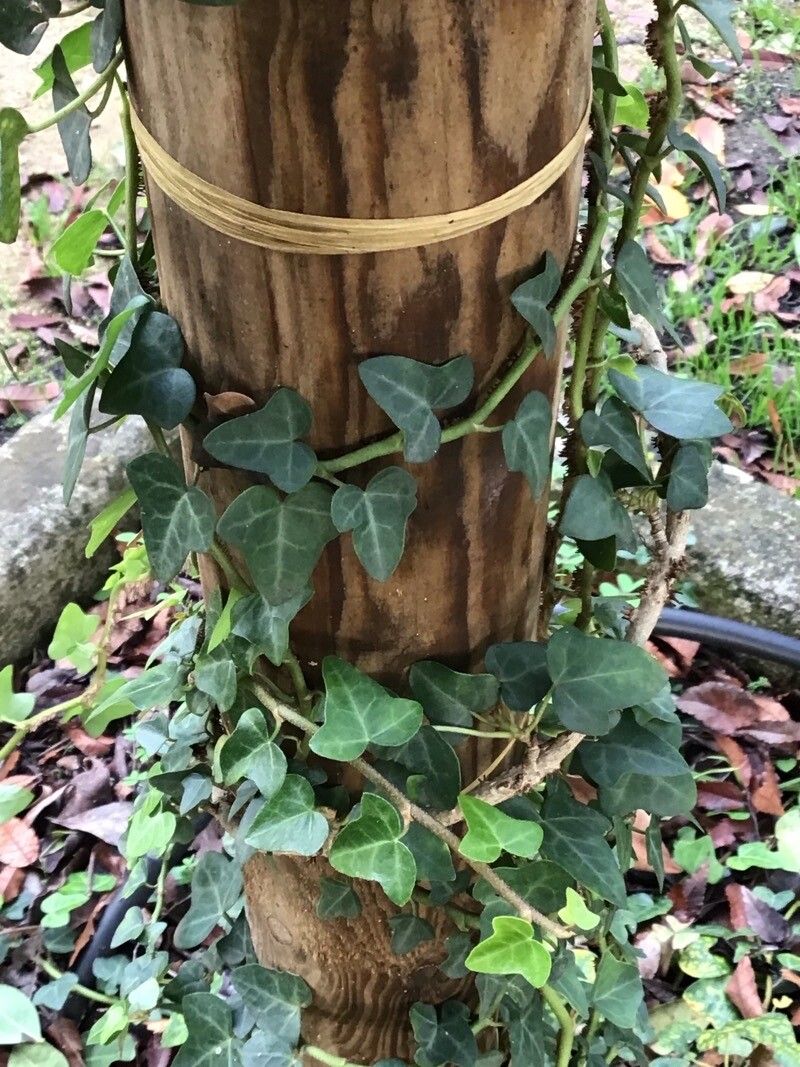
I absolutely adore Madeira ivy. Its deeply lobed, architectural leaves are striking, and it has a wonderful way of softening any space with its graceful trails. The reward of taking a piece of your favorite plant and watching it grow into a whole new one? It’s truly magical! And the good news for beginners? Madeira ivy is wonderfully forgiving, making it a fantastic plant to start your propagation journey with. You’ll be sharing cuttings with friends before you know it!
The Best Time to Start
For the highest success rate with Hedera maderensis, I find the late spring or early summer to be ideal. This is when the plant is actively growing, full of energy, and ready to put down new roots. You can also have success in early autumn, but spring gives them that big growing season boost.
Supplies You’ll Need
Gathering your supplies beforehand makes the whole process smoother. Here’s what I usually have on hand:
- Sharp pruning shears or a clean knife: For making clean cuts.
- Small pots or containers: Clean ones are crucial!
- Propagating mix or perlite: I often use a 50/50 mix of perlite and peat moss or coco coir. It drains well and encourages root development.
- Rooting hormone (optional): This can give cuttings an extra boost, but Madeira ivy is often happy without it.
- Plastic bags or a propagator lid: To create a humid environment.
- Water: For watering and, potentially, water propagation.
- Labels and a pen: To keep track of what you’ve planted.
Propagation Methods
Let’s get our hands dirty! Here are a couple of my favorite, effective ways to multiply your Madeira ivy.
Stem Cuttings
This is hands-down the most popular and easiest method for Madeira ivy.
- Select your cutting: Look for a healthy, non-flowering stem that has at least two or three leaf nodes. A node is where a leaf attaches to the stem.
- Make the cut: Using your clean shears, make a cut just below a leaf node. This is where the magic happens for root formation. Aim for cuttings about 4-6 inches long.
- Prepare the cutting: Gently remove the lower leaves, leaving just one or two at the very top. This prevents leaves from rotting in the soil or water.
- Apply rooting hormone (optional): If you’re using it, dip the cut end into the rooting hormone powder, tapping off any excess.
- Plant your cutting:
- Fill your small pots with your propagating mix.
- Make a small hole in the center with your finger or a pencil.
- Gently insert the cut end of the stem into the hole, ensuring at least one of the removed leaf nodes is below the soil surface.
- Firm the soil gently around the stem to hold it in place.
- Water and cover: Water lightly until the soil is evenly moist. Then, place a clear plastic bag over the pot or cover it with a propagator lid to create a humid microclimate. Secure it with a rubber band or by resting it on the pot rim.
Water Propagation
This method is wonderfully visual and can be very satisfying!
- Prepare your cuttings: Follow steps 1-3 from the stem cutting method. You’ll want cuttings with a few leaf nodes.
- Place in water: Put your cuttings in a clean glass or jar with room temperature water. Make sure the leaf nodes are submerged, but keep the leaves themselves out of the water.
- Find a good spot: Place the jar in a bright spot with indirect light.
- Change the water: Change the water every few days to keep it fresh and prevent bacterial growth. You’ll start to see tiny white roots appear from the nodes!
The “Secret Sauce” (Pro Tips)
Over the years, I’ve learned a few tricks that can really help your cuttings thrive.
- Don’t overcrowd the pots. Give each cutting a little personal space. If you’re putting multiple in one pot, make sure they aren’t suffocating each other.
- Bottom heat is fantastic! If you have a seedling heat mat, placing your pots on it can significantly speed up root development. It mimics the warmth of spring soil.
- Mist occasionally, but don’t drown them. While humidity is key, you don’t want standing water on the leaves, as this can lead to fungal issues. A light misting of the leaves under the plastic cover can be beneficial.
Aftercare & Troubleshooting
Once you see those little roots starting to peek out from the drainage holes or growing nicely in the water, it’s time to transition!
- For cuttings in soil: Once the roots are established (you can gently test this by giving the stem a very slight tug – if there’s resistance, they’ve rooted), you can gradually remove the plastic cover over a few days to acclimate them to normal humidity. Water them when the top inch of soil feels dry.
- For cuttings in water: When the roots are about an inch long, you can pot them up into your propagating mix. Treat them as you would freshly potted soil cuttings.
- Common problems: The biggest enemy is rot. If a cutting turns black and mushy, it’s likely rotted due to too much moisture or being kept too damp. If this happens, discard the rotten cutting and ensure any remaining ones have adequate drainage and aren’t waterlogged. Yellowing leaves on a cutting can sometimes indicate it’s not getting enough light or is too wet.
Keep Growing!
Propagating Madeira ivy is a joy, and watching those tiny roots emerge is incredibly rewarding. Be patient with your little ones; sometimes it takes a few weeks, other times a bit longer. Don’t get discouraged if a cutting doesn’t make it – that’s just part of the learning process! Enjoy the journey of nurturing new life. Happy propagating!
Resource: