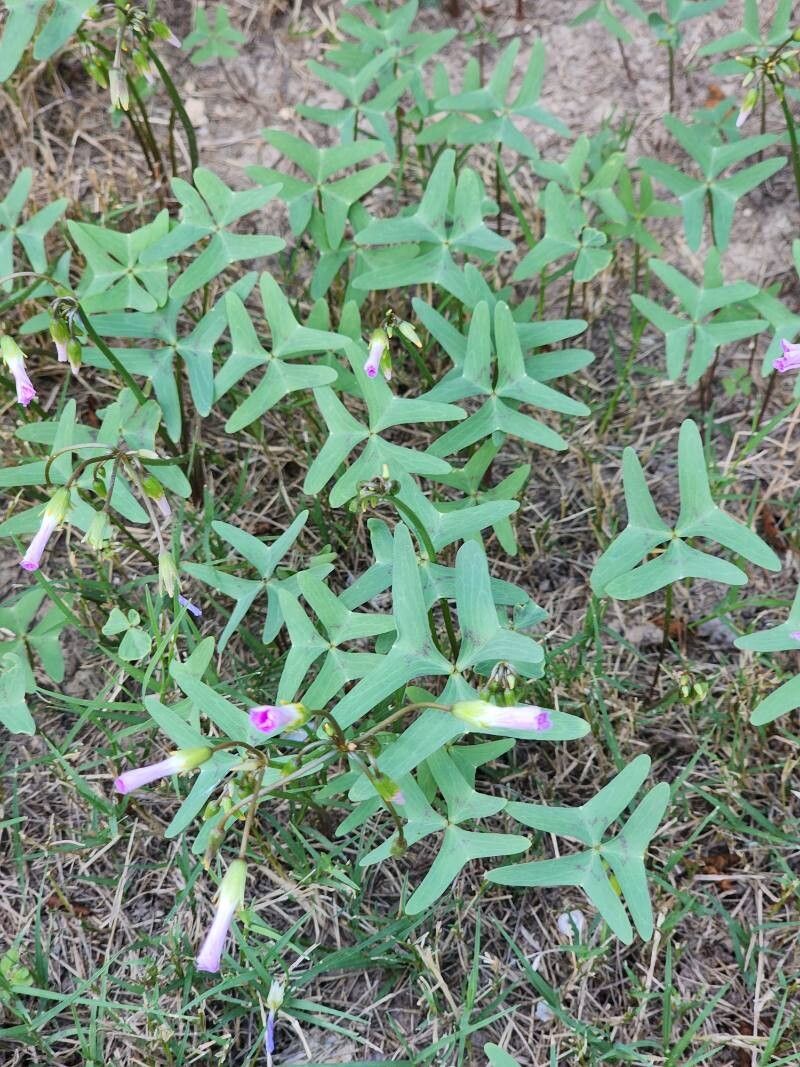
Hello there, fellow plant lovers! I’m so excited to chat with you today about one of my absolute favorite little wonders: Oxalis drummondii, often called Drummond’s Wood Sorrel. If you’ve ever admired its delicate, clover-like foliage and those bursts of charming flowers, you’re not alone. The reward of growing more of these beauties from just one is simply delightful. And the best part? Propagating Oxalis drummondii is surprisingly beginner-friendly. You’ll be amazed at how easy it can be to expand your collection!
The Best Time to Start
Spring is your golden window for propagating Oxalis drummondii. Think of it as the plant’s natural awakening after its rest. If you can get started as new growth is really picking up, you’ll see the best results. This is when the plant is full of energy, ready to put out roots and grow with gusto.
Supplies You’ll Need
Here’s a little kit of essentials to set you up for success:
- Sharp Pruning Shears or Scissors: Clean cuts are key for healthy propagation.
- Potting Mix: A well-draining mix is crucial. I like to use a blend of peat moss or coco coir, perlite, and a bit of compost. Avoid anything too heavy that retains too much moisture.
- Small Pots or Seed Starting Trays: Whatever you have on hand will work, just make sure they have drainage holes.
- Watering Can or Spray Bottle: For gentle watering.
- Rooting Hormone (Optional): While not strictly necessary for Oxalis drummondii, a little bit can sometimes speed things up.
- Labels: So you don’t forget what you planted where!
Propagation Methods
While Oxalis drummondii can be propagated in a few ways, I find the most straightforward and rewarding methods are division and stem cuttings.
1. Division (The Easiest Way!)
This is like giving your plant a little haircut and getting new plants in the process.
- Gently remove your Oxalis drummondii from its pot. It’s usually best to do this when the plant is actively growing.
- Carefully shake away some of the excess soil from the root ball. You’ll see where the main plant is clustered, possibly with offsets or smaller bulbs attached.
- Using your fingers or a clean knife, gently separate divisions. You want each division to have some roots and at least a bit of leafy growth. If you have larger clumps, you can slice through them.
- Pot each division into its own small pot filled with your well-draining potting mix.
- Water gently and place in a bright spot with indirect light.
2. Stem Cuttings (Also Quite Simple)
This method works well when your plant is looking a bit leggy and you want to encourage bushiness.
- Look for healthy, non-flowering stems that are at least 3-4 inches long.
- Using your clean shears, take cuttings just below a leaf node. This is the little bump where a leaf grows from the stem.
- Remove the lower leaves from the cutting, leaving just a few at the top. This prevents them from rotting in the soil.
- If you’re using rooting hormone, dip the cut end into it.
- Plant the cutting about 1-2 inches deep into your prepared potting mix. Ensure the leaf node where you removed the leaves is buried.
- Water gently and cover the pot with a plastic bag or place it in a propagator to create a humid environment. This helps prevent the cutting from drying out. Place in bright, indirect light.
The “Secret Sauce” (Pro Tips)
After years of digging in the dirt, I’ve picked up a few tricks that often make a real difference:
- When taking stem cuttings, don’t be afraid to take several. Not every cutting will succeed, but having multiples greatly increases your chances of getting a rooted plant.
- For stem cuttings, even though they’re often grown in soil, avoid letting the leaves directly touch the surface of the soil in the pot you’re trying to root them in. This is a common place for rot to begin. Trim those lower leaves close to the stem.
- If you’re really keen to speed things up, especially with stem cuttings, a little bit of bottom heat can work wonders. A standard seedling heat mat placed under your pots can encourage roots to form faster.
Aftercare & Troubleshooting
Once your cutting or division has taken root – you might see new growth or feel some gentle resistance when you tug lightly on the stem – it’s time for a bit of focused care.
- Continue to water gently when the top inch of soil feels dry. Avoid overwatering at all costs! This is the most common reason for failure.
- Gradually acclimate your new plants to their permanent location. If they were in a humid propagator, slowly introduce them to more open air over a week or so.
- Watch out for rot. This often looks like mushy, dark stems or leaves. If you see it, act fast. You might be able to salvage a healthy part of the stem or division if you catch it early. Often, it’s best to discard the rotted material to prevent it from spreading.
Happy Growing!
There you have it! Propagating Oxalis drummondii is a wonderful way to multiply your joy. Be patient, trust the process, and take pleasure in nurturing these little green shoots into full, vibrant plants. Happy gardening!
Resource:
https://identify.plantnet.org/k-world-flora/species/Oxalis%20drummondii%20A.Gray/data