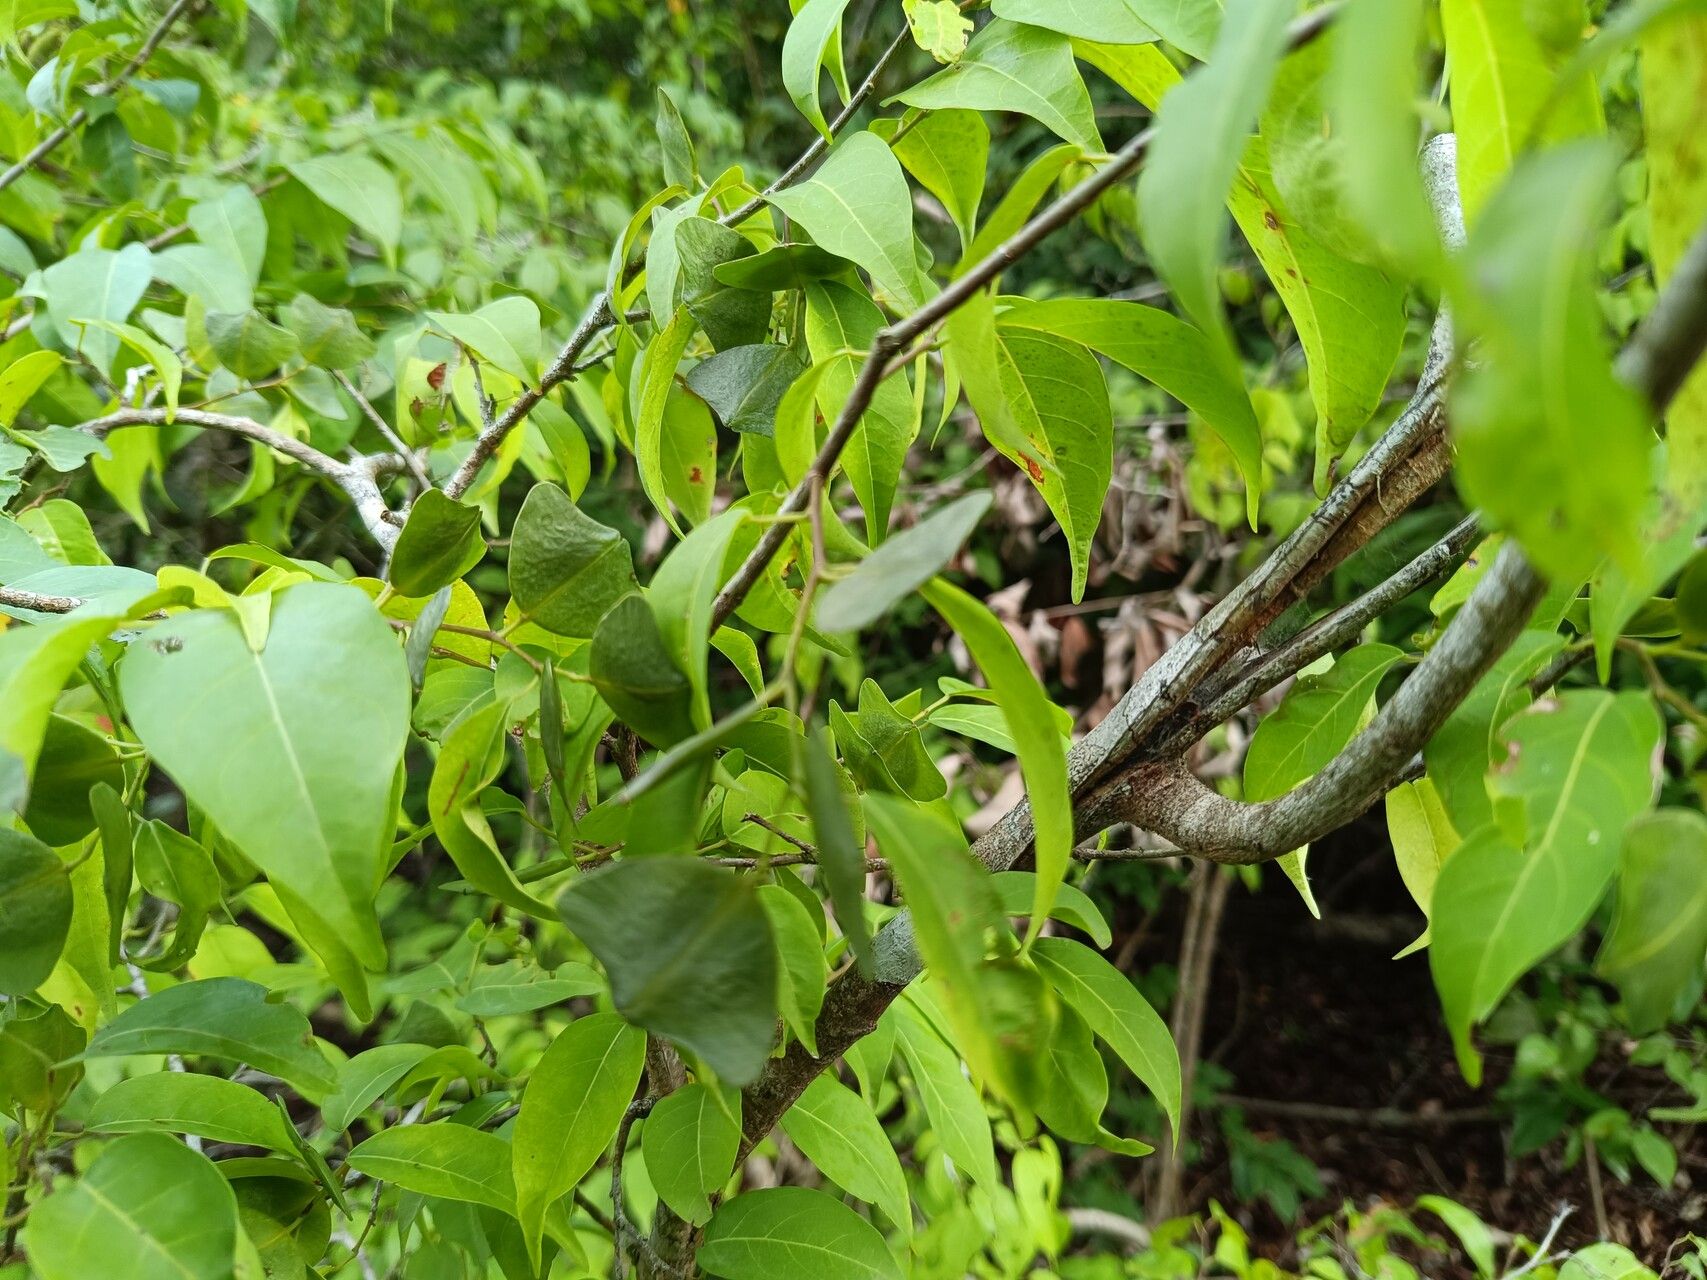
Well hello there, fellow plant enthusiast! Grab a mug of your favorite brew, because today we’re diving into the wonderful world of propagating Hymenocardia ripicola. If you’re drawn to plants with a bit of elegance, maybe a touch of wildness, then this one might just capture your heart. Its delicate foliage and interesting structure make it a real standout. And the joy of coaxing a brand new plant from a cutting? Honestly, it’s one of the most satisfying parts of gardening for me. Now, is Hymenocardia ripicola a walk in the park for absolute beginners? I’d say it leans a little more towards the intermediate gardener, but don’t let that deter you! With a little guidance and patience, you’ll be well on your way.
The Best Time to Start
Timing is everything, isn’t it? For Hymenocardia ripicola, I’ve found the late spring to early summer is your golden window. This is when the plant is actively growing and has plenty of energy to put into developing new roots. You want to take cuttings from healthy, vigorous stems that have started to mature a bit – not the brand new, soft growth, and not wood that’s gotten too old and tough. Think of it as catching the plant at its peak energy!
Supplies You’ll Need
Let’s get our toolkit ready. Having the right gear makes all the difference.
- Sharp, clean pruning shears or a razor blade: For making clean cuts that heal well.
- Rooting hormone (optional, but recommended): This can give your cuttings a fantastic boost. I prefer powder for ease of use.
- Well-draining potting mix: A good blend of peat moss, perlite, and a bit of coir works wonders. You want something that won’t hold too much moisture.
- Small pots or seedling trays: Ensure they have drainage holes!
- Plastic bags or propagation dome: To create a humid environment.
- Watering can or spray bottle: For keeping things moist.
Propagation Methods
Let’s get our hands dirty! Stem cuttings are generally the most successful route for Hymenocardia ripicola.
- Take Your Cuttings: Select a healthy stem, roughly 4-6 inches long. Make a clean cut just below a leaf node (where the leaves attach to the stem). This is where a lot of the rooting magic happens. Remove the lower leaves, leaving just a few at the top. This prevents them from rotting in the soil.
- Apply Rooting Hormone (if using): Dip the cut end of the stem into your rooting hormone, tapping off any excess.
- Plant Your Cuttings: Fill your chosen pots or trays with your moist potting mix. Make a small hole in the center with your finger or a pencil. Gently insert the cut end of the stem into the hole, ensuring at least one leaf node is below the soil surface. Firm the soil gently around the cutting.
- Create a Humid Environment: Water the soil lightly. Then, cover the pot or tray loosely with a plastic bag or place it under a propagation dome. You want to trap humidity around the cuttings. Make sure the leaves aren’t touching the plastic if possible.
The “Secret Sauce”
Alright, here are a few tricks I’ve picked up over the years that really make a difference:
- Bottom Heat is Your Best Friend: If you have a seedling heat mat, use it! Placing your pots on a gentle heat source (around 70-75°F or 21-24°C) can dramatically speed up root development. It’s like giving your cuttings a warm hug.
- Don’t Drown Them: While humidity is key, overwatering is the quickest way to kiss your cuttings goodbye. The soil should be consistently moist, not waterlogged. I usually check by gently pressing the soil with my finger. If it feels dry, it’s time for a light watering or misting.
- Patience with a Purpose: Resist the urge to keep pulling your cuttings out to check for roots. This disturbs the delicate root hairs that are trying to form. Instead, look for signs of new growth – tiny leaves unfurling at the tip. That’s your best indicator that roots are developing!
Aftercare & Troubleshooting
Once you start seeing those sweet little shoots of new growth, you’re on the right track!
- Gradual Acclimation: Slowly start to introduce your new plants to less humid conditions. This means gradually opening up the plastic bag or lifting the dome for longer periods over a week or two. This helps them adjust to normal room humidity.
- Consistent Moisture: Continue to keep the soil evenly moist. Water when the top inch of soil feels dry.
- Bright, Indirect Light: Place your cuttings in a spot that gets bright, indirect light. Think of a spot where they’d get morning sun but be shaded from harsh afternoon rays.
Now, what if things don’t go as planned? The most common issue is rot. This usually happens from too much moisture and not enough air circulation. If you see blackened, mushy stems, it’s a sign of rot. Unfortunately, there’s not much you can do once that sets in, but don’t get discouraged! Just clean up your supplies and try again. Yellowing leaves can sometimes mean they’re too wet, or perhaps not getting enough light. Observe your plant, and you’ll learn its language.
A Encouraging Closing
Propagating plants is a journey of observation and a little bit of faith. There might be a few bumps along the way, but each attempt teaches you something new. Be patient with your Hymenocardia ripicola cuttings, nurture them gently, and celebrate every little success. You’re creating new life, and that’s truly a beautiful thing. Happy propagating!
Resource:
https://identify.plantnet.org/k-world-flora/species/Hymenocardia%20ripicola%20J.Léonard/data