Hello there, fellow plant enthusiasts! It’s so wonderful to have you join me today. We’re going to dive into the delightful world of propagating Sphaeralcea parvifolia, or as many of us affectionately call it, Small-leaved Globemallow.
Why Propagate Small-leaved Globemallow?
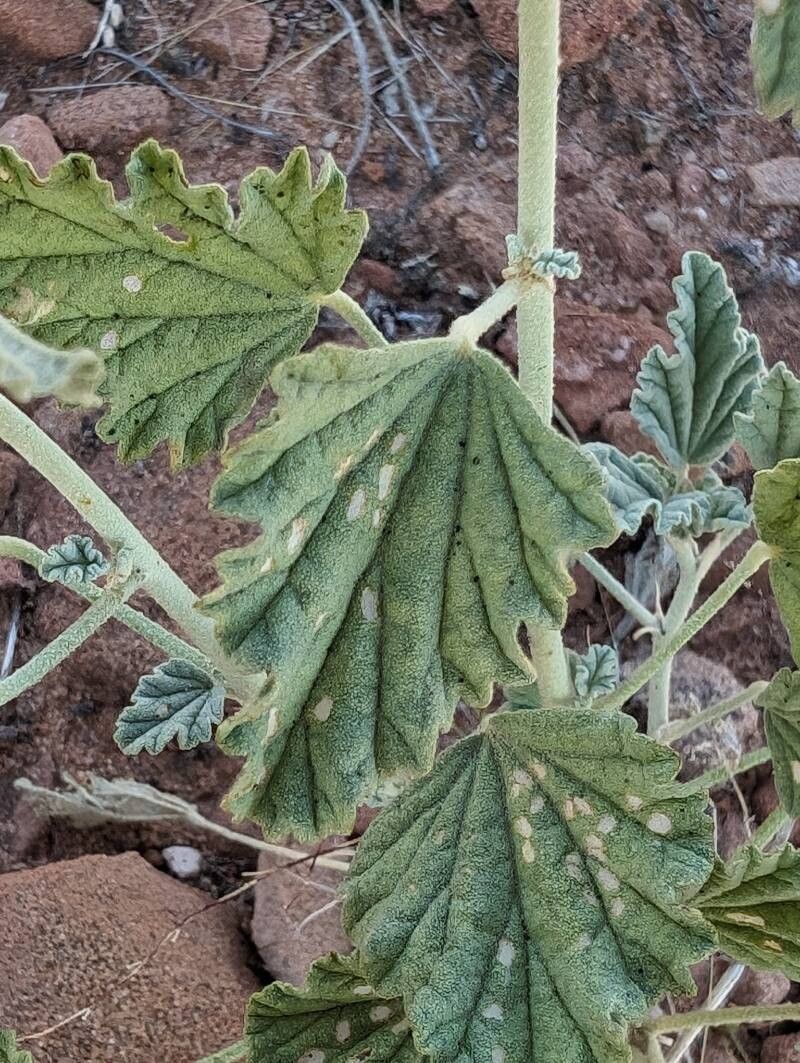
There’s something truly special about watching a new plant spring to life from a tiny piece of its parent. Small-leaved Globemallow, with its charming clusters of apricot to rose-pink blooms, is a real sunshine maker in the garden. It’s a native prairie bloomer that attracts pollinators with its beauty and resilience. Propagating it is not only a fantastic way to expand your collection or share with friends, but it’s also incredibly rewarding. For beginners, I’d say it’s moderately easy – with a little gentle guidance, you’ll be successful!
When to Get Your Hands Dirty
The absolute best time to start propagating Sphaeralcea parvifolia is in late spring or early summer, right after the plant has finished its initial flush of blooming. You’re looking for new, healthy growth that’s not too soft and floppy, but also not woody. Think of it as the perfect, tender green shoot.
Your Propagation Toolkit
Gathering your supplies beforehand makes the whole process smoother. Here’s what you’ll want to have on hand:
- Sharp Pruning Shears or a Knife: For clean cuts, which really helps prevent disease.
- A Well-Draining Potting Mix: I like to use a blend of perlite and peat moss or coco coir. About a 50/50 mix works wonders.
- Rooting Hormone (Optional but Recommended): This can give your cuttings a little boost, especially if you’re new to this.
- Small Pots or Seed Trays: Clean ones are key!
- Watering Can with a Fine Rose: To water gently without disturbing your cuttings.
- Plastic Bags or a Propagation Dome: To create a humid environment.
- A Gentle Scrape of Gravel or Perlite (for water propagation): To help support the cuttings.
Bringing Forth New Life: Methods to Try
There are a couple of excellent ways to propagate Small-leaved Globemallow. Let me walk you through them.
Stem Cuttings: My Go-To Method
This is my favorite for Sphaeralcea parvifolia because it’s efficient and usually yields a high success rate.
- Take Your Cuttings: Using your clean shears, snip 4-6 inch sections of healthy, non-flowering stems. Make your cut just below a leaf node (where a leaf attaches to the stem).
- Prepare the Cuttings: Gently remove the lower leaves, leaving just a few at the top. If your cuttings are particularly long, you can even cut the remaining leaves in half to reduce water loss.
- Apply Rooting Hormone (If Using): Dip the cut end of each stem into your rooting hormone, tapping off any excess.
- Plant the Cuttings: Fill your small pots or trays with your prepared potting mix. Make a little hole with your finger or a pencil and insert the cutting, ensuring at least one leaf node is below the soil line. Gently firm the soil around the stem.
- Water and Cover: Water them thoroughly but gently. Then, cover the pots with clear plastic bags or place them under a propagation dome. This creates that essential humid microclimate.
- Provide Light: Place the potted cuttings in a bright location, but out of direct sunlight. A sunny windowsill that doesn’t get harsh afternoon sun is perfect.
Water Propagation: A Watchful Eye
This method is satisfying because you can see the roots forming!
- Select and Prepare Cuttings: Similar to stem cuttings, take 4-6 inch pieces of healthy growth. Remove all but the top two or three leaves.
- Place in Water: Fill a clean jar or glass with room-temperature water. You can even add a few small pebbles or a pinch of gravel to help the cuttings stand upright. Crucially, make sure no leaves are submerged in the water. Rotting leaves will contaminate the water and kill your cutting.
- Location is Key: Place the jar in a bright spot, out of direct sun.
- Change Water Regularly: Change the water every few days to keep it fresh and oxygenated.
The “Secret Sauce”: My Insider Tips
After years in the garden, you pick up a few tricks. Here are a couple that really make a difference with Sphaeralcea parvifolia:
- Bottom Heat is Your Friend: For stem cuttings, if you can provide a little bottom heat, your success rate will skyrocket. A heating mat designed for propagation is fantastic, or you can even place your pots on top of a cheerfully lit aquarium. This warmth encourages root development from below.
- Mist, Don’t Drown: Especially with stem cuttings, if you notice the leaves starting to look a bit stressed, give them a light misting. Don’t overdo it, as too much moisture on the foliage can lead to fungal issues. It’s all about creating a humid environment, not a soggy one.
Aftercare and What to Watch For
Once your cuttings have developed a good root system – you’ll see roots peeking out of the drainage holes or a gentle tug on a leaf will offer resistance – it’s time for them to graduate to their own pots.
- Transplanting: Carefully transplant your rooted cuttings into individual pots filled with a good quality potting mix. Continue to water them regularly, but allow the top inch of soil to dry out between waterings.
- Acclimatization: Gradually introduce your new plants to less humid conditions and brighter light. If they were under a dome, lift the lid for increasing periods each day.
- Troubleshooting: The Dreaded Rot: The most common sign of failure is rot. If your cutting turns black and mushy, it’s likely succumbed to rot. This is usually due to too much moisture and not enough air circulation. Don’t be disheartened! It happens to the best of us. Prevention is key: ensure good drainage, don’t overwater, and provide adequate airflow.
Keep Digging In!
Propagating Sphaeralcea parvifolia is a journey, and like any good garden adventure, it requires a little patience. Celebrate those tiny roots and new leaves. Don’t be afraid to experiment, and most importantly, enjoy the process of nurturing life. Happy propagating, and may your gardens be ever blooming!
Resource:
https://identify.plantnet.org/k-world-flora/species/Sphaeralcea%20parvifolia%20A.Nelson/data