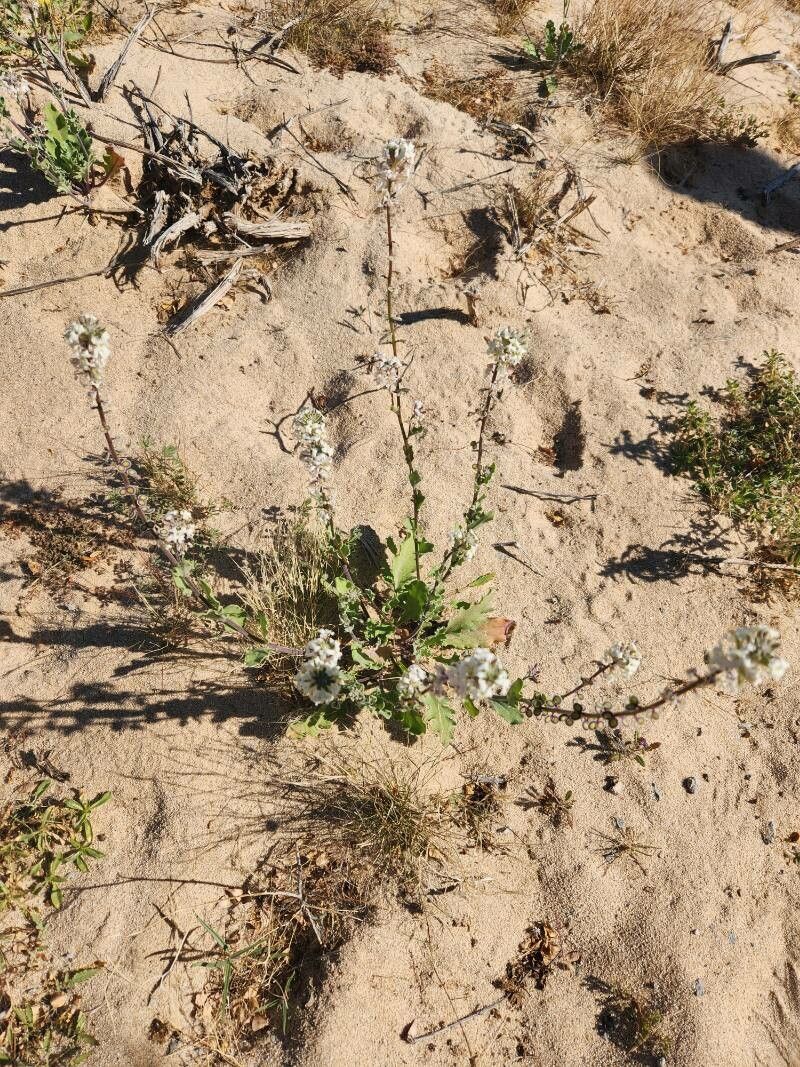
Oh, hello there! Pull up a chair, let’s chat about Dithyrea californica. You know, the one with those charming, delicate flowers that nod their heads so gracefully? I’ve been growing them for years, and honestly, they bring such a lovely, understated beauty to my garden. Plus, the satisfaction of nurturing a brand new plant from a tiny piece is just… well, it’s pure gardening joy, isn’t it?
Now, you might be wondering if this is a tricky one, especially if you’re just starting out. I’d say Dithyrea californica is moderately easy to propagate. It’s not like a begonia where a leaf will do all the work for you, but with a little care and attention, you’ll find yourself with plenty of new little treasures.
The Best Time to Start
For the best chance of success, spring is your golden ticket. That’s when the plant is really waking up from its winter slumber and has a good amount of energy to put into growing new roots. Wait until the plant is actively growing, and you’ve got fresh, healthy stems to work with. Avoid trying to propagate after a really stressful period for the plant, like if it’s been too dry or too wet.
Supplies You’ll Need
Gathering your supplies beforehand makes the whole process so much smoother. Here’s what I keep handy:
- Sharp Pruning Shears or a Clean Knife: We want clean cuts, not mangled stems!
- Rooting Hormone: This isn’t strictly necessary for every plant, but it gives your cuttings a real boost. I prefer a powder formulation.
- Clean Pots or Seed Trays: Make sure they have drainage holes. Old yogurt containers with holes poked in the bottom work in a pinch!
- Potting Mix: A light, well-draining mix is key. I often use a blend of equal parts peat moss (or coco coir for a more sustainable option) and perlite. You can also buy specialized seed-starting mixes.
- Watering Can with a Fine Rose: Gentle watering is crucial for delicate cuttings.
- Plastic Bag or Propagator Lid: This helps create a humid environment for your cuttings.
- Optional: Small Gravel or Pumice: For added drainage in the potting mix.
Propagation Methods
There are a couple of ways to go about this, and stem cuttings are generally my go-to for Dithyrea californica.
Stem Cuttings
This is my favorite and usually the most reliable method.
- Select Your Cuttings: Look for healthy, non-flowering stems. You want ones that are about 4-6 inches long. Trim just below a leaf node (where a leaf attaches to the stem).
- Prepare the Cuttings: Gently remove the lower leaves. You want to keep at least two to three sets of leaves at the top. If the remaining leaves are very large, you can snip them in half to reduce water loss.
- Apply Rooting Hormone: Dip the cut end of the stem into your rooting hormone, tapping off any excess.
- Plant Your Cuttings: Make a hole in your potting mix with a pencil or your finger. Insert the cutting so the leaf nodes where you removed the leaves are buried. Gently firm the soil around the stem.
- Water Gently: Water your cuttings thoroughly but carefully. You don’t want to dislodge them.
- Create Humidity: Cover the pot with a plastic bag or a propagator lid. Make sure the leaves aren’t touching the plastic. Prop it up with a few skewers if needed. Place the pot in a bright spot, but out of direct sun.
Water Propagation (With Caution!)
While I lean towards soil for Dithyrea californica, you can try water propagation, but you need to be extra careful.
- Prepare Cuttings: Same as step 1 and 2 above.
- Place in Water: Put the prepared cuttings in a clean jar or glass of water. Crucially, make sure no leaves are submerged. Only the stem should be in the water.
- Change Water Regularly: Change the water every two to three days to keep it fresh and prevent rot.
- Wait for Roots: You should start to see tiny white roots forming in a few weeks.
The “Secret Sauce” (Pro Tips)
Here are a few little tricks I’ve learned over the years that can really make a difference:
- Bottom Heat is Your Friend: If you can, pop your pots onto a gentle heat mat. This encourages root development from the bottom up. It’s like giving your cuttings a warm foot bath so they can focus on growing!
- Watch the Airflow: While humidity is important, you don’t want stagnant, damp air, which can lead to fungal issues. I often open the plastic bag for a few minutes each day to let things air out a bit. It’s a delicate balance!
- Don’t Be Impatient with the Water Method: If you do go the water route, resist the urge to pot up those cuttings the moment you see a tiny root. Wait until the roots are at least an inch or two long and have started to branch a bit. They’ll be much stronger and more established when they transition to soil.
Aftercare & Troubleshooting
Once you see signs of new growth – little leaves unfurling or a leaf pushing upwards – that’s a great sign! It means roots are forming.
- Acclimatize Slowly: Gradually remove the plastic bag or lid over a week or so. You want the new plant to get used to the regular humidity.
- Transplanting: Once your new Dithyrea californica has a good root system and is growing actively, you can transplant it into its own pot with regular potting mix. Water it well after transplanting.
- Rot Watch: The biggest enemy is usually rot. If your cutting looks mushy, turns black, or just wilts without any signs of new growth, it’s likely rotted. This is often due to overwatering, poor drainage, or not enough airflow. Unfortunately, if a stem rots, it’s usually a goner. Don’t be discouraged; just try again with a fresh cutting!
And there you have it! Propagating Dithyrea californica is a wonderful way to multiply your garden’s beauty. Be patient with the process; some cuttings take their sweet time. Just enjoy the journey of watching new life emerge. Happy gardening!
Resource:
https://identify.plantnet.org/k-world-flora/species/Dithyrea%20californica%20Harv./data