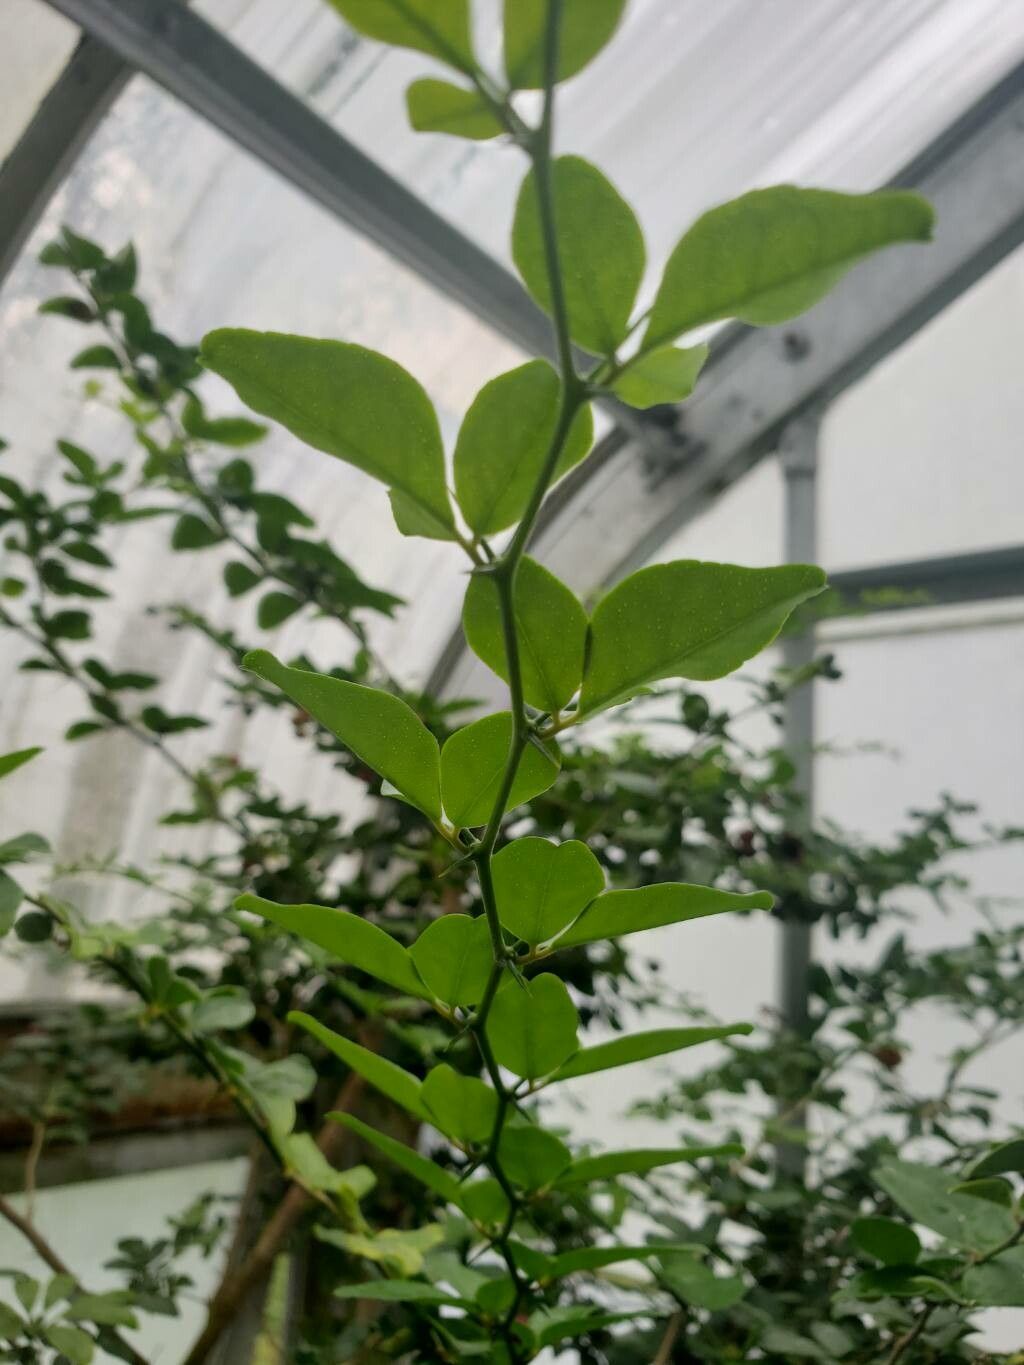
Pulling up a chair and pouring you a warm mug of your favorite brew! Today, we’re diving into the delightful world of Triphasia trifolia, also known as the limeberry or three-leaved trifasia. This little treasure is a fantastic choice for any gardener looking for something a bit different. It boasts glossy, trifoliate leaves, fragrant white flowers that smell like citrus blossoms, and tiny, edible red fruits that truly do have a lemony tang. It’s a treat for the senses!
Now, about propagating it. Is it a walk in the park for a complete beginner? Honestly, Triphasia trifolia can be a touch finicky, especially with cuttings. But don’t let that deter you! With a little care and following these steps, you’ll be enjoying your own little limeberry shrubs in no time. And the satisfaction of watching a new plant unfurl its first leaves from a cutting? Absolutely priceless.
The Best Time to Start
The sweet spot for propagating Triphasia trifolia is undoubtedly late spring to mid-summer. This is when the plant is in its most vigorous growth phase. You’re looking for semi-hardwood cuttings. What does that mean? It’s wood that’s starting to mature but still has a little flexibility – not the brand-new, bright green growth, nor the old, woody stems. Pinch a stem, and if it snaps cleanly, it’s likely in that perfect semi-hardwood stage.
Supplies You’ll Need
Before we get our hands dirty, let’s gather our tools. It’s always best to be prepared!
- Sharp Pruning Shears or a Clean Knife: For making clean cuts. Dirty tools can introduce disease.
- Rooting Hormone: While not strictly mandatory, it significantly boosts your success rate, especially with trickier-to-root plants like this one. Look for one that contains IBA (indole-3-butyric acid).
- Well-Draining Potting Mix: A good blend is crucial. I like to use a 50/50 mix of peat moss or coco coir and perlite or coarse sand. This ensures good aeration and prevents waterlogging. You can also buy a pre-made succulent or cactus mix.
- Small Pots or Seed Trays: Clean pots are a must. 4-inch pots are usually a good size for cuttings.
- Plastic Bags or a Clear Lid: To create a humid environment. This is key for cuttings.
- Watering Can or Spray Bottle: For gently moistening your soil.
- Optional: Heating Mat: This can dramatically speed up root development.
Propagation Methods
Let’s get down to business! I’ve found that stem cuttings are generally the most reliable method for Triphasia trifolia.
Stem Cuttings
- Select Your Cuttings: Choose healthy, vigorous stems from your mature plant. As I mentioned, aim for semi-hardwood. Take cuttings that are about 4-6 inches long.
- Prepare the Cuttings: Using your clean shears or knife, remove any leaves from the bottom two-thirds of the cutting. This area will be going into the soil, and we don’t want leaves rotting underwater or in the soil. You can leave 2-3 leaves at the very top to help with photosynthesis. If the top leaves are very large, you can cut them in half horizontally to reduce water loss.
- Apply Rooting Hormone: Dip the cut end of each cutting into your rooting hormone, tapping off any excess.
- Plant the Cuttings: Fill your clean pots with your well-draining potting mix and moisten it thoroughly. Make a hole in the center of the soil with a pencil or your finger. Insert the cut end of the cutting into the hole, ensuring it’s deep enough to be stable. Gently firm the soil around the base of the cutting.
- Create Humidity: This is where the magic happens. You have a couple of options. You can cover the entire pot with a clear plastic bag, ensuring the bag doesn’t touch the leaves. Or, if you have seed trays, using a clear plastic lid works wonderfully. This traps moisture and creates that essential humid environment.
- Provide Light and Warmth: Place your pots in a bright location that receives indirect sunlight. Avoid direct sun, which can scorch the delicate cuttings. If you have a heating mat, place the pots on it. This warmth from below will really encourage those roots to form.
Water Propagation (A Bit More Tricky)
While cuttings in soil are my preferred method for Triphasia, I know some of you love water propagation.
- Prepare Cuttings: Follow steps 1 and 2 from the stem cutting method.
- Place in Water: Place the cuttings in a clean jar or glass filled with room-temperature water. Make sure no leaves are submerged in the water.
- Location: Again, bright, indirect light is crucial.
- Change Water Regularly: Change the water every 2-3 days to keep it fresh and prevent bacterial growth.
- Plant When Ready: Once you see a good amount of root growth (at least an inch or two), you can carefully transplant them into your well-draining potting mix. Be gentle, as water roots are more delicate.
The “Secret Sauce” (Pro Tips)
Here are a couple of little tricks I’ve picked up over the years that make a difference:
- The “Heel” Trick: When taking cuttings, try to include a tiny sliver of the parent plant’s wood with the cutting, often called a “heel.” This can sometimes give the cutting a little extra boost in rooting. It’s not always possible, but if you can get it, roll with it!
- Bottom Heat is Your Friend: I mentioned it before, but I can’t stress this enough. Triphasia roots much faster and more reliably when there’s gentle warmth coming from below. If you don’t have a heating mat, you can try placing the pots on top of a gently humming refrigerator or a sunny windowsill that’s warm to the touch.
Aftercare & Troubleshooting
You’ve spotted those tiny, brave roots peeking out! Hooray! Now what?
- Acclimatization: Once you see good root development. Gradually reduce the humidity. For the first week, uncap the pots for a few hours each day. Then, remove the plastic bag or lid for increasingly longer periods. This helps your new baby plant adjust to the drier air.
- First Watering: Water gently and allow the excess to drain. Overwatering at this stage is the quickest way to a dead cutting. Let the top inch of soil dry out between waterings.
- Fertilizing: Wait until you see new leafy growth before you even think about feeding. Then, start with a very dilute liquid fertilizer (half or quarter strength).
Common Signs of Failure:
- Wilting and Yellowing: This can be a sign of too much or too little water, or not enough light. Check your watering schedule and ensure they’re in a bright, indirect spot.
- Rotting: If the cutting turns mushy and dark, especially at the base, it’s likely rot. This is usually caused by overwatering and poor drainage. Sadly, these are usually beyond saving. Next time, ensure your soil drains exceptionally well.
A Encouraging Closing
See? Not so daunting, was it? Propagating Triphasia trifolia is a rewarding journey. Be patient. Nature has her own pace, and sometimes things take a little longer. Don’t get discouraged if your first attempt isn’t perfect. Each cutting you take is a learning experience. Enjoy the process of nurturing new life and soon you’ll have your very own limeberry abundance to share! Happy growing!
Resource:
https://identify.plantnet.org/k-world-flora/species/Triphasia%20trifolia%20(Burm.f.)%20P.Wilson/data