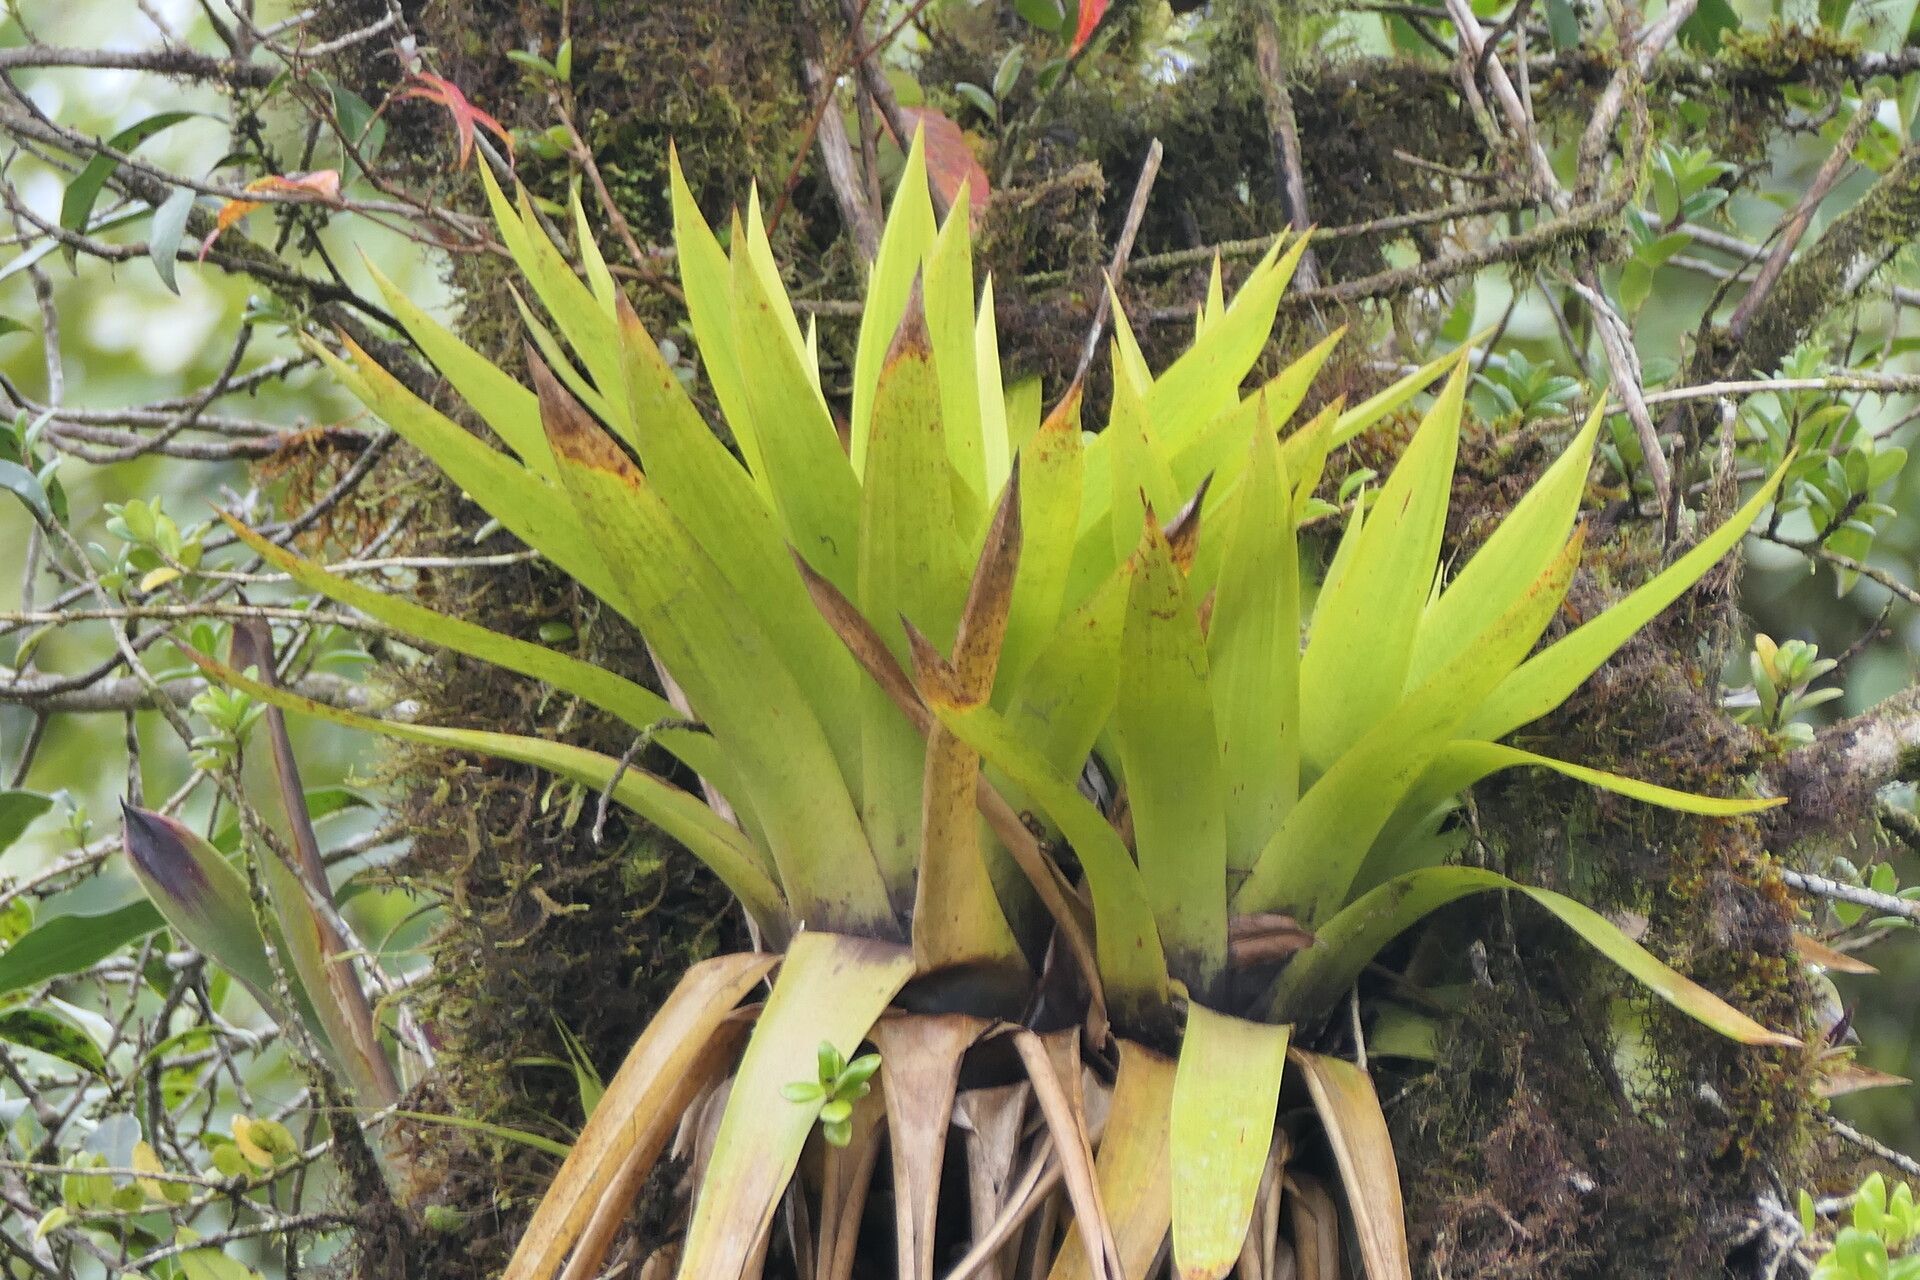
Hey there, fellow plant lovers! Do you have a striking Vriesea altodaserrae gracing your home? Those vibrant, architectural rosettes and stunning inflorescences are truly a sight to behold. And let me tell you, the joy of successfully coaxing a new baby plant from your favorite one? It’s a special kind of magic.
If you’re new to the plant propagation scene, you might be wondering if Vriesea altodaserrae is a good place to start. Truth be told, it’s not the absolute easiest plant for a complete beginner, but with a little care and attention, you absolutely can succeed. Think of it as a delightful challenge that will teach you a lot about these fascinating bromeliads.
The Best Time to Start
Timing is everything, as they say. For Vriesea altodaserrae, your best bet is to propagate in the spring or early summer. This is when the plant is naturally in an active growth phase. You’ll see new pups (baby plants) starting to form at the base of the mother plant. That’s your cue! Trying to propagate when the plant is dormant or stressed will just lead to disappointment.
Supplies You’ll Need
Gathering your supplies beforehand makes the whole process much smoother. Here’s what I always have on hand:
- Sharp, sterile pruning shears or a sharp knife: Cleanliness is paramount to prevent diseases.
- A good quality, well-draining potting mix: I like a blend of orchid bark, perlite, and a bit of sphagnum moss. Avoid anything too heavy that retains too much moisture.
- Small pots or seedling trays: About 3-4 inches in diameter is usually perfect for pups.
- Rooting hormone (optional but recommended for faster results): A powder or gel form works well.
- A spray bottle: For gentle misting.
- Clear plastic bags or a mini greenhouse: To create a humid environment for your new cuttings.
- A heating mat (optional but highly beneficial): Helps encourage root development.
Propagation Methods
For Vriesea altodaserrae, the most reliable method is propagation by division (pups). These plants are prolific producers of offshoots, which is fantastic!
- Assess the Mother Plant: Look for pups that are at least one-third the size of the mother plant. It’s crucial they’ve developed enough on their own to have a good chance of survival. You’ll often see them emerging from the base.
- Gently Remove the Pup: Using your clean pruning shears or knife, carefully cut the pup away from the mother plant, making sure to get as much of the pup’s base as possible, ideally with some attached roots. If the pup is still attached by a thin stem, slice through it cleanly. Don’t yank or tear, as this can damage both plants.
- Prepare the Pup: If the pup has any damaged or yellowing leaves, gently trim them away. If you’re using rooting hormone, lightly dip the cut end of the pup into the powder, tapping off any excess.
- Potting Up: Fill your small pot with your well-draining potting mix. Make a small indentation in the center with your finger and place the base of the pup into the soil. Gently firm the soil around it.
- Initial Watering: Give the potting mix a good, gentle watering. You want it to be moist but not waterlogged.
The “Secret Sauce” (Pro Tips)
Here are a couple of things I’ve learned over the years that make a real difference:
- Don’t Overwater Early On: This is probably the biggest pitfall. For the first few weeks, it’s better to err on the side of too dry than too wet. The pup is relying on stored energy, and excessive moisture can lead to rot before roots even form. I like to let the top inch of soil dry out between waterings.
- Embrace Humidity, But Watch for Mold: While you want to keep your new pup in a humid environment (hence the plastic bag or greenhouse), keep an eye out for any signs of mold or mildew. If you see it, remove the affected leaves immediately and increase air circulation around the pot. Sometimes opening the bag for an hour a day can help.
- Bottom Heat is Your Friend: If you have a heating mat, place your potted pup on it. Bromeliads, especially when rooting, absolutely love a bit of gentle warmth from below. It significantly speeds up root development.
Aftercare & Troubleshooting
Once your pup has been in its pot for a few weeks, the real magic begins. You’ll know it’s starting to establish when you see new leaf growth emerging from the center of the rosette. This is your signal that roots are forming!
Continue to water sparingly but consistently, allowing the soil to dry slightly between waterings. As the pup grows larger, you can gradually introduce it to slightly less humid conditions and eventually move it to its permanent home.
Now, what if things aren’t going as planned? The most common sign of trouble is rot. You might see the base of the pup turning mushy and brown, or the leaves wilting and becoming limp. This is almost always a sign of overwatering. If you catch it early, you can try repotting into fresh, dry soil and significantly reducing watering. If it’s advanced, unfortunately, the pup may be lost. Another sign could be a lack of growth; this might just mean it needs more time, or that the pup was too small when you separated it. Patience is key here!
A Big Hug from Your Garden
Propagating your Vriesea altodaserrae is a journey, and like any good journey, it requires a little patience. Don’t get discouraged if your first attempt isn’t a roaring success. Each experience is a learning opportunity. Just keep your plant happy, observe its cues, and enjoy the process of nurture. You’ve got this, and soon you’ll have a whole new collection of these botanical beauties! Happy growing!
Resource:
https://identify.plantnet.org/k-world-flora/species/Vriesea%20altodaserrae%20L.B.Sm./data