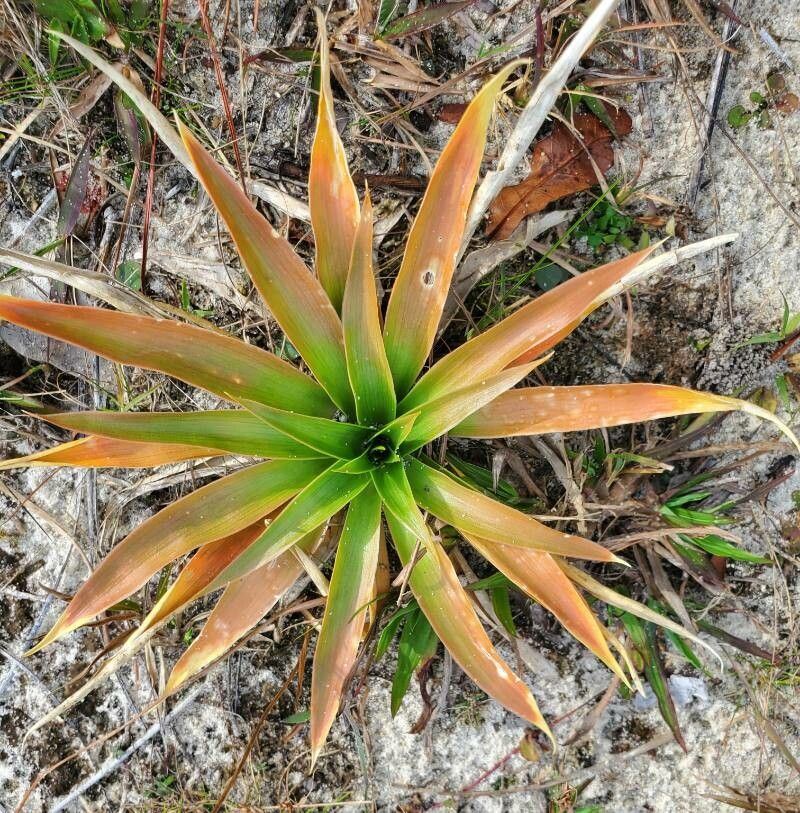
Hello fellow garden enthusiasts! Today, I want to talk about a plant that has truly captured my heart over the years: Dracophyllum verticillatum. You might know it by its common name, the “grass tree” or “bottlebrush plant,” and honestly, those names barely do justice to its unique charm. With its striking architectural foliage, often a beautiful bronze or coppery hue, and those intriguing, spiky flower spikes, it brings a touch of the wild and wonderful to any garden or collection.
Propagating Dracophyllum verticillatum can be incredibly rewarding. Watching a tiny cutting transform into a thriving plant is one of gardening’s greatest joys. Now, I won’t sugarcoat it – this isn’t the absolute easiest plant for a complete beginner, but with a little patience and attention to detail, you can absolutely be successful. Think of it as a rewarding challenge that’ll teach you a lot!
The Best Time to Start
Timing is everything in the garden, and for Dracophyllum verticillatum, the sweet spot is late spring to early summer. This is when the plant is actively growing. You want to take cuttings from healthy, semi-hardwood stems – not the brand-new, floppy green shoots, nor the old, woody ones. Look for stems that have started to firm up a bit but are still flexible. This “greenwood to semi-hardwood” stage offers the best balance of vigor and a good chance of rooting.
Supplies You’ll Need
Gathering your supplies before you start makes the whole process much smoother. Here’s what I always have on hand:
- Sharp Pruning Shears or a Craft Knife: Clean cuts are crucial to prevent disease.
- Rooting Hormone: This isn’t strictly mandatory for all plants, but for Dracophyllum verticillatum, it significantly boosts your success rate. Look for a powdered or gel form.
- Well-Draining Potting Mix: A mix of perlite, coarse sand, and a quality peat-free compost is ideal. You want good aeration.
- Small Pots or Trays: Clean pots are a must! Seedling pots or small 4-inch containers work well.
- Clear Plastic Bags or Propagation Dome: To create a mini-greenhouse effect.
- Watering Can with a Fine Rose: For gentle watering.
- Optional: Bottom Heat Mat: This can really speed up root development, especially if your space is cool.
Propagation Methods: Stem Cuttings
Stem cuttings are my go-to method for propagating Dracophyllum verticillatum. It’s efficient and usually yields good results.
- Select Your Cuttings: Find those semi-hardwood stems I mentioned. Aim for cuttings about 4-6 inches long.
- Make the Cut: Using your clean, sharp shears or knife, take a cutting just below a leaf node (where the leaves attach to the stem).
- Prepare the Cutting: Gently remove the lower leaves. You can leave a few at the very top. If the leaves are large, you can even cut them in half to reduce water loss.
- Apply Rooting Hormone: Dip the cut end of the stem into your rooting hormone. Tap off any excess.
- Potting Up: Fill your clean pots with your well-draining potting mix. Make a hole with a pencil or dowel. Insert the cutting into the hole, ensuring the nodes where you removed the leaves are below the soil surface. Firm the soil gently around the cutting.
- Water Gently: Water thoroughly until water runs out of the drainage holes. Let it drain.
- Create a Humid Environment: Place a clear plastic bag over the pot (or use a propagation dome). Make sure the plastic doesn’t touch the leaves too much. If using a bag, you might need to prop it up with a couple of skewers. Place it in a bright spot, but avoid direct, scorching sunlight.
The “Secret Sauce” (Pro Tips)
Here are a few extra things I’ve learned that can really make a difference:
- Don’t Let Foliage Touch Water: If you’re trying water propagation (which can work, but is often less successful than soil for this plant), ensure the leaves never touch the water. Rot sets in incredibly fast. Submerge only the stem.
- Bottom Heat is Your Friend: Dracophyllum verticillatum really benefits from a bit of warmth coming from below. If you have a propagation mat, place your pots on it. This encourages root formation from the bottom up and can significantly shorten the rooting time.
- Callusing Trick: For slightly older, woodier cuttings, sometimes letting the cut end “callus” for a day or two in a dry, shady spot before applying rooting hormone can help prevent rot and encourage rooting. This is more for the advanced gardener, but it’s a neat trick!
Aftercare & Troubleshooting
Once your cuttings have developed roots (this can take 4-8 weeks, sometimes longer), it’s time for them to start their independent life.
- Check for Roots: Gently tug on the cutting. If it feels firm and you see some resistance, it’s likely rooted. You might also see new growth starting.
- Acclimate Slowly: If your cuttings were under a bag, gradually acclimate them to the open air over a week or two by lifting the bag for increasing periods.
- Potting Up: Once well-rooted, carefully transplant them into their own small pots using a good quality potting mix. Water them in well.
- Watch for Rot: The most common problem is rot, often caused by overwatering or poor drainage. If your cutting turns mushy, black, or smelly, unfortunately, it’s likely a goner. Remove it immediately to prevent it from spreading. If the leaves start to droop and yellow, it could be shock, underwatering, or simply not enough roots yet.
A Little Patience Goes a Long Way
Propagating plants is a journey, and Dracophyllum verticillatum is no exception. Don’t get discouraged if your first attempts aren’t perfect. Every cutting you try teaches you something new. Keep observing your plants, enjoy the process of nurturing these new lives, and soon you’ll have a beautiful collection of your own grass trees. Happy gardening!
Resource:
https://identify.plantnet.org/k-world-flora/species/Dracophyllum%20verticillatum%20Labill./data