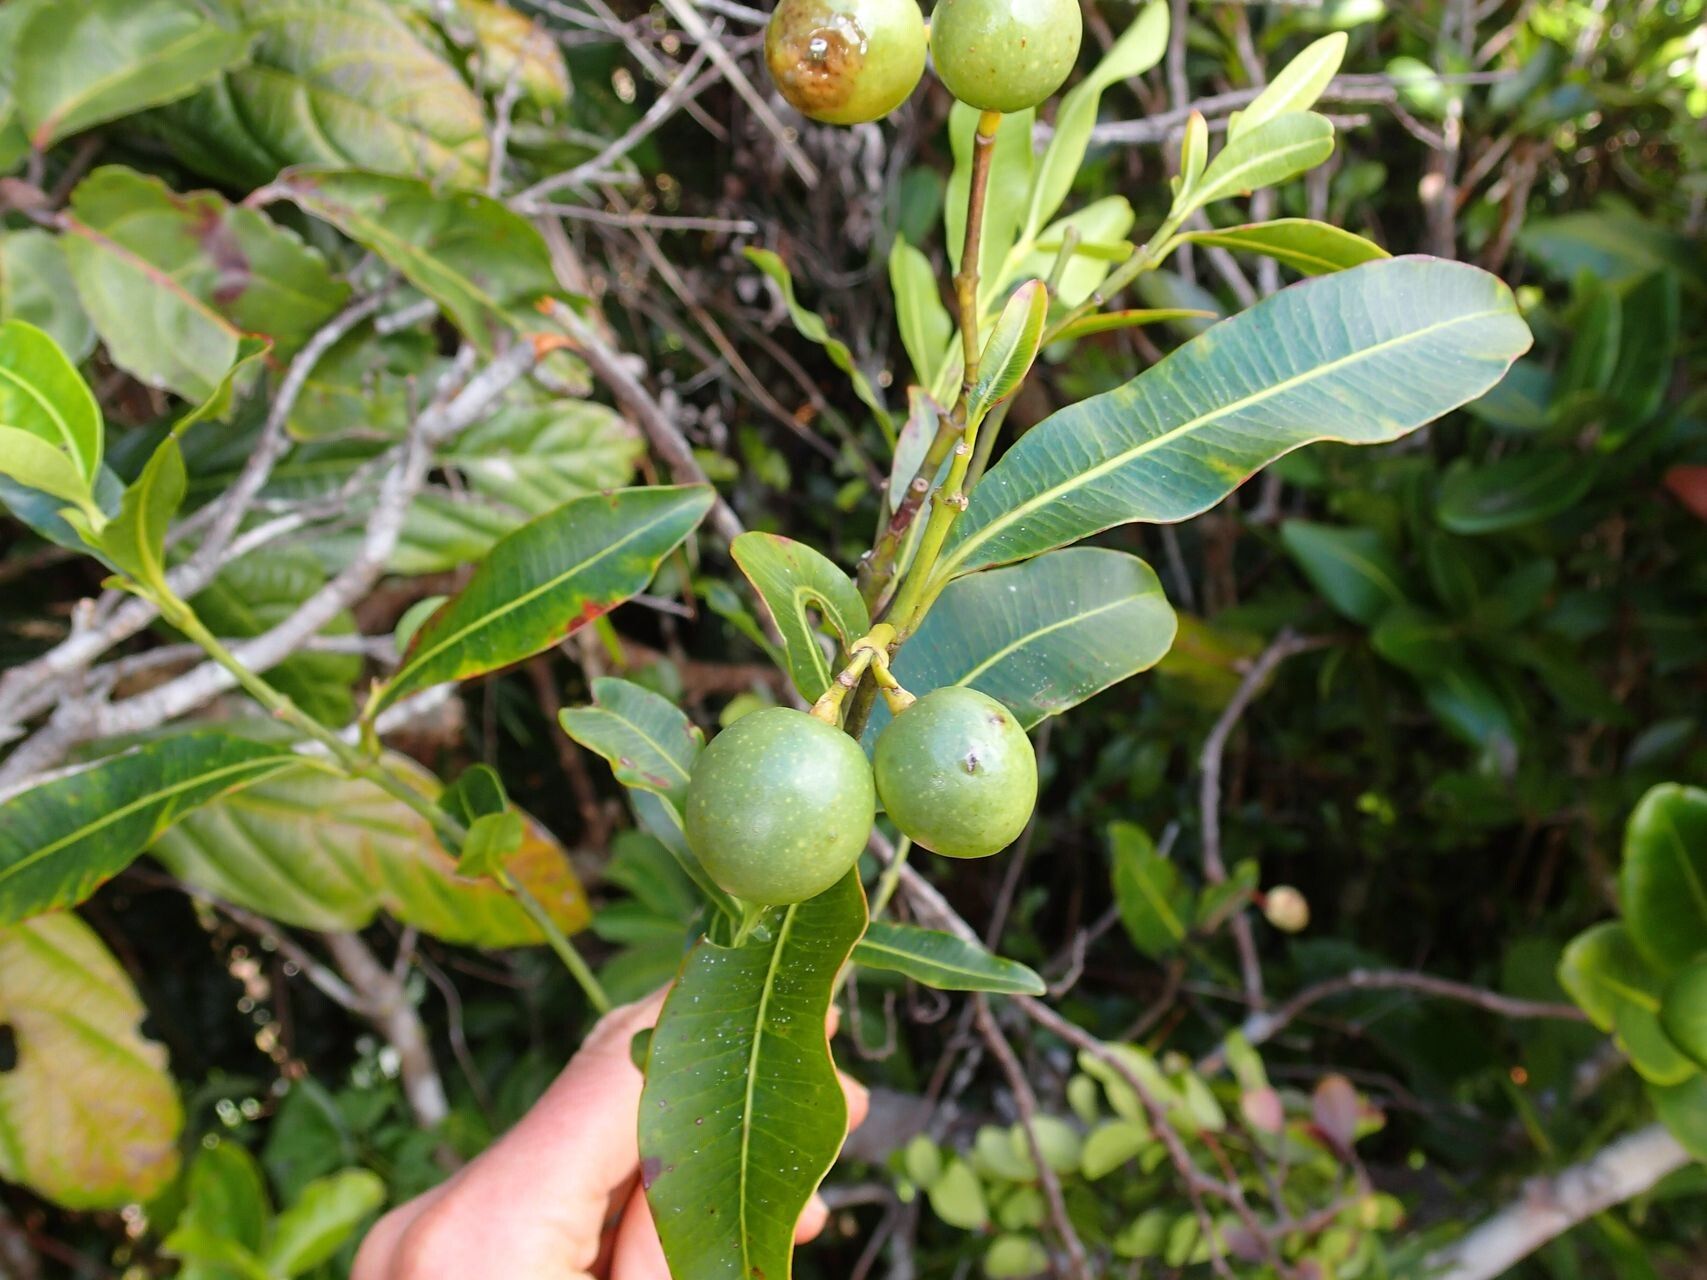
Oh, hello there! I’m so glad you stopped by. Today, we’re diving into the wonderful world of propagating Melodinus aeneus. If you’ve ever admired this plant with its glossy, bronze-tinged leaves and delicate, star-shaped flowers, you’re in for a treat. I find propagating my own plants incredibly fulfilling. It’s like giving life its own little boost, and honestly, Melodinus aeneus is a pretty forgiving plant, making it a fantastic choice for those dipping their toes into the propagation pool for the first time.
The Best Time to Start
For the highest success rate, I always recommend propagating in the warmer months, typically late spring through summer. This is when the plant is actively growing and has the energy to put out new roots. You’re looking for healthy, semi-hardwood stems – not the brand-new, floppy green growth, nor the old, woody stems. Think of it as the sweet spot, usually from stems that have started to firm up but aren’t fully mature.
Supplies You’ll Need
Gathering your supplies beforehand makes the whole process smoother. Here’s what I usually have on hand:
- Sharp pruning shears or a clean knife: Sterilize them!
- Rooting hormone (powder or gel): This is optional but can give you a real boost.
- Potting mix: A good, well-draining mix is key. I often use a blend of peat moss and perlite (about 50/50) or a specific cuttings mix.
- Small pots or propagation trays: Clean them thoroughly.
- Plastic bag or clear dome: To create a humid environment.
- Watering can or spray bottle: For gentle watering.
Propagation Methods
Let’s get our hands dirty! The stem cutting method is my go-to for Melodinus aeneus.
Stem Cuttings:
- Take Cuttings: Select a healthy stem and take a cutting about 4-6 inches long. Make your cut just below a leaf node (where a leaf joins the stem).
- Prepare the Cutting: Remove the lower leaves, leaving just a couple at the top. This prevents them from rotting in the soil.
- Apply Rooting Hormone (Optional): If you’re using rooting hormone, dip the cut end of the stem into the powder or gel. Tap off any excess.
- Plant the Cuttings: Make a few drainage holes in your clean pots. Fill them with your potting mix. Using a pencil or your finger, make a small hole in the soil and gently insert the cutting, ensuring the leaf nodes where you removed the leaves are below the soil surface. Firm the soil around the stem.
- Water Gently: Water the soil lightly until it’s moist but not waterlogged.
- Create Humidity: Cover the pot with a clear plastic bag or a propagation dome. This traps humidity, which is crucial for cuttings to root. You can use a few chopsticks to keep the bag from touching the leaves.
- Place in Bright, Indirect Light: Find a spot that receives bright, filtered light, but avoid direct sun, which can scorch the young cuttings.
The “Secret Sauce” (Pro Tips)
Here are a couple of things I’ve learned over the years that really make a difference:
- Bottom Heat is Your Friend: If you have a seedling heat mat, placing your pots on it can significantly speed up rooting by providing gentle warmth from below. It mimics the warmth of the soil in spring.
- Don’t Drown Your Cuttings: While they need moisture, constantly soggy soil is the fastest way to rot your cuttings. Let the surface of the soil dry out slightly between waterings. It’s better to underwater a little than to overwater a lot.
Aftercare & Troubleshooting
Once your cuttings have been in their humid environment for a few weeks, you might start to see tiny roots peeking out of the drainage holes or new growth at the tip. This is your sign they’re establishing! At this point, you can gradually acclimate them to normal humidity by opening the plastic bag a little more each day over a week. Once they seem happy and are producing noticeable new leaves, they are ready to be treated as young plants.
The most common issue you might encounter is rot. If you see a cutting turning black and mushy at the soil line, it’s usually a sign of too much moisture and poor air circulation. Sadly, these are usually a lost cause, but it’s a learning opportunity! Don’t get discouraged; just try again with your next batch, paying extra attention to watering and drainage.
A Gentle Encouragement
Propagating plants is a journey, and like any good garden project, it requires a bit of patience. Sometimes they take off immediately, and other times they make you wait. Trust the process, enjoy the small victories, and remember that each little bud or root is a testament to your nurturing hands. Happy propagating!
Resource:
https://identify.plantnet.org/k-world-flora/species/Melodinus%20aeneus%20Baill./data