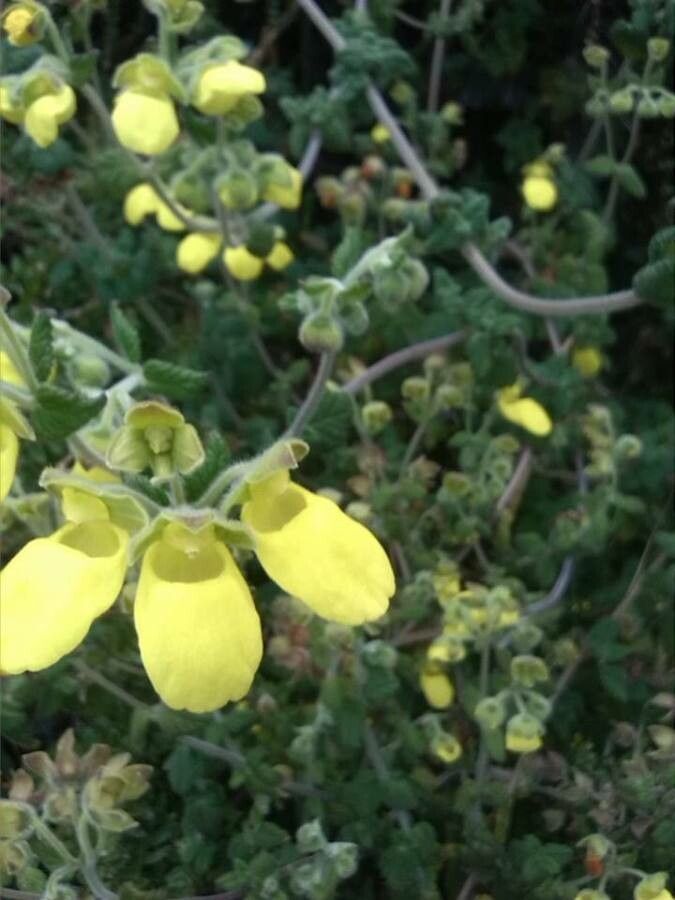
Hello there, fellow plant enthusiasts! If you’ve ever fallen head over heels for those delightfully fuzzy leaves and unique, pouch-like flowers of Calceolaria tomentosa, you’re not alone. I call them “moth orchids of the ground,” and honestly, their charm is utterly captivating. Being able to create more of these beauties from your existing plants is one of those gardening joys that just keeps giving. While Calceolaria tomentosa can be a tad bit fussy, don’t let that deter you! With a little patience and the right approach, propagating this fuzzy marvel is absolutely achievable, even for those of you relatively new to the plant-parenting game.
The Best Time to Start
For the highest chances of success with your Calceolaria tomentosa, spring and early summer are your golden windows. This is when the plant is actively growing and has the energy to put its efforts into developing new roots. Waiting until after it has finished its main blooming cycle is also a smart move. You’re essentially working with healthy, vigorous growth, which makes all the difference.
Supplies You’ll Need
Before we get our hands dirty, let’s gather our tools:
- Sharp, clean pruning shears or a sharp knife: Essential for making clean cuts.
- Rooting hormone (optional but recommended): A powder or liquid that boosts root development.
- Well-draining potting mix: I like to use a blend of equal parts peat moss, perlite, and coarse sand. Or, a good quality succulent/cacti mix works wonderfully.
- Small pots or trays: Clean anything you use to avoid introducing diseases.
- Plastic bag or propagator: To create a humid environment.
- Watering can with a fine rose: For gentle watering.
- Spray bottle: For misting.
Propagation Methods
Let’s dive into how we can coax new life from our beloved Calceolaria tomentosa.
Stem Cuttings
This is my go-to method for Calceolaria tomentosa. It’s straightforward and yields great results.
- Select a healthy stem: Look for a stem that’s not flowering, ideally about 4-6 inches long, with at least a couple of sets of leaves.
- Make the cut: Using your clean shears or knife, make a cut just below a leaf node (where a leaf attaches to the stem). This is where root development is most likely to occur.
- Prepare the cutting: Gently remove the lower leaves from the cutting, leaving just the top two or three leaves. This prevents them from rotting in the soil. If the leaves are very large, you can even cut larger leaves in half to reduce water loss.
- Dip in rooting hormone (optional): Dip the cut end of the stem into your rooting hormone. Tap off any excess.
- Plant the cutting: Make a small hole in your prepared potting mix using a pencil or your finger. Insert the cutting into the hole, making sure the leaf nodes are below the soil surface. Gently firm the soil around the stem.
- Water gently: Water the soil thoroughly but be careful not to dislodge the cutting.
- Create humidity: Lightly mist the leaves of the cutting. Then, cover the pot with a plastic bag or place it in a propagator to maintain high humidity. Ensure the leaves don’t touch the plastic if possible.
- Provide light: Place the pot in a bright, indirect light location. Avoid direct sun, which can scorch the delicate cuttings.
Water Propagation (A Trickier but Rewarding Option)
While I usually prefer soil for these fuzzy friends, water propagation can work if you’re watchful.
- Prepare the cutting: Follow steps 1-3 from the stem cutting method.
- Place in water: Put the prepared cutting in a clean jar or glass filled with room-temperature water.
- The crucial detail: Make sure the leaves are NOT submerged in the water. Only the cut stem should be in contact with the water. This is a really important step to prevent rot.
- Change water regularly: Change the water every 2-3 days to keep it fresh and oxygenated.
- Location: Again, place the jar in a bright, indirect light spot.
- Wait for roots: You should see tiny root nubs appear after a few weeks. Once the roots are about an inch long, you can carefully transplant them into potting mix following steps 5 and 6 of the stem cutting method.
The “Secret Sauce” (Pro Tips)
Here are a few things I’ve learned over the years that can really give your propagation efforts a boost:
- That “just right” humidity: The plastic bag method is gold, but if you’re concerned about airflow, a propagation lid with adjustable vents is fantastic. You can gradually open these vents as the cuttings establish to harden them off.
- A touch of warmth: Calceolaria tomentosa absolutely loves a bit of bottom heat, especially when rooting. If you have a heating mat designed for plants, placing your pots on it can speed up root development significantly. Don’t overdo it; just a gentle warmth is perfect.
- Don’t rush the transplant: When propagating in soil, I resist the urge to tug on the cutting to check for roots. Instead, look for new leaf growth. This is your surest sign that roots have formed and the plant is happy.
Aftercare & Troubleshooting
Once your cuttings have developed a healthy root system (either in water or soil), it’s time to treat them like tiny, precious seedlings!
- Gradual Increase in Light: Slowly start to acclimate your new plant to more light. Don’t go from shade to scorching sun overnight.
- Watering with Care: Water when the top inch of soil feels dry. Overwatering is the quickest way to kill a happy new propagation, leading to dreaded rot. Signs of rot include wilting stems, blackening at the base, and a mushy feel. If you see this, unfortunately, it’s usually a lost cause, but you can try to take healthy cuttings from the unaffected parts.
- Fertilizer Caution: Hold off on fertilizer for the first month or so. Let the plant establish its roots before giving it a nutrient boost. Start with a diluted, balanced liquid fertilizer once you see consistent new growth.
A Little Patience Goes a Long Way
Growing new plants is a journey, not a race. There will be times when cuttings don’t take, and that’s perfectly okay. Don’t get discouraged! Every attempt is a learning experience. Enjoy the process, celebrate the successes, and soon you’ll be surrounded by even more of these wonderfully fuzzy Calceolaria tomentosa to brighten your world. Happy propagating!
Resource:
https://identify.plantnet.org/k-world-flora/species/Calceolaria%20tomentosa%20Ruiz%20&%20Pav./data