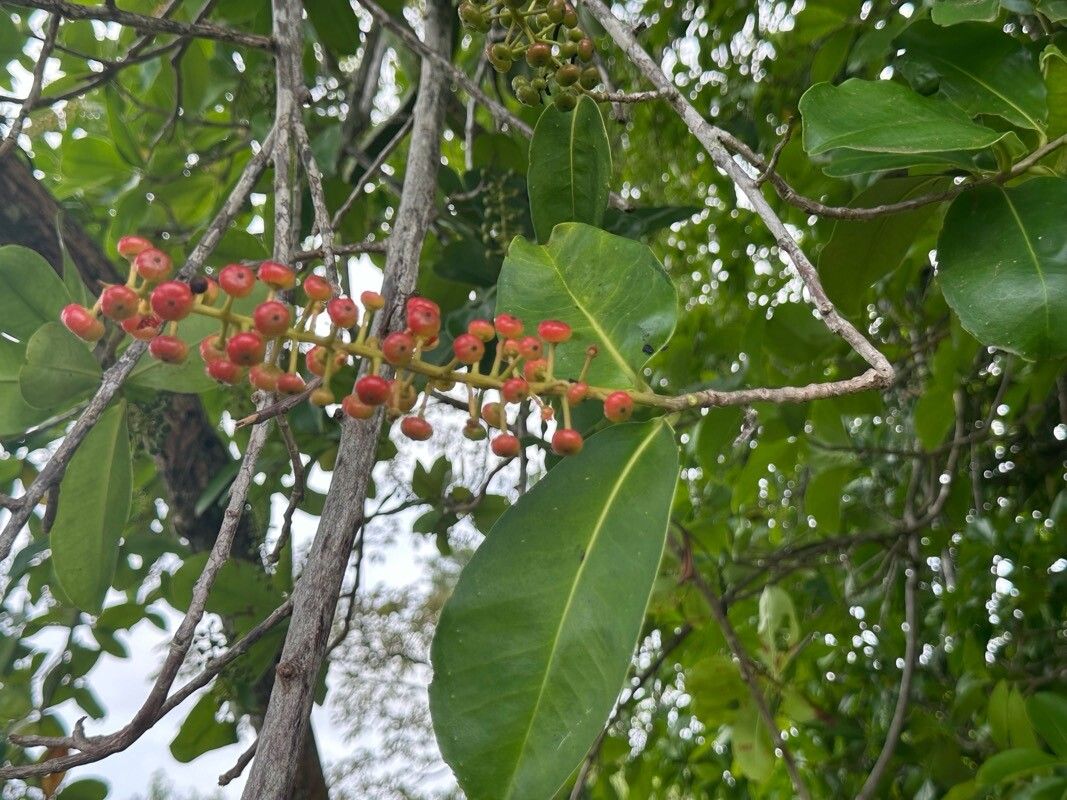
Oh, hello there! Pull up a chair and let’s chat about a truly delightful plant: Souroubea venosa. If you’re anything like me, you’re drawn to its unique beauty – those glossy, deeply veined leaves are just stunning, aren’t they? Plus, watching a new little plant emerge from a tiny cutting is one of gardening’s greatest joys. While Souroubea venosa isn’t the absolute easiest plant to start from scratch, it’s certainly achievable for most home gardeners willing to put in a little care and attention. Think of it as a rewarding challenge, not an insurmountable hurdle!
The Best Time to Start
To give your cuttings the very best start, aim for late spring or early summer. This is when the plant is actively growing, meaning it has more energy to put into developing new roots and shoots. You’ll also find that the warmer temperatures naturally encourage faster rooting. Try to select stems that are neither brand new and flimsy, nor old and woody. A stem that has recently finished flowering or produced new leaf growth is often perfect.
Supplies You’ll Need
Gathering your supplies beforehand makes the whole process much smoother. Here’s what I always have on hand:
- Sharp Pruning Shears or a Clean Knife: For making clean cuts reduces damage and the risk of disease.
- Rooting Hormone (Optional but Recommended): This can significantly boost your success rate. Look for one that contains auxins.
- A Well-Draining Potting Mix: I like to use a blend of equal parts peat moss (or coco coir), perlite, and a bit of coarse sand. This ensures good aeration and prevents waterlogging, which these plants really dislike.
- Small Pots or Propagation Trays: Clean, small pots (around 4-inch diameter) are ideal for single cuttings.
- Plastic Bags or a Propagation Dome: To create a humid environment for your cuttings.
- Watering Can with a Fine Rose: For gentle watering.
- Labels and a Marker: To keep track of what you’ve propagated and when!
Propagation Methods
For Souroubea venosa, stem cuttings are definitely the way to go. It’s straightforward and effective.
- Take Your Cuttings: Using your clean shears, select a healthy, semi-hardwood stem that’s about 4-6 inches long. Look for a stem that has at least two or three sets of leaves. Make your cut just below a leaf node (where a leaf attaches to the stem). This is where the magic happens for root formation.
- Prepare the Cuttings: Gently remove the lower leaves from the cutting, leaving just the top two or three leaves. If the upper leaves are very large, you can cut them in half horizontally. This reduces water loss while still allowing for photosynthesis.
- Apply Rooting Hormone (If Using): Dip the cut end of the stem into your rooting hormone powder or gel. Tap off any excess.
- Pot Them Up: Fill your small pots with your prepared potting mix, lightly watering it so it’s evenly moist but not soggy. Make a small hole in the center of the soil with your finger or a pencil. Gently insert the prepared cutting into the hole, ensuring the node where you removed the lower leaves is just below the soil surface. Firm the soil gently around the stem.
- Create Humidity: Water the soil lightly again. Now, cover each pot with a clear plastic bag, making sure the bag doesn’t touch the leaves of the cutting. Alternatively, a propagation dome works wonderfully. This creates that essential, humid microclimate.
The “Secret Sauce” (Pro Tips)
Here are a couple of things I’ve learned over the years that can really make a difference:
- Bottom Heat is Your Friend: If you have the means, placing your pots on a gentle heat mat can significantly speed up root development. It mimics natural soil warmth and gives those roots a good incentive to grow. Just make sure the heat isn’t too intense; lukewarm is perfect.
- Be Patient with Watering: I know it sounds counterintuitive, but when you’ve just potted up cuttings, err on the side of caution with watering. You don’t want them sitting in soggy soil. The humidity created by the plastic bag or dome will keep the leaves hydrated for a while. Feel the soil; if it’s still quite moist, resist the urge to water. Overwatering is the quickest way to invite rot.
Aftercare & Troubleshooting
Once you’ve got your cuttings potted, place them in a bright, indirect light location. Avoid direct sun, which can scorch those delicate leaves. Keep the humidity high by ensuring the plastic bag or dome is sealed.
You’ll know your cuttings are rooting when you see new leaf growth emerging from the top. This can take anywhere from 4-8 weeks, sometimes longer. Gently tugging on a cutting will also reveal resistance if roots have formed.
The most common problem you might encounter is rot. If a cutting turns mushy and black, or its leaves start to yellow and drop rapidly, it’s likely that too much moisture and not enough air circulation have caused it to rot. If you see this happening, remove the affected cutting immediately to prevent it from spreading. Sometimes, you can salvage a cutting if only the very tip has started to go; you can try re-cutting it and starting again.
A Encouraging Closing
Now, take a deep breath and let that garden magic begin! Remember, not every cutting will take, and that’s perfectly okay. Gardening is a journey of learning and experimentation. Celebrate the successes, learn from the “failures” (they’re really just lessons!), and most importantly, enjoy the process of nurturing new life. Happy propagating!
Resource:
https://identify.plantnet.org/k-world-flora/species/Souroubea%20venosa%20Schery/data