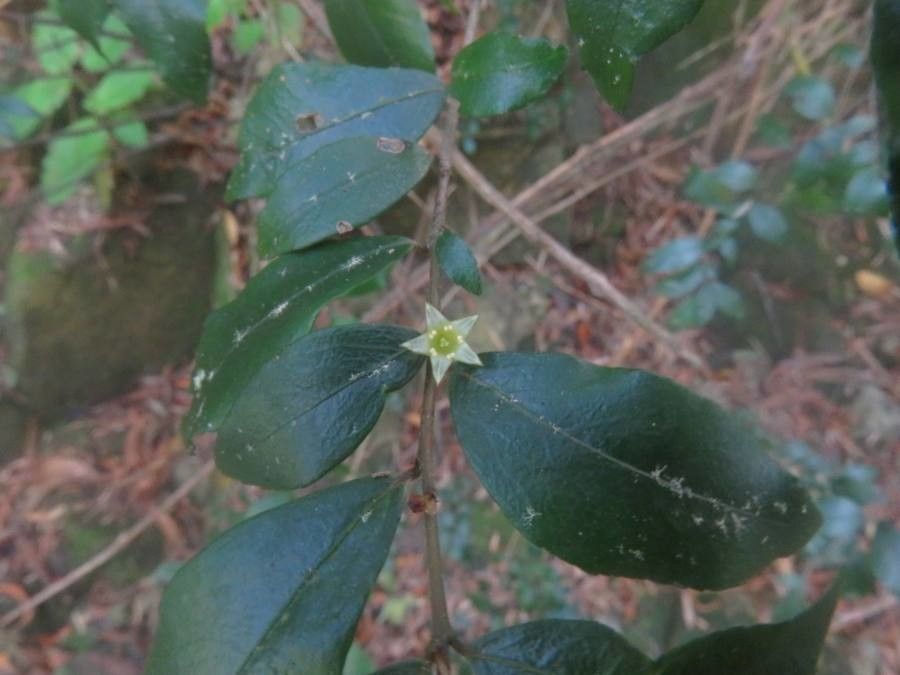
Oh, hello there! Come on in and pull up a chair. Today, we’re going to talk about a plant that brings me a lot of joy: Rhamnus diffusa. It’s a lovely shrub, often admired for its graceful habit and handsome evergreen foliage. But the real magic? It’s how satisfying it is to create more of them! Watching a tiny cutting transform into a thriving plant is a gardener’s deepest pleasure, and honestly, Rhamnus diffusa is a pretty rewarding plant to propagate. For those of you just starting out, I’d say it’s a moderately easy plant to work with – a great one to build your confidence!
The Best Time to Start
When it comes to success with propagating Rhamnus diffusa, timing is everything. I’ve found the very best window to be in late spring to early summer. This is when the plant is actively growing, and the new stems are semi-hardwood. They’re not so floppy that they’ll wilt instantly, but not so old and woody that they’re difficult to root. Think of it as capturing that vibrant, vigorous growth spurt.
Supplies You’ll Need
You probably have most of these already, but let’s make sure you’re equipped:
- Sharp pruning shears or a clean hobby knife: For making precise cuts. Dull tools can crush stems and hinder rooting.
- Rooting hormone (powder or gel): This is like a little boost of encouragement for your cuttings. While not always strictly necessary for Rhamnus diffusa, it does significantly increase your success rate.
- Well-draining potting mix: I like a blend of equal parts peat moss and perlite, or a commercial seedling starter mix. We don’t want soggy feet!
- Small pots or trays: Clean yogurt cups with drainage holes poked in the bottom work in a pinch!
- Plastic bags or a propagator lid: To create a humid environment.
- A saucer or tray: To catch any drips and keep your surfaces clean.
- Watering can with a fine rose: Gentle watering is key.
Propagation Methods
There are a couple of ways we can go about this, but my favorite is stem cuttings. It’s straightforward and yields great results.
Stem Cuttings:
- Take your cuttings: On a mild day, select healthy, vigorous stems that are about 4-6 inches long. Make your cut just below a leaf node. This is the point where a leaf attaches to the stem, and it’s where roots are most likely to form. Remove any flowers or flower buds.
- Prepare the cuttings: Gently remove the leaves from the bottom half of the cutting. You want to expose that lower part of the stem.
- Apply rooting hormone: Dip the cut end of the stem into your rooting hormone, tapping off any excess. This ensures good contact.
- Pot them up: Fill your small pots with your prepared potting mix. Make a small hole in the center of the mix with your finger or a pencil. Gently insert the cuttings into the holes, ensuring the bottom leaf nodes are covered by the soil. Firm the soil gently around the base of each cutting.
- Water gently: Water the pots thoroughly, allowing excess water to drain away.
The “Secret Sauce” (Pro Tips)
Here are a few tricks I’ve learned over the years that often make all the difference:
- Don’t let the leaves touch the water: If you’re using water propagation (which I’m less keen on for Rhamnus diffusa myself, but some people like it), make sure the leaves are above the water level. Leaves submerged will just rot and invite disease. For cuttings in soil, just ensure no leaves are buried.
- Bottom heat is your friend: This is a game-changer, especially if your home is a bit on the cool side. A propagation mat placed under your pots helps warm the soil, encouraging root development.
- Be patient with cleanliness: Always use clean tools and clean pots. It’s the simplest way to prevent fungal issues and diseases that can undo all your hard work.
Aftercare & Troubleshooting
Once your cuttings are potted, the real waiting game begins!
- Create humidity: Cover the pots loosely with a plastic bag or place them under a propagator lid. This will trap moisture and create a mini greenhouse effect, preventing the cuttings from drying out. Mist the inside of the bag occasionally if you notice condensation is scarce.
- Provide bright, indirect light: Place your pots in a bright spot, but avoid direct, scorching sunlight. Too much sun will fry your tender cuttings.
- Check for roots: After about 4-8 weeks, you can gently tug on a cutting. If you feel resistance, congratulations – you likely have roots! You can also look for new leaf growth, which is a good indicator of success.
- Troubleshooting: The most common problem is rot. If your cuttings start to look yellow, mushy, or develop black spots, they’re likely suffering from too much moisture or a fungal infection. Unfortunately, these are usually a lost cause. Ensure your soil is well-draining and avoid overwatering. If your cuttings simply shrivel up and die, it’s usually a sign that they dried out too much.
A Encouraging Closing
So there you have it! Propagating Rhamnus diffusa is a wonderfully rewarding endeavor. Don’t be discouraged if your first attempt isn’t perfect. Gardening is a journey of learning and observation. Be patient with your little cuttings, give them a bit of TLC, and before you know it, you’ll have new shrubs to enjoy and share! Happy propagating!
Resource:
https://identify.plantnet.org/k-world-flora/species/Rhamnus%20diffusa%20Clos/data