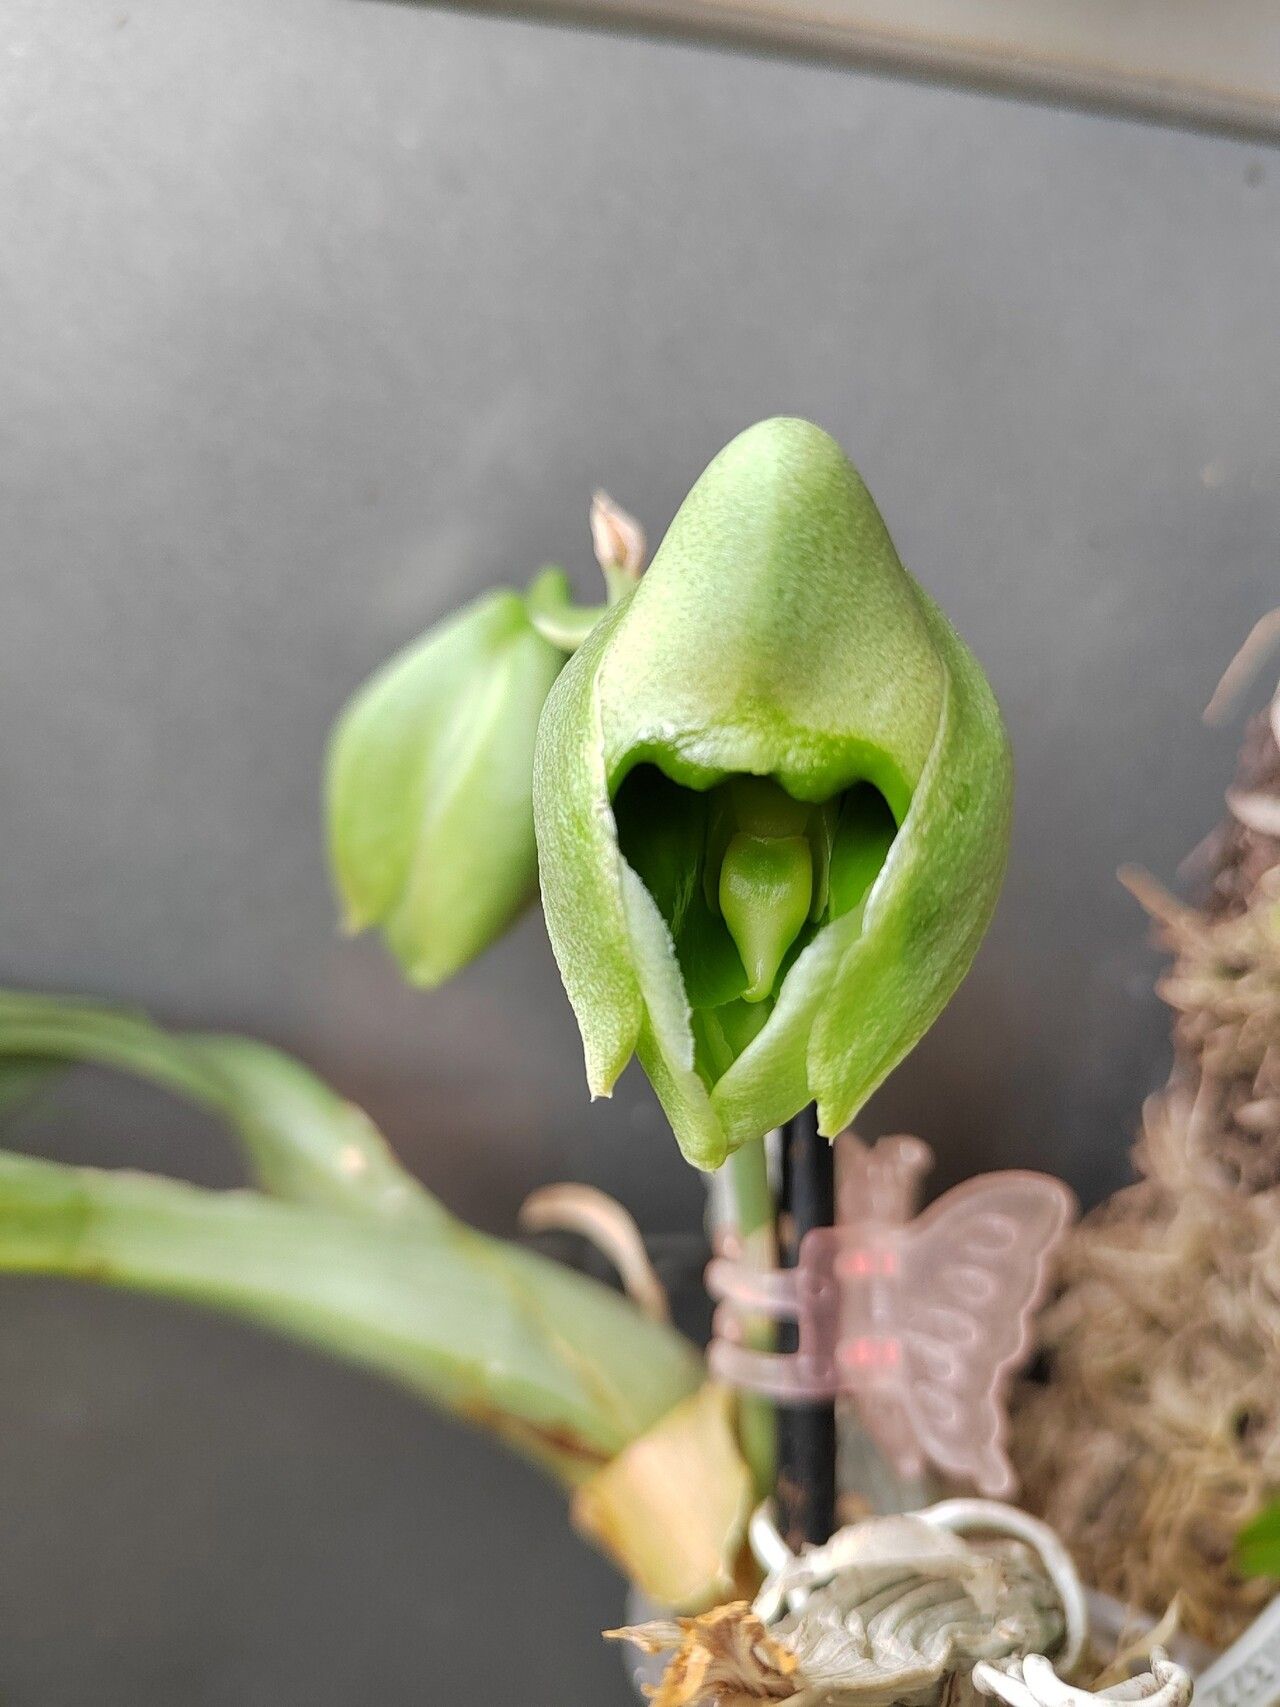
Hey there, fellow plant lovers! I’m so excited to chat with you today about one of my absolute favorite orchids: Catasetum macrocarpum. If you’ve ever seen this beauty in bloom, you know it’s something special. The way those strangely captivating flowers unfurl… it’s just magic. And the best part? You can bring that magic into your own home by propagating it!
Now, I won’t lie, Catasetum macrocarpum can be a bit of a diva sometimes, and propagation isn’t always a walk in the park for absolute beginners. But with a little patience and the right approach, it’s absolutely achievable, and the reward of seeing a new plant sprout from your efforts is simply unparalleled.
The Best Time to Start
For the highest chance of success with Catasetum macrocarpum, I find the spring and early summer to be the sweet spot. This is when the plant is actively growing after its rest period, and it has the energy reserves to put into making new roots and shoots. You’ll often see new growth happening, and that’s your cue! Wait until you have a substantial, healthy pseudobulb before you even think about dividing or taking cuttings.
Supplies You’ll Need
Gathering your supplies beforehand makes the whole process so much smoother. Here’s what I always have on hand:
- Sharp, sterile pruning shears or a clean knife: For making precise cuts to avoid introducing disease.
- Potting medium: A well-draining orchid mix is crucial. I like a blend of coarse bark, perlite, and maybe a touch of charcoal. Good aeration is key!
- Small pots or seedling trays: Whatever suits the size of your propagation.
- Rooting hormone (optional but helpful): A powder or gel can give your cuttings a little boost.
- Sphagnum moss: For maintaining humidity around cuttings.
- Clear plastic bags or a small propagator: To create a humid environment.
- Labeling stakes and a pen: Don’t skip this – future you will thank you!
Propagation Methods
For Catasetum macrocarpum, the most reliable method is division. These orchids grow from pseudobulbs, and often, larger, mature plants will develop smaller offshoots (or “child” growths).
Division Method:
- Inspect your plant: Look for a mature pseudobulb that has at least two or three healthy pseudobulbs attached to it. You want to see new root growth emerging from the base of the older pseudobulb.
- Gently remove from pot: Carefully coax your Catasetum out of its current pot. If it’s stuck, a gentle loosening of the sides should do the trick.
- Clean the roots: Gently brush away as much of the old potting mix as you can from the root ball. This allows you to clearly see where the divisions can be made.
- Locate the connection: Identify the point where the new growth connects to the older pseudobulb.
- Make the cut: Using your sterile shears or knife, carefully cut between the pseudobulbs. Ensure each division has at least one healthy pseudobulb and some viable roots. It’s okay if a few roots are damaged; that’s part of the process.
- Potting up: Plant each division in its own small pot filled with your fresh orchid mix. Make sure the base of the pseudobulb is at the surface of the mix, not buried.
- Initial watering: Water very lightly after potting. You don’t want to saturate the new division.
The “Secret Sauce” (Pro Tips)
Here are a couple of things I’ve learned over the years that really make a difference:
- Let it scab over: After you make your division, let the cut surfaces on both the parent plant and the new division dry out and form a bit of a callous for a day or two before potting them up. This helps prevent rot from setting in. It might look a little scary, but trust me, it’s a good defense mechanism.
- Don’t overwater early on: This is probably the biggest mistake people make. New divisions don’t have a robust root system yet, so they can’t handle too much moisture. Mist the surface lightly or water sparingly until you see definite signs of new root growth. It’s better to be a little on the dry side than too wet here.
Aftercare & Troubleshooting
Once your divisions are potted, they need a bit of TLC. Place them in a warm spot with bright, indirect light. I like to provide a humid environment by placing the pots in a tray with damp sphagnum moss or even covering the pots loosely with a clear plastic bag (with a few air holes!).
Keep an eye out for:
- Rot: This is the most common enemy. If you see a pseudobulb turning mushy and black, it’s probably rot. Remove it immediately from the other plants. Overwatering is the usual culprit.
- No root growth: If, after several weeks, you don’t see any signs of new roots or leaves, don’t despair just yet. Sometimes it takes a long time. Ensure it’s in the right conditions: warmth, humidity, and indirect light.
- Wilting leaves: This can happen if the roots are struggling to take up water. Again, check your watering habits. A bit of misting around the plant can sometimes help here.
A Encouraging Closing
Propagating Catasetum macrocarpum is a journey, not a race. There will be moments of excitement and perhaps a few where you have to troubleshoot. But with a little practice and a whole lot of love, you’ll soon be rewarded with more of these incredible orchids. Enjoy the process, learn from each step, and celebrate every tiny new growth. Happy growing!
Resource: