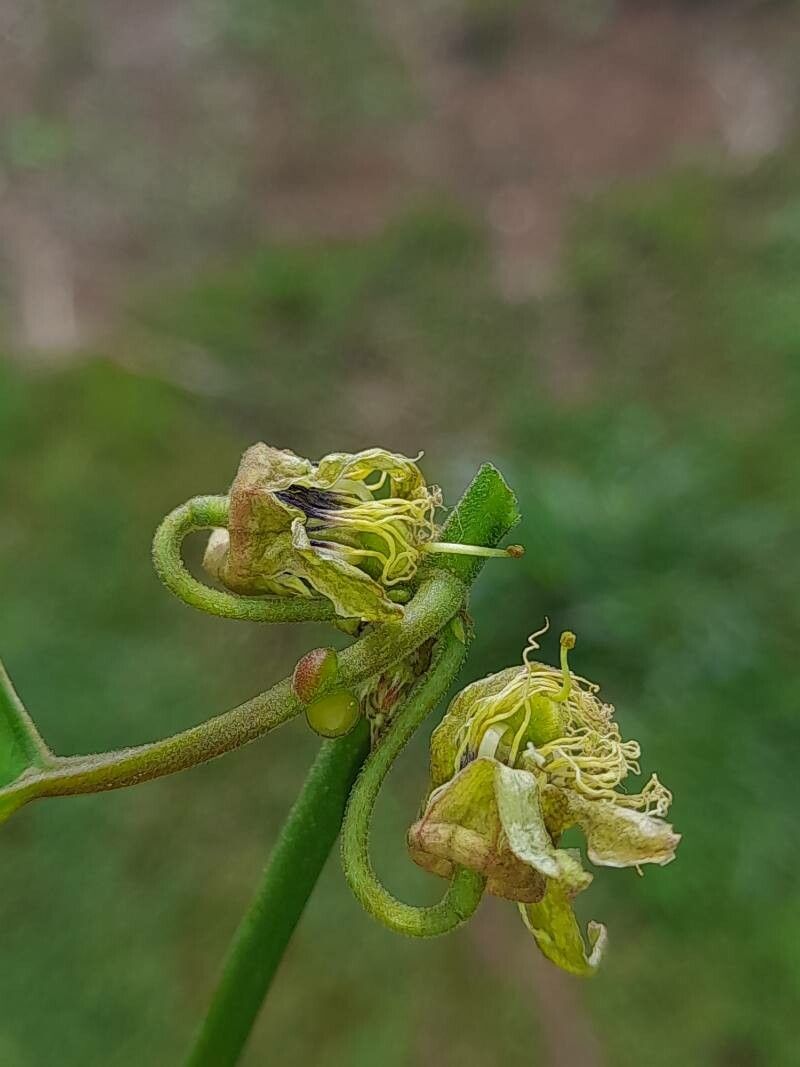
Oh, Passiflora auriculata! If you’re looking for a vine that brings a touch of the exotic to your garden with its unique foliage and the promise of stunning flowers, you’ve picked a winner in this one. It’s got this wonderfully lush, almost tropical feel, and trust me, coaxing new life from an existing plant is one of the most satisfying gardening experiences. Now, for auriculata, I’d say it’s moderately easy to propagate. It’s not quite as straightforward as a pothos, but with a little care, you’ll be well on your way to a whole new collection.
The Best Time to Start
For the highest success rate with Passiflora auriculata, I always find late spring to early summer to be the sweet spot. This is when the plant is really in its vigorous growth phase, meaning it has plenty of energy to put into developing new roots. You’re looking for healthy, actively growing stems – not the very old, woody ones, and absolutely not the brand-new, flimsy shoots. Think of somewhere in the middle, something firm but still pliable.
Supplies You’ll Need
Gathering your tools before you begin always makes the process smoother. Here’s what I usually have on hand:
- Sharp, clean pruning shears or a sharp knife: For taking clean cuts, which helps prevent disease.
- Rooting hormone powder or gel (optional but recommended): This gives your cuttings a good head start.
- A well-draining potting mix: I like a blend of about 50% perlite and 50% potting soil, or a specific cactus/succulent mix. This prevents waterlogging, a common enemy of cuttings.
- Small pots or propagation trays: Clean, with drainage holes, of course.
- A plastic bag or clear plastic dome: To create a humid environment for your cuttings.
- Water: For moistening the soil and for water propagation.
Propagation Methods
Let’s get our hands dirty! Here are a couple of methods that work beautifully for Passiflora auriculata.
Stem Cuttings
This is my go-to method for auriculata.
- Select your stem: Find a healthy, non-flowering stem that is about pencil-thick and at least 6-8 inches long.
- Make the cut: Using your clean shears, make a cut just below a leaf node (where a leaf attaches to the stem). This is where the roots will most likely emerge.
- Prepare the cutting: Remove the lower leaves, leaving just a couple of leaves at the top. If the remaining leaves are very large, I sometimes snip them in half to reduce water loss.
- Apply rooting hormone (optional): Dip the cut end into your rooting hormone, tapping off any excess.
- Plant the cutting: Fill your small pot with your prepared potting mix. Make a hole in the center with your finger or a pencil, and insert the cutting, making sure the lowest node is buried. Gently firm the soil around it.
- Water gently: Water the soil until it’s moist but not soggy.
- Create humidity: Cover the pot with a plastic bag, propped up with stakes or twigs so it doesn’t touch the leaves, or use a clear plastic dome. This mini-greenhouse effect is crucial.
- Place in bright, indirect light: Find a warm spot that receives bright, dappled sunlight. Avoid direct, scorching sun.
Water Propagation
If you’re feeling more adventurous, water propagation can be a fun way to watch the roots develop!
- Prepare the cutting: Follow steps 1-3 from the stem cutting method.
- Place in water: Fill a small jar or glass with clean water. Place the cutting in the water, making sure at least one leaf node is submerged.
- Change water regularly: Change the water every few days to keep it fresh and prevent bacterial growth.
- Monitor for roots: You should start to see tiny white roots emerging from the submerged node within a few weeks.
- Transplant when ready: Once the roots are about an inch long, you can gently transplant the cutting into your well-draining potting mix, following steps 5-7 from the stem cutting method. Be extra gentle with these young roots!
The “Secret Sauce” (Pro Tips)
After years of trial and error, I’ve learned a few little tricks that seem to boost my success rates.
- Bottom heat is a game-changer! If you can manage it, placing your pots on a seedling heat mat can significantly speed up root development. Passionflowers love warmth, and giving those roots a cozy temperature helps them get going.
- Don’t let the leaves touch the water (in water propagation): This sounds simple, but if leaves are constantly submerged, they tend to rot. Keep them above the waterline!
- Mist selectively: While humidity is key, overdoing it can invite fungal issues. I usually mist lightly once a day, especially if the air is very dry, but I also make sure the potting mix doesn’t stay perpetually wet. Good air circulation is just as important as humidity.
Aftercare & Troubleshooting
Once you see signs of new growth – little leaves unfurling or gently tugging on the cutting to feel resistance (indicating roots!) – you’re on the right track!
- Acclimatize: Gradually remove the plastic cover over a week or so to let your new plant adjust to normal humidity levels.
- Watering: Water when the top inch of soil feels dry.
- Light: Continue to provide bright, indirect light. As it grows stronger, you can slowly introduce it to more direct sun.
If your cuttings look limp, yellow, or mushy, it’s often a sign of overwatering or rot. Don’t be discouraged if a few don’t make it. Sometimes, nature just has its own timeline. If you suspect rot, you can try to salvage a piece by recutting the stem and starting again, ensuring better drainage this time.
A Encouraging Closing
Propagating Passiflora auriculata is a wonderful way to multiply your joy and share these beauties with friends. Be patient with the process; it requires a little waiting and a lot of observation. Enjoy the magic of watching a tiny cutting transform into a vibrant new plant. Happy growing!
Resource:
https://identify.plantnet.org/k-world-flora/species/Passiflora%20auriculata%20Kunth/data