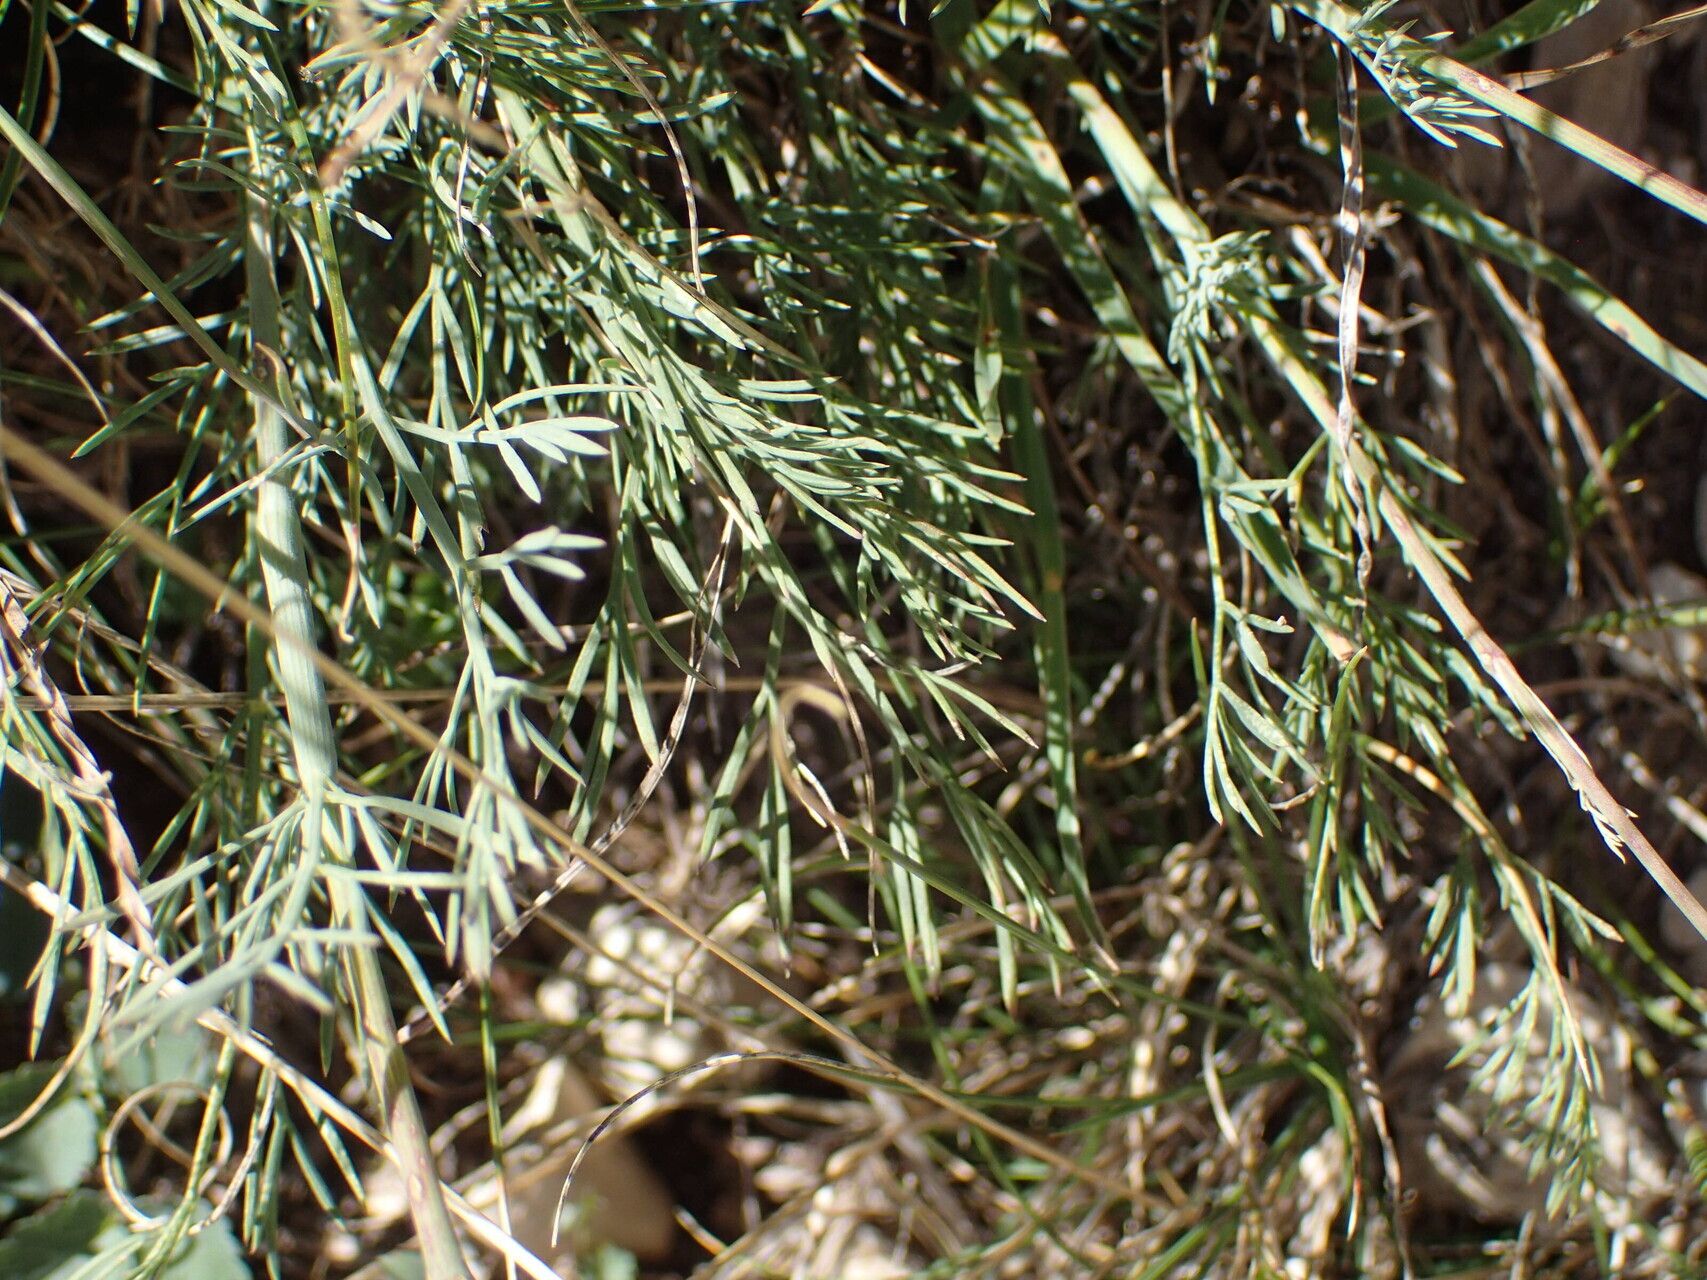
Hey there, fellow plant lovers! It’s so good to have you here. Today, we’re diving into the wonderful world of Seseli galloprovinciale, a gem I’ve been enjoying in my garden for years. If you’re drawn to its delicate, airy structure and lovely white flowers, you’re in for a treat. Propagating this beauty is one of those incredibly rewarding gardening experiences. It might sound a little intimidating, but trust me, with a few pointers, you’ll be well on your way to a whole patch of these delightful plants. For beginners, it’s moderately easy, but pay attention to a couple of key details, and you’ll nail it.
The Best Time to Start
When it comes to Seseli galloprovinciale, timing is everything. I find the absolute best window for propagation is late spring to early summer, just as the plant is really hitting its stride after the initial burst of spring growth. This is when the stems are vigorous and have plenty of energy to put into developing new roots. Waiting until the plant has started to flower or is setting seed isn’t ideal; we want that leafy, green energy.
Supplies You’ll Need
Before we get our hands dirty, let’s gather our tools. Having everything ready makes the process so much smoother.
- Sharp pruning shears or a clean, sharp knife: For making clean cuts.
- Rooting hormone (optional but recommended): A powdered form works well.
- Seed starting mix or a well-draining potting mix: I like to add a good amount of perlite or coarse sand to my mix to ensure excellent drainage.
- Small pots or trays: With drainage holes, of course!
- A watering can with a fine rose: For gentle watering.
- A clear plastic bag or a propagation dome: To create a humid environment.
- Labels: So you don’t forget what you planted!
Propagation Methods: Let’s Get Growing!
For Seseli galloprovinciale, my go-to method is stem cuttings. It’s reliable and gives you a strong start for your new plants.
- Take Your Cuttings: First, select healthy, non-flowering stems from your mature plant. Look for stems that are about 4-6 inches long. Using your clean shears or knife, make a clean cut just below a leaf node (where a leaf attaches to the stem). This is where the magic happens, and roots are most likely to form.
- Prepare the Cuttings: Gently remove the lower leaves from the cutting. You want to leave just a couple of leaves at the top. This helps the plant conserve energy and prevents leaves from rotting when buried. If the remaining leaves are very large, I sometimes snip them in half lengthwise.
- Apply Rooting Hormone (Optional): Dip the cut end of each stem into your rooting hormone. Gently tap off any excess. This step gives your cuttings a little boost and increases the chances of success.
- Plant Your Cuttings: Fill your small pots or trays with your well-draining mix. Make a small hole in the center of the soil with a pencil or your finger.
- Insert the Cuttings: Carefully insert the prepared cuttings into the holes, making sure the leaf nodes you removed are below the soil line. Gently firm the soil around the base of each cutting.
- Water Gently: Water the soil thoroughly but gently with your fine-rose watering can. You want the soil to be moist but not waterlogged.
The “Secret Sauce” (Pro Tips)
Here are a couple of things I’ve learned over the years that make a big difference with trickier propagations.
- Humidity is Key: Once potted, I cover the pots with a clear plastic bag or a propagation dome. This creates a mini-greenhouse effect, keeping the humidity high, which is crucial for cuttings to root before they dry out. Make sure the leaves aren’t suffocatingly pressed against the plastic. If you’re using a bag, you can use stakes to keep it lifted.
- Bottom Heat is Your Friend: While not strictly essential for Seseli galloprovinciale, providing a bit of gentle bottom heat (using a seedling heat mat placed under the tray) can really speed up root development. It mimics that warm spring soil and gives those nascent roots a real kickstart. Just keep the soil temperature around 70-75°F (21-24°C).
Aftercare & Troubleshooting
Once your cuttings are planted and cozy in their humid environment, it’s time to be patient. Keep the soil consistently moist but not soggy. Place them in a bright location, but avoid direct, harsh sunlight, which can scorch the delicate cuttings.
You’ll know your cuttings are rooting when you see new growth appearing at the top, or if you give a very gentle tug and feel resistance. This usually takes anywhere from 4 to 8 weeks. Resist the urge to constantly pull them up to check – let them do their thing!
The most common sign of failure is wilting and browning leaves, often followed by the cutting turning mushy. This usually indicates too much moisture and poor air circulation, leading to rot. If you see this, it’s usually best to discard the affected cutting and ensure better drainage and air movement for the others.
A Encouraging Closing
Watching a tiny cutting unfurl its first new leaves is such a special moment. Propagation is a journey, and sometimes experiments don’t work out perfectly the first time. Don’t get discouraged! Be patient, enjoy the process of nurturing these little plants, and celebrate every success. Happy gardening!
Resource:
https://identify.plantnet.org/k-world-flora/species/Seseli%20galloprovinciale%20Reduron/data