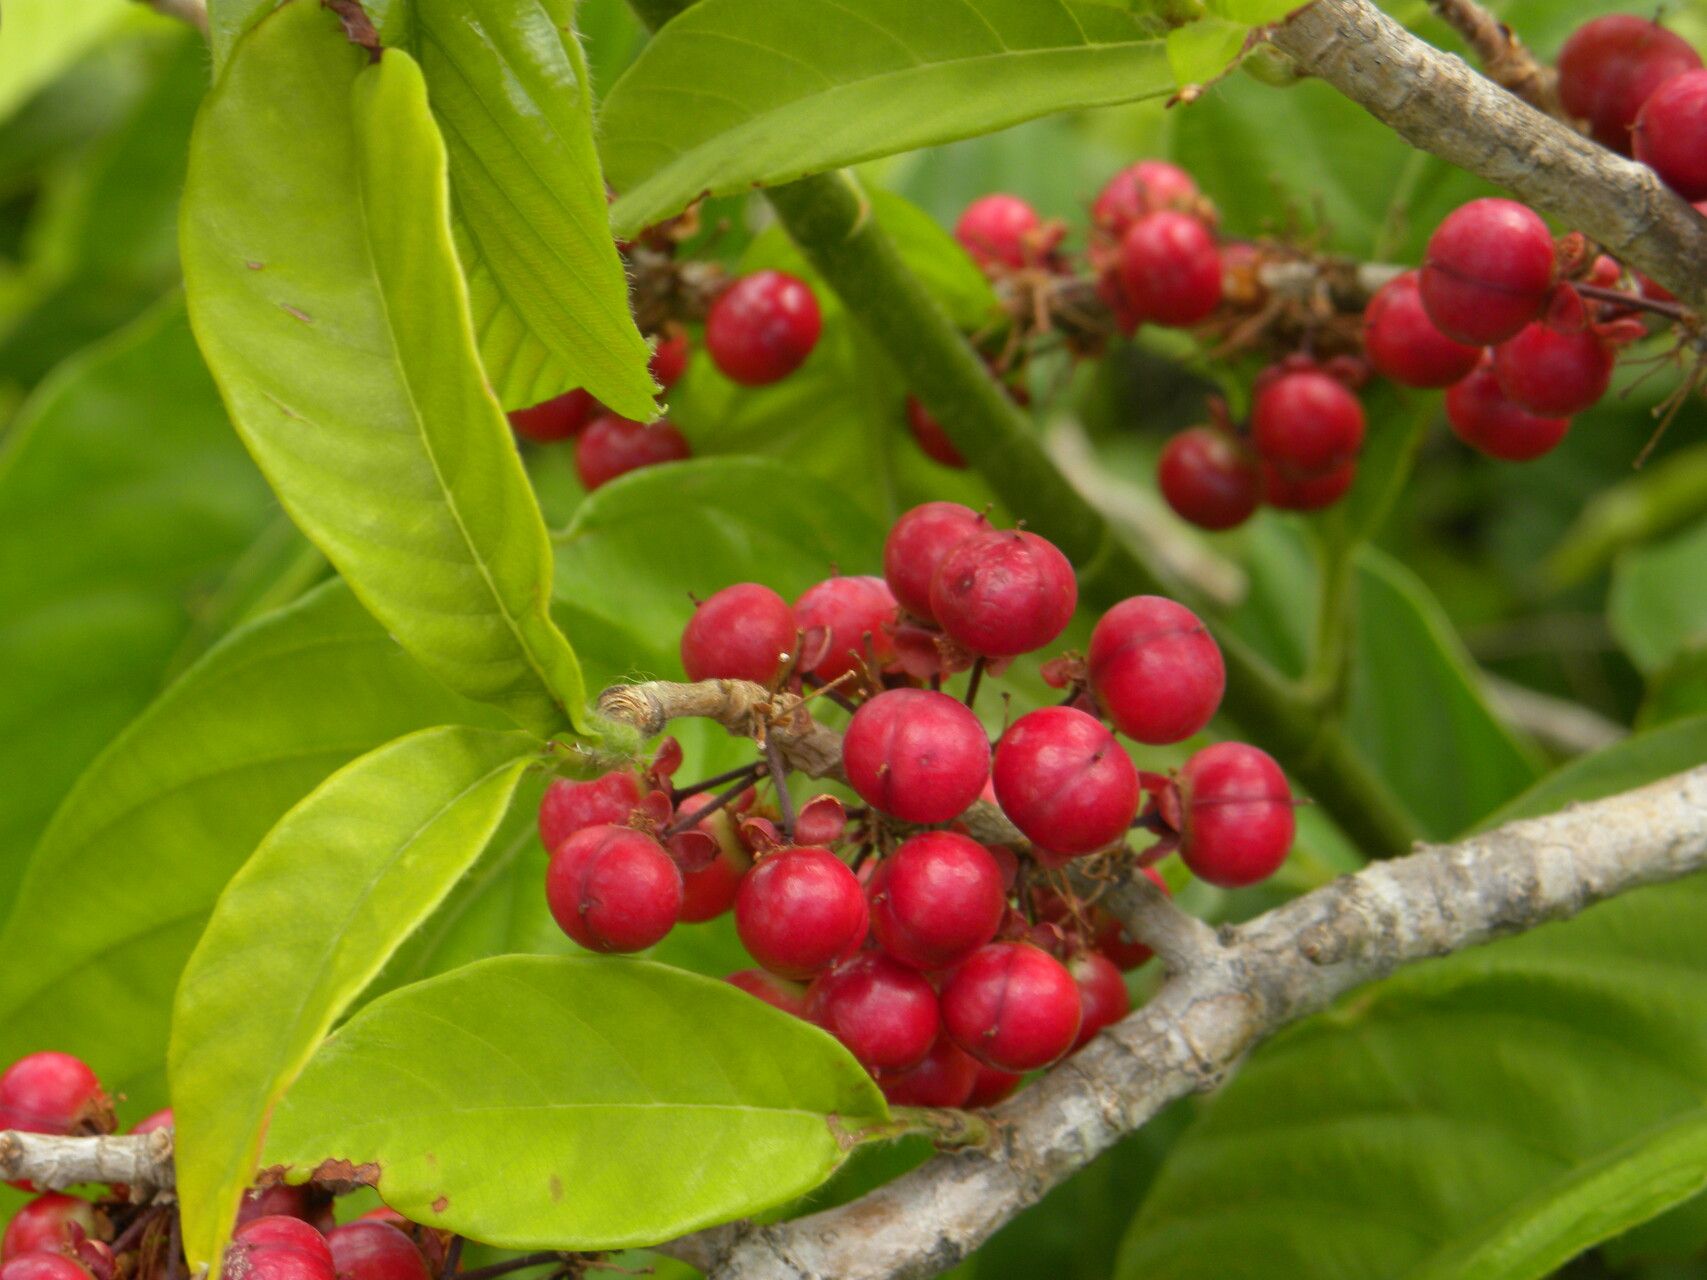
Oh, hello there! Pull up a chair and let’s chat about a truly delightful plant: Doliocarpus dentatus. If you’re looking for a vine that offers lush, tropical flair and a touch of the exotic, you’ve found your winner. Its glossy, toothed leaves are a real showstopper, and discovering how to bring more of these beauties into your garden is incredibly satisfying. Think of it as multiplying your joy, one new plant at a time! Now, about its propagation – is it beginner-friendly? I’d say it’s moderately easy. With a little patience and the right approach, you’ll be well on your way.
The Best Time to Start
For Doliocarpus dentatus, the real magic happens when the plant is in a vigorous growth phase. I find the late spring and early summer are absolutely perfect. The warmer temperatures and longer daylight hours provide the ideal conditions for cuttings to root. You’re looking for stems that are developing new leaves but aren’t overly woody. Think of it as taking a cutting from an active, happy branch.
Supplies You’ll Need
To set yourself up for success, gather these essentials:
- Sharp Pruning Shears or a Clean Knife: Sterilize them with rubbing alcohol to prevent disease.
- Rooting Hormone: A powder or gel form works well.
- Well-Draining Potting Mix: I like a blend of equal parts peat moss, perlite, and a bit of compost. You can also find specific succulent or cactus mixes that will do the trick.
- Small Pots or Seedling Trays: Clean ones are a must!
- Plastic Bags or a Clear Lid: To create a mini-greenhouse effect.
- Watering Can with a Fine Rose: For gentle watering.
- Optional: Bottom Heat Mat: This can really speed things up, especially if your home is a bit cooler.
Propagation Methods
Let’s get our hands dirty! Stem cuttings are my go-to for Doliocarpus dentatus.
Stem Cuttings:
- Select Your Cuttings: Find healthy, semi-hardwood stems that are about 4-6 inches long. Look for stems that have a few sets of leaves.
- Make the Cut: Using your sterilized shears or knife, make a clean cut just below a leaf node. A leaf node is where a leaf attaches to the stem – this is where the rooting magic happens!
- Prepare the Cutting: Gently remove the lower leaves, leaving just a couple of sets at the top. This prevents them from rotting in the soil. If you’re using a larger leaf, you can even cut it in half to reduce water loss.
- Apply Rooting Hormone: Dip the cut end of the stem into the rooting hormone, tap off any excess.
- Plant Your Cuttings: Fill your pots with the prepared potting mix. Make a small hole in the center with your finger or a pencil. Carefully insert the cutting into the hole, ensuring the nodes where you removed the leaves are below the soil surface. Gently firm the soil around the cutting.
- Water Gently: Water the soil thoroughly but avoid waterlogging.
- Create a Humid Environment: Cover the pot with a plastic bag (making sure it doesn’t touch the leaves) or a clear plastic lid. This keeps the humidity high, which is crucial for rooting.
- Provide Bright, Indirect Light: Place your pots in a spot that receives bright, indirect light. Avoid direct sun, which can scorch your precious cuttings.
The “Secret Sauce”
Here are a couple of little tricks I’ve learned over the years:
- The Leaf Node is Key: Don’t skip the step of ensuring your cuttings are made just below a leaf node. This is where the plant has the best chance of developing roots. If you’ve just got a smooth bit of stem, it’s much less likely to get going.
- Bottom Heat Boost: If you can, placing your pots on a propagation mat or a heating pad set to a low setting can make a world of difference. It warms the soil and encourages those roots to form much faster. You’ll see activity more quickly, and that’s always encouraging!
Aftercare & Troubleshooting
Once your cuttings have started to root – you’ll see new growth appearing, and if you gently tug the cutting, you’ll feel resistance – it’s time to transition them.
- Begin Acclimating: Gradually remove the plastic cover over a week or so to get them used to normal humidity.
- Continue Watering: Keep the soil consistently moist but not soggy.
- Move to Slightly Brighter Light: As they establish, they can handle a bit more light.
Now, what if things don’t go as planned? The most common issue is rot. If your cutting turns black and mushy, it’s usually a sign of too much moisture or not enough air circulation. Make sure your soil drains well, and don’t let them sit in water. If they brown and dry out, they might be getting too much direct sun, or the soil is becoming too dry. Don’t be discouraged if some don’t make it; gardening is a learning process for all of us!
A Little Encouragement
Propagating Doliocarpus dentatus is a rewarding journey. It takes a bit of patience, a dash of observation, and a whole lot of love. So, gather your supplies, get those cuttings in the soil, and enjoy the process of watching new life sprout. Happy gardening!
Resource:
https://identify.plantnet.org/k-world-flora/species/Doliocarpus%20dentatus%20(Aubl.)%20Standl./data