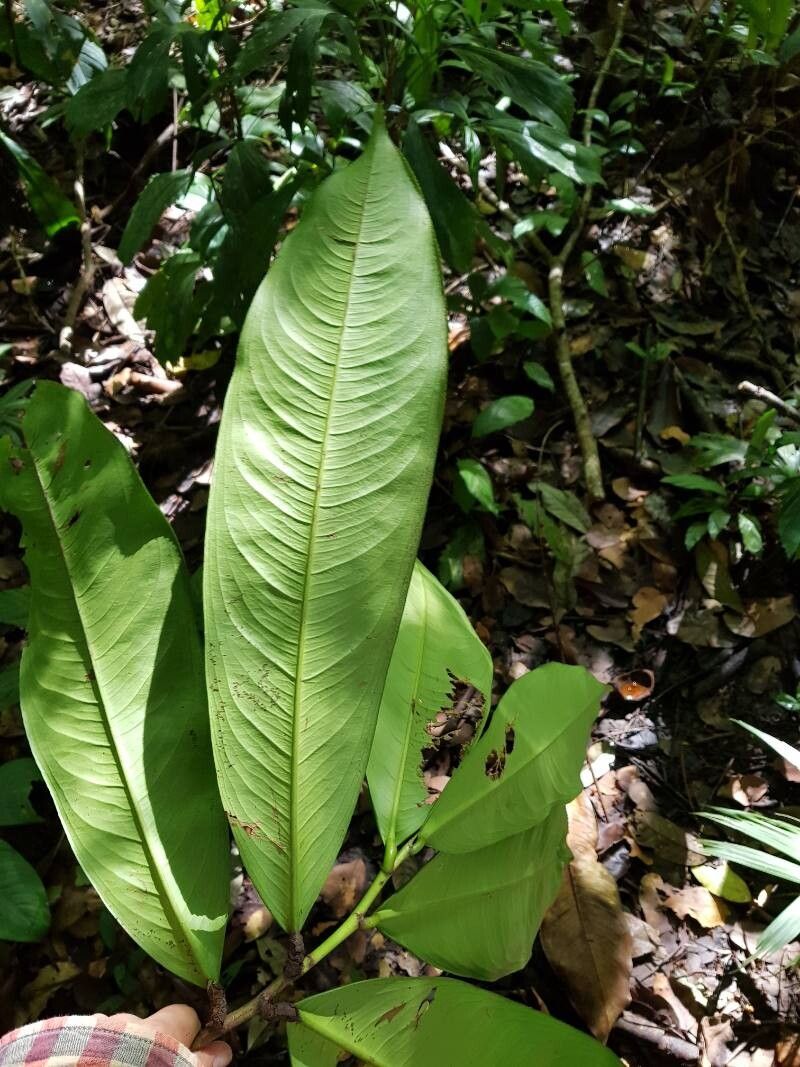
Oh, Ouratea valerii! If you’ve ever been captivated by its glossy, dark green leaves and the delicate, starry white flowers that pop against that rich foliage, you’re not alone. This tropical beauty brings such a lovely touch of elegance to any shady corner, and honestly, there’s a special kind of magic in coaxing a brand-new plant into existence from a piece of your existing one. For beginners, Ouratea valerii can be a little on the fussy side, but with a bit of care and patience, it’s absolutely achievable. Let’s get your hands dirty, shall we?
The Best Time to Start
Timing is everything, as they say, and with Ouratea valerii, the sweet spot is definitely during its active growing season. For most of us, this means spring and early summer. You want to be taking cuttings when the plant is literally bursting with energy – that’s when it has the best reserves to dedicate to making new roots. Avoid trying to propagate when the plant is stressed, perhaps from extreme heat or cold, or if it’s just finished flowering.
Supplies You’ll Need
- Sharp Pruning Shears or a Clean Knife: For taking clean cuts. Dull tools can damage the delicate plant tissue.
- Potting Mix: A well-draining mix is key. I like to use a blend of equal parts peat moss or coco coir, perlite, and a bit of horticultural charcoal. This prevents waterlogging, which is a big no-no for Ouratea.
- Small Pots or Trays: Clean containers with drainage holes are essential.
- Rooting Hormone (Optional but Recommended): A powder or gel can give your cuttings a helpful boost. Look for one with IBA (indole-3-butyric acid).
- Clear Plastic Bag or Dome: To create a humid environment for your cuttings.
- Watering Can or Spray Bottle: For gentle watering.
- Small Pebbles or Perlite (for water propagation): To support the cuttings.
Propagation Methods
While you could try starting Ouratea valerii from seed, it’s often a slow and less reliable process. For most home gardeners, stem cuttings are the way to go.
Stem Cuttings:
- Select Your Source: Look for a healthy, non-flowering stem on your mature Ouratea. You want a piece that’s semi-hardwood – not too brand new and soft, but not too old and woody either.
- Take the Cutting: Using your sharp shears or knife, make a clean cut just below a leaf node (that’s where a leaf joins the stem). Aim for cuttings that are about 4-6 inches long.
- Prepare the Cutting: Gently remove the lower leaves, leaving just a few at the top. This prevents those leaves from rotting in the soil. If your cutting has any flowers or buds, pinch those off too.
- Apply Rooting Hormone (if using): Dip the cut end of the stem into the rooting hormone, tapping off any excess.
- Plant the Cutting: Stick the cut end into your prepared potting mix. Make sure the potting mix is moist but not soggy. I like to create a little hole with my finger or a pencil first, then gently insert the cutting.
- Create Humidity: Water the potting mix gently. Then, cover the pot with a clear plastic bag or a propagation dome. You can use stakes to keep the bag from touching the leaves.
The “Secret Sauce” (Pro Tips)
Here are a few tricks that have made all the difference for me over the years:
- Don’t Let Those Lower Leaves Touch the Soil! I know I just said it, but it bears repeating. Any part of the stem or leaves submerged in the potting mix (or water, if you go that route) is an invitation for rot. Keep them high and dry.
- Bottom Heat is Your Friend: If you have a greenhouse or a setup where you can provide gentle warmth from below (like a seedling heat mat), use it! This encourages root development much faster. It’s like giving your cuttings a warm hug to get them going.
Aftercare & Troubleshooting
Once your cuttings are potted and covered, place them in a bright, indirect light location. No direct sun, please – it’ll cook them! Keep an eye on the moisture. The potting mix should stay consistently moist, but never waterlogged. You can lift the plastic bag for a few minutes each day to allow for some air circulation.
Signs of Rooting: You’ll know your cutting has rooted when you see new leaf growth emerging from the top. This can take anywhere from 4 to 8 weeks, sometimes longer. Gently tug on the cutting; if there’s resistance, roots have formed.
Troubleshooting:
- Wilting: This is often a sign of not enough humidity, or the media is too dry. Increase humidity, and ensure consistent moisture.
- Rotting: This is the most common issue, and it’s almost always due to too much moisture and poor air circulation. If you see a black, mushy stem, unfortunately, that cutting is likely lost. Next time, try to err on the side of slightly drier media and ensure good airflow.
A Encouraging Closing
Growing new plants from cuttings is a rewarding journey, and Ouratea valerii is worth the effort. Be patient; nature has its own timeline. Celebrate the small victories – the first hint of green, the gentle resistance when you tug. Enjoy the process, experiment a little, and soon you’ll have a whole new collection of these lovely plants to share and admire. Happy propagating!
Resource:
https://identify.plantnet.org/k-world-flora/species/Ouratea%20valerii%20Standl./data