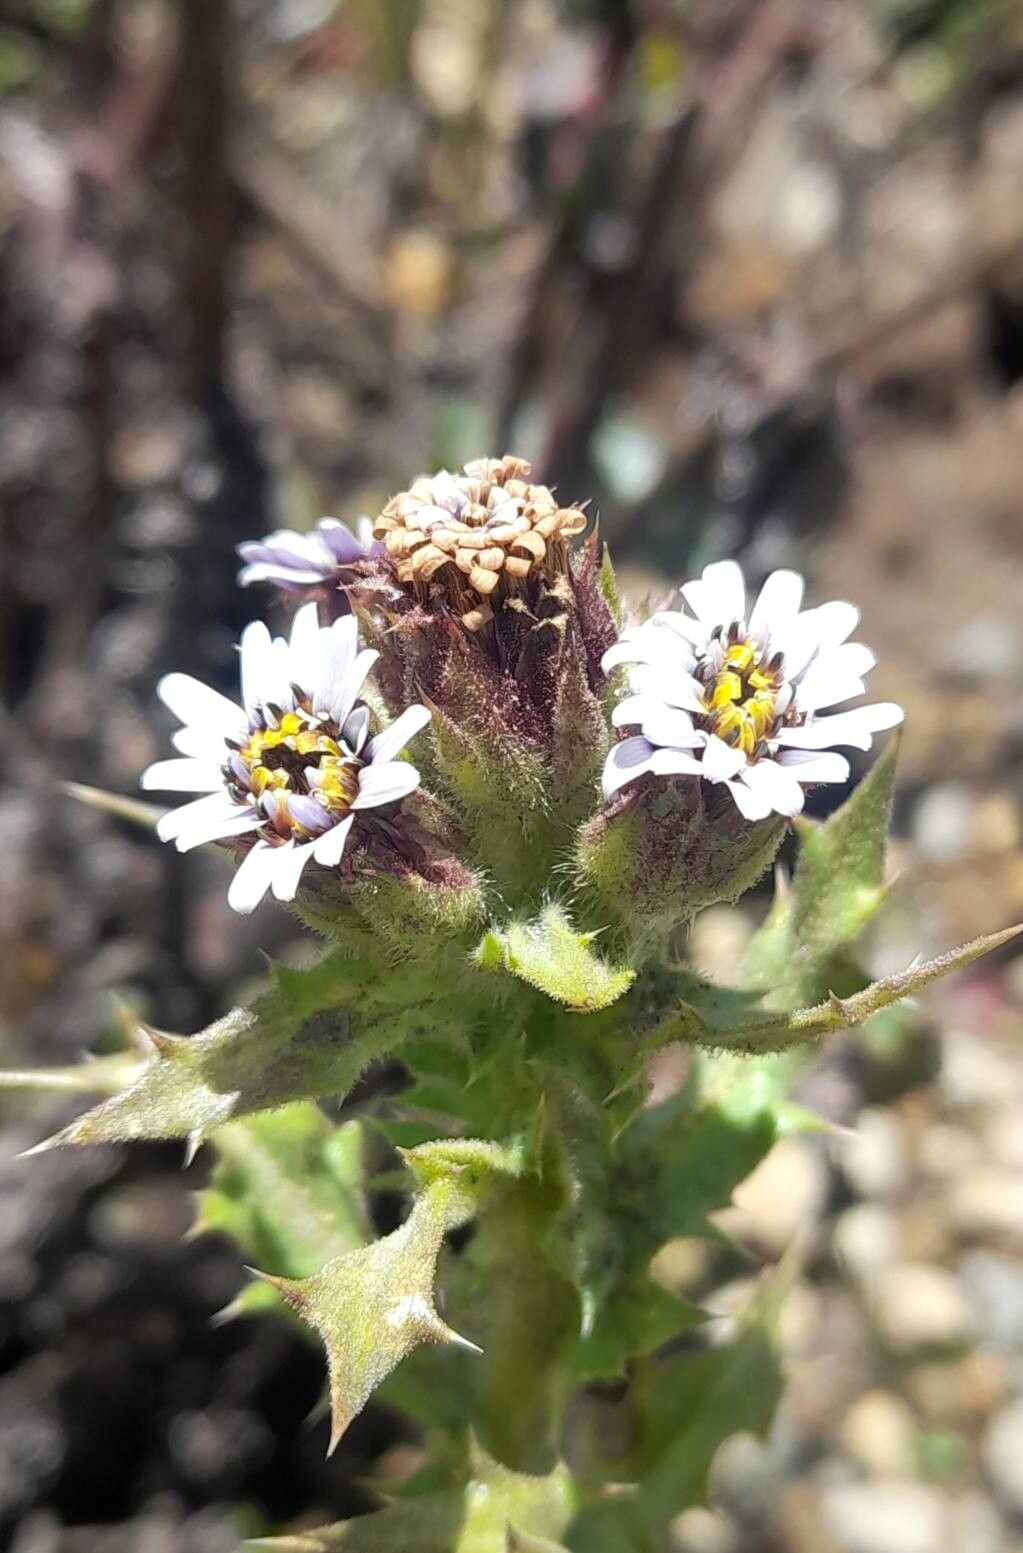
Hey there, fellow plant lovers! If you’ve ever had the pleasure of meeting Perezia multiflora, you know it’s a real charmer. Those vibrant, daisy-like flowers just seem to burst with sunshine, and their fuzzy, grey foliage adds such lovely texture to any garden corner. What’s even better is that multiplying these beauties is incredibly rewarding, and I’m here to share my secrets with you. Don’t be shy, even if you’re just starting your gardening journey; we can tackle this!
The Best Time to Start
For Perezia multiflora, spring is definitely your golden ticket. This is when the plant is full of vigor, pushing out new growth after its winter rest. Starting propagation in early to mid-spring gives those new babies plenty of time to establish themselves before the heat of summer or the chill of fall. You’re looking for stems that are new but not too soft – think of them as being in that “pliable but sturdy” stage.
Supplies You’ll Need
Here’s what I like to have on hand when I’m getting ready to propagate:
- Sharp pruning shears or a clean, sharp knife: For making precise cuts.
- A good quality potting mix: I often use a 50/50 blend of seed-starting mix and perlite. This ensures excellent drainage, which is crucial.
- Small pots or seed trays: Clean ones are important to avoid diseases. 3-4 inch pots are usually a good size.
- Rooting hormone (optional but highly recommended): Especially if you want to give your cuttings a little boost. I prefer the powder form.
- A clear plastic bag or propagator lid: To create a humid environment.
- Watering can with a fine rose: For gentle watering.
- Labels and a marker: So you don’t forget what you’ve planted!
Propagation Methods
The most successful way I’ve found to propagate Perezia multiflora is through stem cuttings. It’s straightforward and gives you a great success rate.
- Take Your Cuttings: On a bright, still morning (after the dew has dried), select healthy, non-flowering stems. Using your sharp shears, cut a piece about 4-6 inches long. Make the cut just below a leaf node (where a leaf grows from the stem). This is where the magic happens!
- Prepare the Cuttings: Gently remove the lower leaves from your cutting, leaving just two or three at the very top. If the leaves are quite large, you can even snip them in half horizontally to reduce water loss.
- Apply Rooting Hormone (if using): Dip the cut end of the stem into your rooting hormone, tapping off any excess.
- Pot Up Your Cuttings: Fill your clean pots with your well-draining potting mix. Make a small hole in the center of the mix with your finger or a pencil. Gently insert the prepared cutting into the hole, ensuring the raw end is touching the soil.
- Water Gently: Water the pots thoroughly but carefully, using your watering can with the fine rose. You want the soil to be moist, not waterlogged.
- Create a Humid Environment: Place your potted cuttings into a propagator or cover the pots with a clear plastic bag, securing it around the rim of the pot. This traps humidity, which helps prevent the cuttings from drying out before they can root. If using a bag, prop it up so it doesn’t touch the leaves!
The “Secret Sauce” (Pro Tips)
Now, here are a couple of little tricks I’ve learned over the years that really make a difference:
- Bottom Heat is Your Friend: If you have a seedling heat mat, placing your pots on it can drastically speed up rooting. Consistent warmth from below encourages root development. Just make sure the mat isn’t too hot – aim for a gentle warmth, like a sun-warmed path.
- Don’t Let Leaves Touch: When you’re using that plastic bag or propagator lid, it’s super important that the leaves of your cuttings don’t touch the plastic. If they do, they’re more prone to rot and fungal issues. A little bamboo skewer or a couple of twigs can help keep the bag propped up.
Aftercare & Troubleshooting
Once your cuttings have been potted, keep them in a bright spot but out of direct, scorching sunlight. Water them whenever the top inch of soil feels dry to the touch. The key here is consistency – moist, but not soggy.
You’ll know your cuttings are rooting when you see new growth emerging from the top. You can also give them a gentle tug; if there’s resistance, roots are forming! This usually takes anywhere from 4-8 weeks, depending on the conditions.
The main issue to watch out for is rot. If a cutting starts to look mushy, discolored, or develops black spots and falls apart, it’s likely rotted. This usually happens from too much moisture and poor air circulation. If you see this, remove the affected cutting immediately to prevent it from spreading. Sometimes, it’s just a matter of giving those cuttings a little more time and ensuring they aren’t sitting in soggy soil.
A Little Encouragement
Propagating plants is a journey, and with Perezia multiflora, you’re cultivating a little bit of sunshine to share. Be patient, observe your cuttings closely, and learn from each one. Before you know it, you’ll have a whole collection of these cheerful blooms to enjoy and gift. Happy propagating!
Resource:
https://identify.plantnet.org/k-world-flora/species/Perezia%20multiflora%20(Bonpl.)%20Less./data