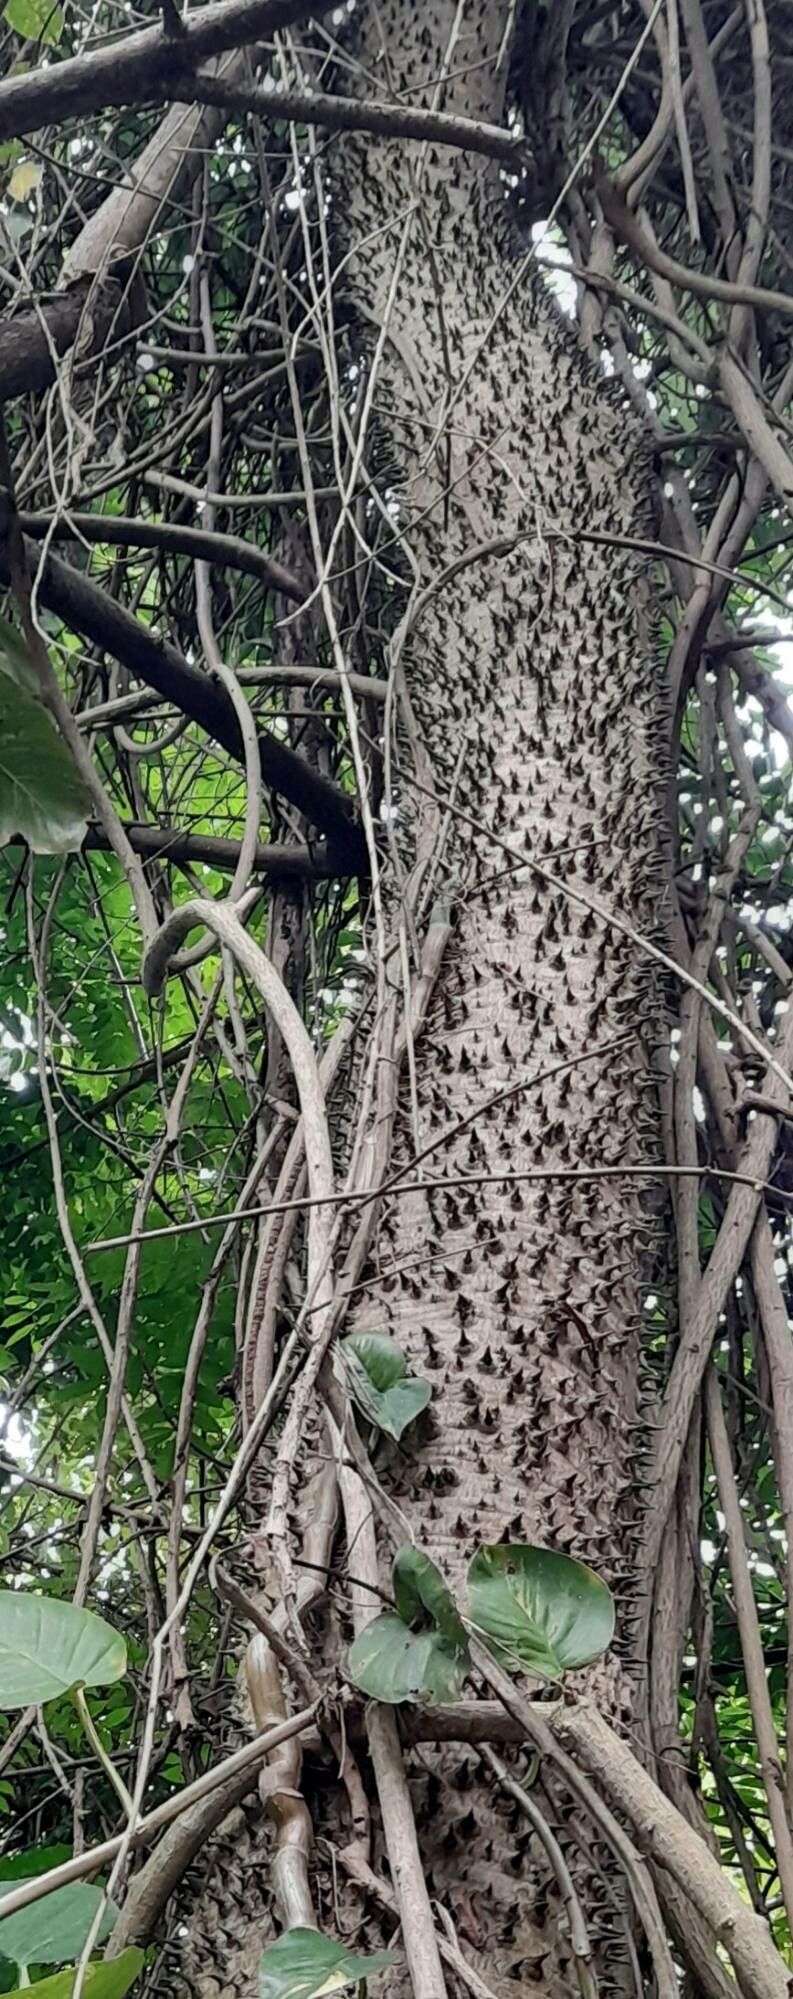
Hello, fellow plant lovers! I’m so excited to dive into the fascinating world of Hura crepitans with you today. You know, sometimes I look at a plant and just have to get more of it! Hura crepitans, also known as the Sandbox Tree, is one of those. Its striking architectural form, those intriguing spiky seed pods, and its sheer uniqueness make it a real showstopper. Propagating it gives you the chance to share that wonder or simply expand your own collection of these remarkable specimens. Now, let’s be clear, while not impossible, Hura crepitans can be a bit of a diva when it comes to propagation. It’s probably not the very first plant I’d recommend for a complete beginner’s first foray into propagation, but with a little patience and these tips, you’ll absolutely be able to succeed.
The Best Time to Start
For the highest chances of success with Hura crepitans, you’ll want to focus your efforts during its active growing season. Think late spring or early summer. This is when the plant has the most energy reserves to put into forming new roots. Trying to propagate when the plant is dormant or stressed is like asking someone to run a marathon on an empty stomach – it’s just not going to go well!
Supplies You’ll Need
Gathering your supplies beforehand makes the whole process smoother. Here’s what you’ll want to have on hand:
- Sharp, sterile pruning shears or a clean knife: For taking clean cuts.
- Rooting hormone powder or gel: This is especially helpful with Hura crepitans to encourage root development.
- Well-draining potting mix: I like a blend of perlite, coco coir, and a bit of peat moss. You want it airy, not dense.
- Small pots or trays: Clean and with drainage holes, of course.
- Plastic bags or humidity domes: To maintain a humid environment around your cuttings.
- Watering can or mister: For gentle hydration.
- Labels: So you don’t forget what you’ve propagated!
Propagation Methods: Layering is Key!
When it comes to Hura crepitans, air layering is your absolute best friend. While stem cuttings can work, they are notoriously difficult to root. Division is generally not a practical method for this plant. Let’s get to air layering:
- Choose your branch: Look for a healthy, mature stem on your Hura crepitans that is at least pencil-thick and has good leaf growth. Avoid overly woody or very thin, new growth.
- Make the incision: Using your sharp, sterile knife, make a sloping cut about one-third to halfway through the stem. You don’t want to cut it all the way off. Alternatively, you can remove a ring of bark about 1-2 cm wide, ensuring you go just down to the cambium layer (the greenish layer beneath the bark).
- Apply rooting hormone: Gently dust or dip the cut surface or the exposed cambium layer with rooting hormone. This step is crucial for giving your cutting a good head start.
- Wrap with damp medium: Take a handful of moistened sphagnum moss (not dripping wet, just damp enough to hold its shape) and pack it firmly around the wounded area.
- Cover with plastic: Enclose the moss-covered section with a piece of clear plastic wrap or a plastic bag. Secure it tightly at both ends with tape or ties. You want to create a mini-greenhouse effect to keep the moisture in.
- Wait and watch: Over the next 4-8 weeks, keep an eye on the wrapped section. You should start to see white roots developing within the moss.
Once you see a good mass of roots forming, you’re ready for the next step!
The “Secret Sauce” (Pro Tips)
Here are a couple of things I’ve learned that can really make a difference:
- Don’t over-water the moss: While you want it moist, waterlogged moss is a recipe for rot. The goal is to maintain consistent humidity, not saturation. Squeeze a bit of moss gently; if water drips out, it’s too wet.
- Consider bottom heat: If your propagation area is a bit on the cool side, using a heat mat under your air-layered grafts can significantly speed up root formation. It mimics the warmth of the soil and encourages root growth.
Aftercare & Troubleshooting
Once those roots are looking robust and filling the moss ball, it’s time to sever the branch from the parent plant. Carefully cut the stem below the rooted section.
Now, you’ll want to pot up your new baby! Gently remove any excess moss from the roots, being careful not to damage them. Plant it in that well-draining potting mix we talked about. Water it thoroughly and place it in a bright spot with indirect sunlight. Keep the soil consistently moist but not waterlogged. You might want to keep it covered with a plastic bag for the first week or two to help it acclimatize to its new environment.
The most common problem you’ll encounter is rot. If the stem turns mushy and black, or if the moss develops a foul smell, it’s likely rot. This usually happens from too much moisture or insufficient air circulation. Unfortunately, if rot sets in, it’s very difficult to save. Prevention is key!
A Little Patience Goes a Long Way
Propagating any plant takes a bit of time and a whole lot of hope. Some attempts might fail, and that’s perfectly okay. Don’t get discouraged! Each propagation is a learning experience. Celebrate your successes, and keep trying. There’s such a joy in nurturing a new plant from something you already love. Happy propagating!
Resource:
https://identify.plantnet.org/k-world-flora/species/Hura%20crepitans%20L./data