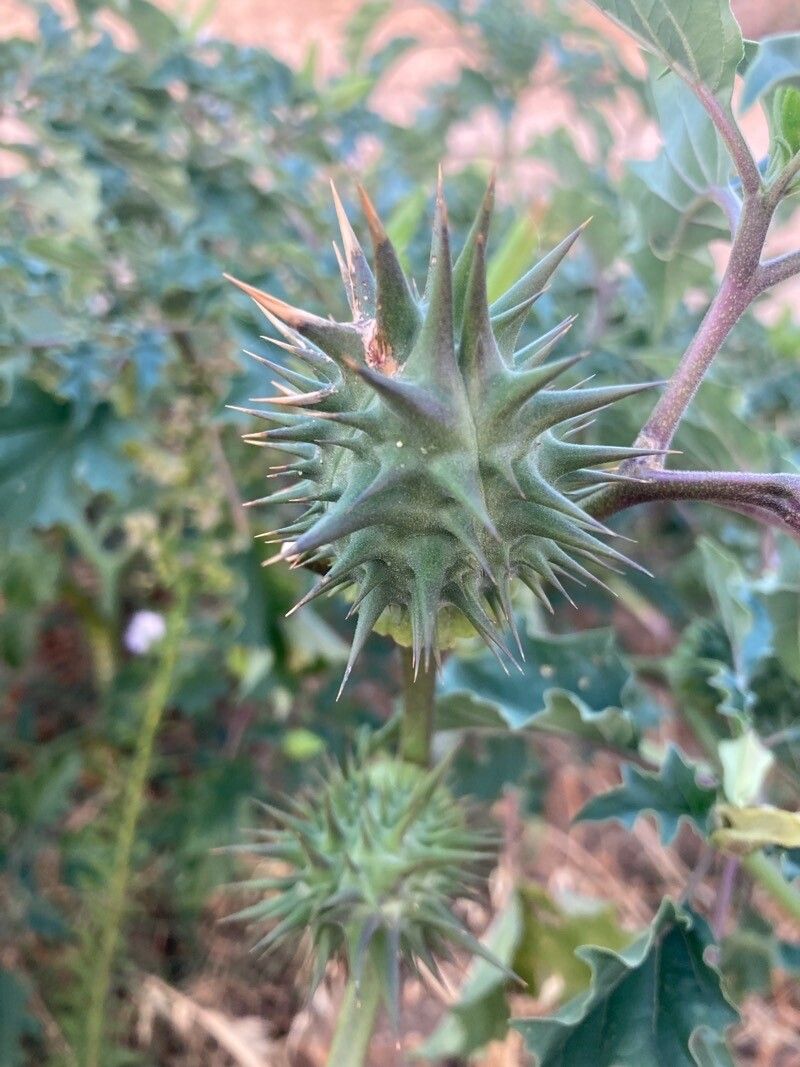
Hello fellow plant lovers! I’m so excited to chat with you today about a truly spectacular plant: Datura ferox, also known as the Fierce Thorn Apple. Its dramatic, trumpet-shaped blooms, often tinged with moody purples or whites, are an absolute showstopper. Plus, there’s such a thrill in creating new life from a single piece of your beloved plant. If you’ve ever admired a Datura ferox and wished you had more, get ready, because propagating them is a wonderfully rewarding endeavor, and honestly, not too tricky once you know a few simple things!
The Best Time to Start
For the highest success rate with Datura ferox, I always recommend propagating from spring or early summer. This is when the plant is actively growing and has plenty of vigor. Look for stems that are firm but not woody – think pencil-thick. Avoid flowering stems if you can; you want the plant’s energy to go into root development, not blooming.
Supplies You’ll Need
Before we get our hands dirty, let’s gather our tools. You probably have most of these already in your gardening shed!
- Sharp pruning shears or a clean, sharp knife: Essential for taking clean cuts.
- Rooting hormone (optional, but recommended): A little boost can make a big difference in speeding up root formation.
- Well-draining potting mix: A 50/50 blend of perlite and peat moss or coco coir works brilliantly. You can also use a standard seedling mix.
- Small pots or trays: Clean containers are key to preventing disease.
- Plastic bag or propagation dome: To create a mini greenhouse effect.
- Watering can or spray bottle: For gentle watering.
- Labels: To mark your plantings!
Propagation Methods
There are a couple of reliable ways to get new Datura ferox plants. I usually favor stem cuttings, as it’s straightforward and effective.
Stem Cuttings (My Go-To)
- Taking the Cutting: Select a healthy stem that’s about 4-6 inches long. Make a clean cut just below a leaf node. A leaf node is where a leaf emerges from the stem. This is where the magic of root formation happens. Remove the lower leaves, leaving just a couple at the very top.
- Applying Rooting Hormone: If you’re using rooting hormone, lightly dip the cut end into the powder or gel. Tap off any excess.
- Planting: Fill your small pots with your prepared potting mix. Make a hole in the center with your finger or a pencil. Insert the cutting into the hole, ensuring the leaf nodes are below the soil surface. Gently firm the soil around the stem.
- Watering: Water the soil thoroughly but gently. You want it to be moist, not soggy.
- Creating Humidity: Cover the pot with a clear plastic bag or place it under a propagation dome. This traps moisture and keeps the humidity high, which is crucial for cuttings to root. Make sure the leaves don’t touch the sides of the plastic bag if possible.
- Placement: Place the pot in a warm spot with bright, indirect light. Avoid direct sun, which can scorch the delicate cuttings.
Water Propagation (A Visual Treat)
If you enjoy watching the roots grow, water propagation is lovely.
- Prepare the Cutting: Follow steps 1 and 2 from the stem cutting method.
- Place in Water: Fill a small jar or glass with water. Submerge the bottom 1-2 inches of the cutting, making sure that no leaves are in the water. Leaves submerged will rot and can contaminate the whole process.
- Change Water Regularly: Change the water every 2-3 days to keep it fresh and prevent bacterial growth.
- Placement: Just like with cuttings in soil, place the jar in a warm spot with bright, indirect light.
- Transplanting: Once you see a good root system developing (about an inch or more long), you can carefully transplant the cutting into potting mix, following steps 3-6 from the stem cutting method.
The “Secret Sauce” (Pro Tips)
Here are a couple of things I’ve learned over the years that can really help your Datura ferox cuttings thrive:
- Bottom Heat is Your Friend: If you’re struggling to keep your cuttings warm enough, especially if you’re propagating early in spring, a heating mat designed for seedlings can work wonders. Datura roots just love a little warmth from below!
- Don’t Overwater! This is probably the most common mistake. Soggy soil can quickly lead to rot, which is the kiss of death for cuttings. Allow the top inch of soil to dry out slightly between waterings. If you see condensation building up heavily inside your plastic bag, briefly open it to let some air circulate.
Aftercare & Troubleshooting
Once you start seeing new growth, it’s a sign that roots are forming! This is usually within 3-6 weeks, though it can sometimes take a little longer.
- Gradual Acclimatization: When your cuttings have a decent root system and show new leaves, slowly start to acclimate them to lower humidity. This means opening the plastic bag for longer periods each day, or removing the dome for a few hours.
- Potting Up: Once they’re well-established in their small pots, you can transplant them into slightly larger containers with fresh potting mix.
- Signs of Trouble: The most common issue is rot, which looks like a mushy, dark stem at the soil line. This is usually caused by too much moisture and poor air circulation. If you see this, unfortunately, the cutting is likely lost. Another sign of failure is a cutting that wilts and never perks up – this could be due to insufficient humidity or not enough light.
A Little Patience Goes a Long Way
Propagating Datura ferox is a journey, not a race. There might be a few setbacks, but each attempt is a learning opportunity. Don’t get discouraged! Watching those first tiny roots emerge and seeing new leaves unfurl is incredibly satisfying. So grab your shears, get your hands in the soil, and enjoy the magic of creating more of these stunning plants. Happy growing!
Resource:
https://identify.plantnet.org/k-world-flora/species/Datura%20ferox%20L./data