Grow More Pacific Ninebark! Your Guide to Propagating Physocarpus capitatus
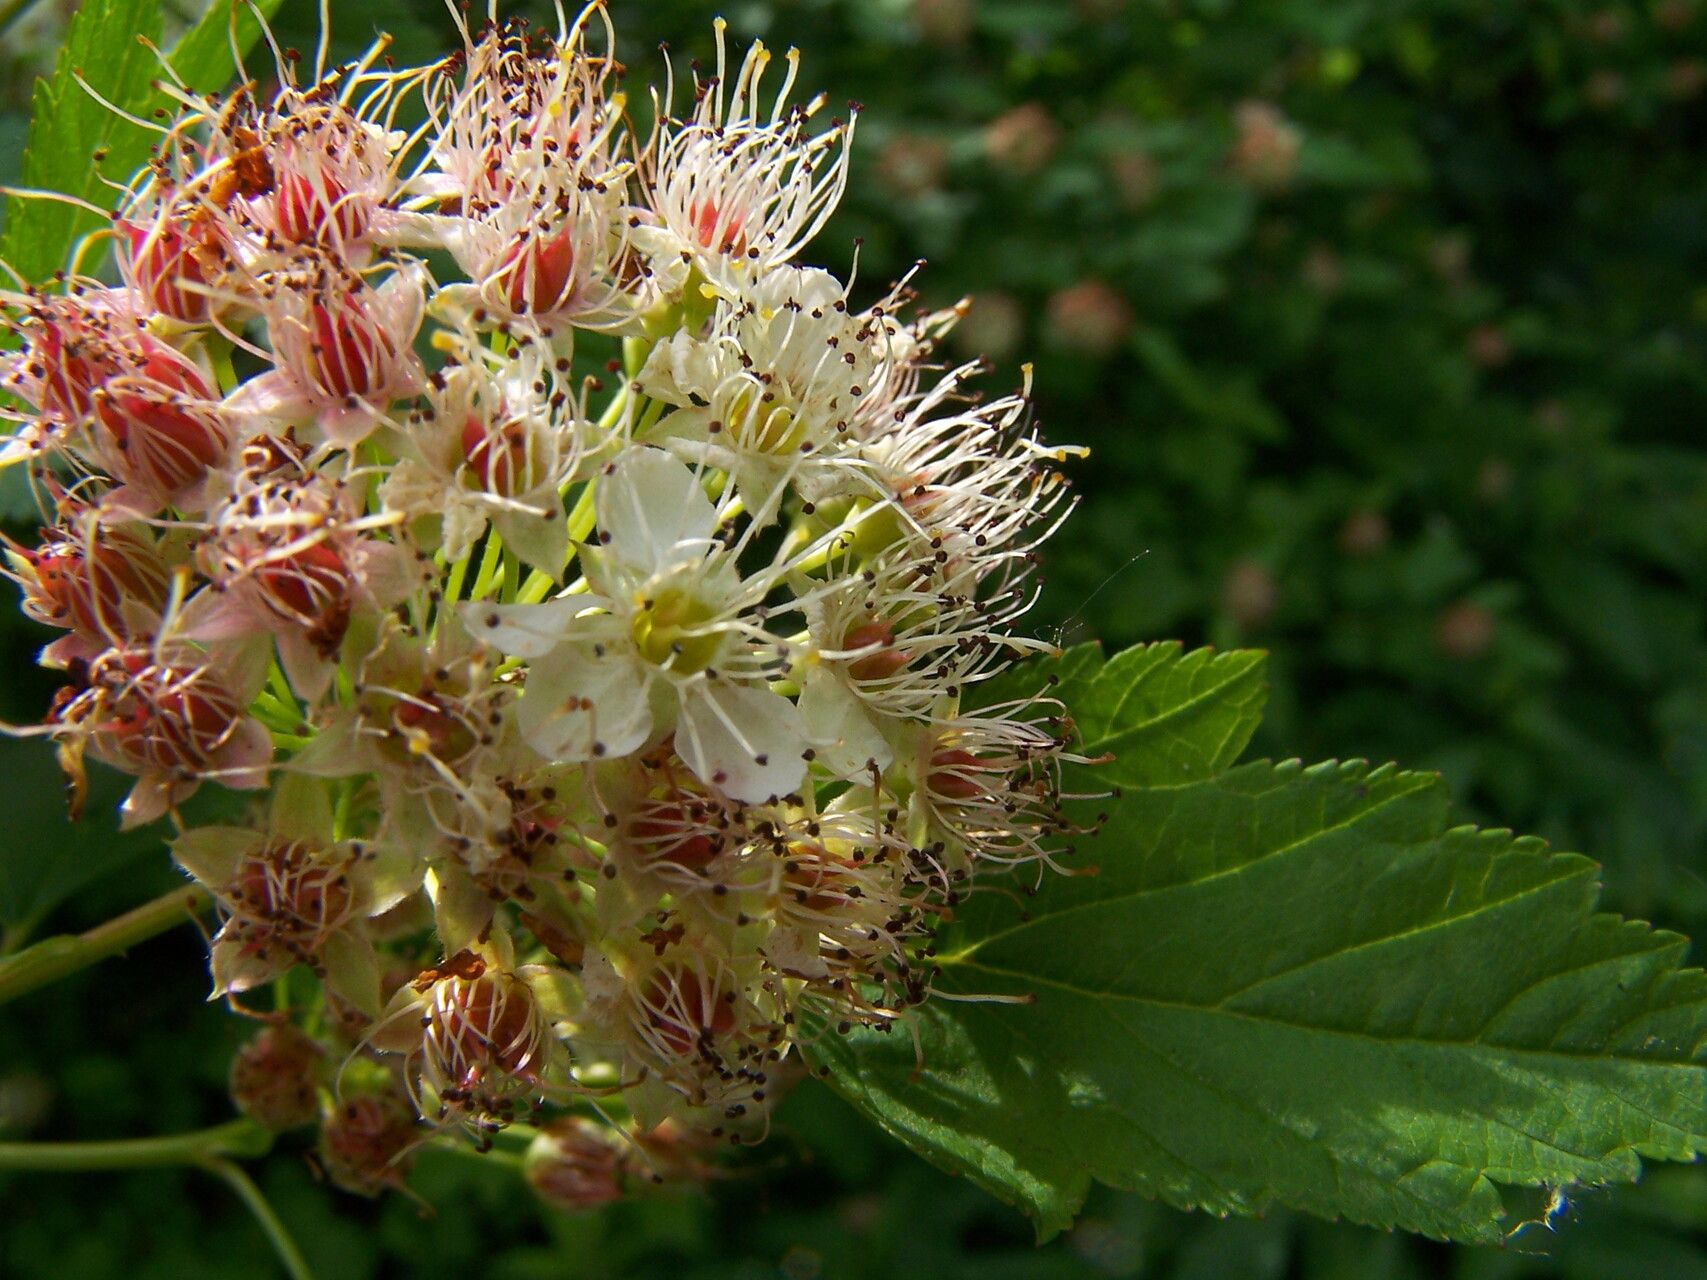
There’s something truly special about creating more of something beautiful from a plant you already love. Pacific ninebark, with its lovely arching stems, attractive foliage that can shift from green to bronze, and pretty white flower clusters followed by rose-tinted seed heads, is a rewarding shrub to have in the garden. It’s a fantastic native plant, supporting local wildlife, and best of all, it’s surprisingly forgiving to propagate. If you’re looking for a simple way to expand your collection or share this gem with friends, you’ve come to the right place. Honestly, it’s a pretty beginner-friendly plant to get started with propagation.
The Best Time to Start
For the highest success rate, I always aim to take cuttings in late spring or early summer. This is when the new growth is semi-hardwood. It’s not too soft and floppy like brand new shoots, but it hasn’t quite turned woody and stiff yet. You’ll be able to bend a stem, and it will snap cleanly rather than bending completely – that’s your sign! Waiting for this perfect stage makes a world of difference.
Supplies You’ll Need
Gathering your supplies beforehand makes the whole process smoother. Here’s what I always have on hand:
- Sharp Pruning Shears or a Knife: Clean cuts are crucial.
- Rooting Hormone: While ninebark can root without it, it significantly speeds things up and increases success. I prefer a powder or gel.
- Small Pots or a Propagation Tray: Clean pots are a must to prevent disease.
- A Good Potting Mix: I like a sterile, well-draining mix. A blend of peat moss or coir, perlite, and a touch of compost works wonders.
- Plastic Bags or a Clear Plastic Dome: To create a humid environment.
- Watering Can with a Fine Rose: For gentle watering.
- Labels and a Marker: To keep track of what you’ve planted!
Propagation Methods
Pacific ninebark is relatively easy to propagate from stem cuttings. It’s my go-to method for this plant, and it usually yields great results.
Stem Cuttings
- Take Your Cuttings: Using your sharp shears, select healthy, current-season stems from your established plant. Aim for pieces that are about 6-8 inches long. Make your cut just below a leaf node (where a leaf attaches to the stem) – this is where roots are most likely to form. Remove the lower leaves, leaving just a few at the top.
- Prepare the Cuttings: Dip the cut end of each stem into your rooting hormone, tapping off any excess.
- Plant Your Cuttings: Fill your pots or tray with your prepared potting mix. Make a small hole with a pencil or your finger and gently insert the prepared cutting, ensuring the nodes where you removed the leaves are buried. Firm the soil gently around the stem. Water thoroughly but gently.
- Create Humidity: Cover the pots or tray with a plastic bag or a clear dome. Make sure the leaves don’t touch the sides of the bag if possible, as this can encourage rot.
The “Secret Sauce” (Pro Tips)
Here are a few tricks I’ve picked up over the years that really give ninebark cuttings a boost:
- Bottom Heat is Your Friend: If you have a heat mat designed for propagation, placing your pots on it can make a huge difference. It encourages root development much faster than cooler soil temperatures. It’s like a cozy warm bed for those nascent roots!
- Don’t Overcrowd: While it’s tempting to cram as many cuttings into a pot as you can, give them a little breathing room. This helps with air circulation, reducing the risk of fungal issues. About 3-4 cuttings per 4-inch pot is usually a good number.
- Watch the Light: Place your cuttings in a bright spot, but avoid direct, harsh sunlight. Dappled shade or bright, indirect light is ideal. Too much sun can scorch those tender new leaves and dry out the cuttings too quickly.
Aftercare & Troubleshooting
Once your cuttings are planted and covered, the waiting game begins!
Ongoing Care: Keep the potting mix consistently moist but never soggy. Check the humidity under the plastic; if you see a lot of condensation, you can vent it for a few hours by lifting the bag or dome. Once you start to see new leaf growth, that’s a great sign that roots are forming. Gradually introduce them to more air and less humidity over a week or two before removing the cover completely.
Troubleshooting: The most common culprit for failure is rot. If you see your cuttings turning black and mushy, it’s usually a sign of too much moisture and not enough air circulation. Damp off can be a real challenge. Ensure your potting mix drains well, and don’t be afraid to vent the humidity chamber occasionally. Wilting can also happen if they dry out too much. Keep them consistently hydrated.
Keep Growing!
Propagating Pacific ninebark is such a satisfying endeavor. It’s a wonderful way to appreciate the resilience of nature and to become more connected with your garden. Be patient, enjoy the process, and soon you’ll have more beautiful ninebark to admire! Happy propagating!
Resource:
https://identify.plantnet.org/k-world-flora/species/Physocarpus%20capitatus%20(Pursh)%20Kuntze/data