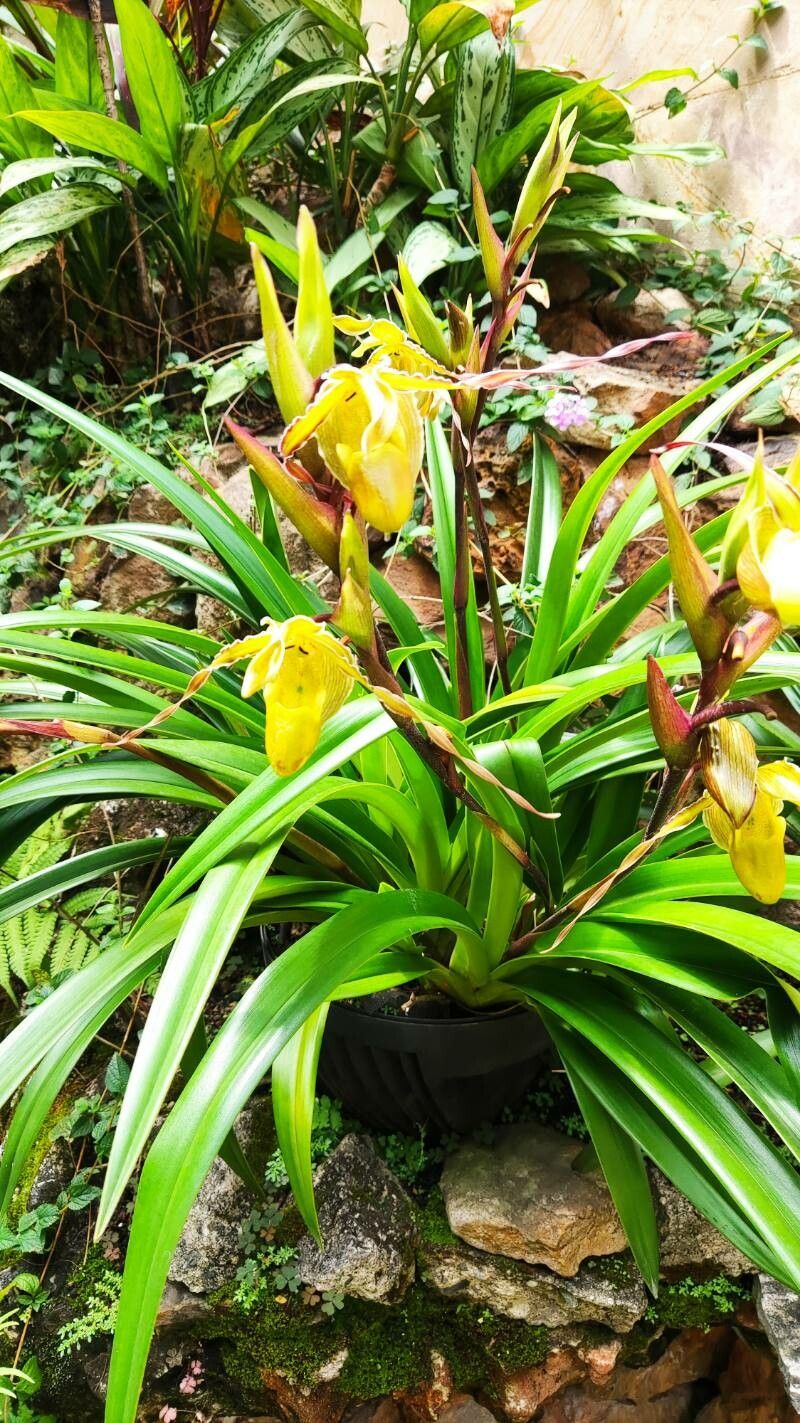
Hey there, fellow plant lovers! I’m so excited to chat with you today about a truly special orchid: Paphiopedilum philippinense, often called the Philippine Slipper Orchid. If you’ve ever seen one of these beauties in bloom, you know exactly what I mean. Those pouch-like petals, the elegant dorsal sepal – they’re just stunning, aren’t they?
I remember the first time I managed to propagate one. It felt like I’d unlocked a secret gardening superpower! For many, Paphiopedilum philippinense can be a bit of a gentle challenge, especially for absolute beginners. But don’t let that deter you. With a little patience and the right approach, it’s a wonderfully rewarding experience to create new life from a plant you already cherish.
The Best Time to Start
Generally, I find the spring or early summer to be the sweet spot for propagating Paphiopedilum philippinense. This is when the plant is typically in a more active growth phase, and its natural energy is buzzing. It’s usually after the main blooming period, when you might be repotting anyway. Look for new growth to be emerging from the base of the plant; that’s a good indicator it’s ready to get to work.
Supplies You’ll Need
Gathering your tools beforehand makes the whole process smoother. Here’s what I usually have on hand:
- Sharp, sterilized pruning shears or a clean knife: For making precise cuts.
- Orchid bark mix: A well-draining blend is crucial. I like a mix with medium-grade bark, perlite, and a bit of charcoal.
- Sphagnum moss (long-fibered): Excellent for retaining some moisture while still providing aeration.
- Small pots or seedling trays: With good drainage holes, of course!
- Rooting hormone (optional but helpful): A powder you can dip the cut end into.
- Clear plastic bags or a humidity dome: To create a mini-greenhouse.
- Water: Distilled or rainwater is best to avoid mineral buildup.
- Optional: Bottom heat mat: This can really speed things up!
Propagation Methods
For Paphiopedilum philippinense, the most reliable method is division, as they tend to grow in clumps.
Method: Division
This is my go-to for these gorgeous slipper orchids. It’s straightforward and gives you the best chance of success.
- Gently remove the mother plant from its pot. Be careful not to damage the roots. If it’s stuck, a gentle squeeze of the pot can help.
- Inspect the root ball. You’re looking for natural divisions, where a new shoot or growth point has emerged from the base of the existing plant and has its own set of roots.
- Carefully tease apart the divisions. Use your fingers to gently work the roots apart. If it’s really stuck, don’t be afraid to use your sterilized pruning shears or knife to make a clean cut between two healthy growth points, ensuring each division has at least two or three healthy leaves and a good root system.
- Trim any damaged or dead roots. You want healthy ones to focus on.
- Pot up each division. I like to use a well-draining orchid mix. Place the division in the pot, making sure the base of the plant is level with the surface of the mix. Don’t pack the mix too tightly; orchids like air around their roots.
- Water lightly. Just enough to settle the mix.
- Place divisions in a humid environment. I pop them into a clear plastic bag, propped open a bit for air circulation, or place them under a humidity dome.
The “Secret Sauce” (Pro Tips)
Here are a couple of things I’ve learned over the years that really make a difference:
- Don’t overwater AFTER division. This is the biggest mistake I see! New divisions don’t have established root systems to take up a lot of water. They need humidity, yes, but wet feet are a fast track to rot. Let the potting mix just slightly begin to dry out between waterings.
- Bottom heat is your friend! If you have a heat mat, place your potted divisions on it. A consistent warmth of around 70-75°F (21-24°C) really encourages root development and can significantly shorten the time it takes for your new plants to establish.
Aftercare & Troubleshooting
Once your new divisions are potted up, keep them in that bright, indirect light and that humid environment. As you see new roots starting to grow and anchor into the potting mix – often visible through the drainage holes – you can gradually introduce them to slightly less humidity and more regular watering.
The most common problem you’ll encounter is rot. If you see leaves turning yellow and mushy, or the base of the plant becoming soft and brown, it’s usually a sign of too much moisture and poor air circulation. If this happens, gently unpot the plant, remove any rotted parts with a sterilized tool, and repot in fresh, drier mix. Sometimes, a bit of cinnamon powder on the cut can help ward off fungal issues.
Be patient! Propagating these orchids isn’t instantaneous. It can take several months to see robust new root growth and for the plant to really settle in.
A Encouraging Closing
So there you have it! Don’t be shy about giving this a try. Each new plant you nurture is a little victory, a testament to your connection with nature. Take your time, observe your plants, and most importantly, enjoy the journey of bringing more of these magnificent slipper orchids into your life. Happy growing!
Resource: