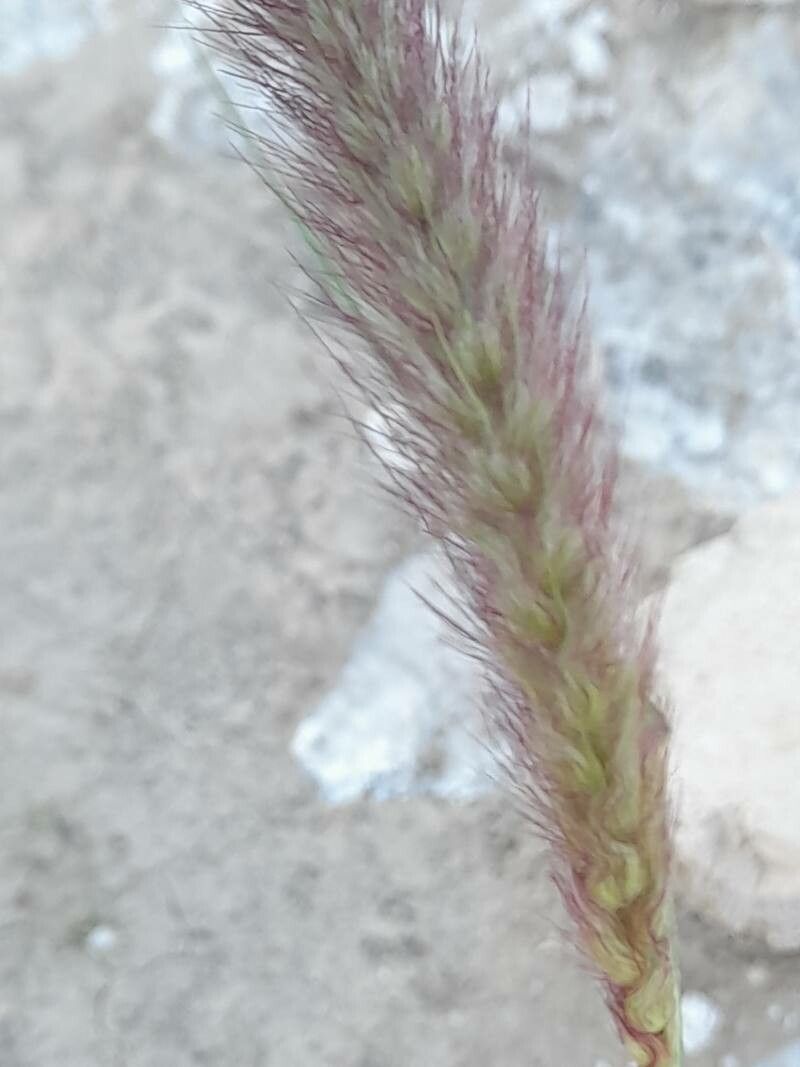
Oh, hello there, fellow plant enthusiast! I’m so glad you’ve dropped by. Today, we’re diving into the wonderful world of Cenchrus flaccidus, a grass that has a special place in my heart. Its delicate plumes and graceful movement in the breeze are just captivating, aren’t they? And the best part? Bringing more of that beauty into your garden by propagating it yourself is incredibly rewarding. Now, if you’re wondering if this is one of those finicky plants best left to the experts, I’m here to tell you it’s surprisingly accessible, even for those newer to the gardening scene. You’ve got this!
The Best Time to Start
For Cenchrus flaccidus, the absolute sweet spot for propagation is late spring to early summer. This is when the plant is really hitting its stride, actively growing and full of energy. Starting during this period gives your new cuttings or divisions the longest possible growing season to establish strong roots before cooler weather arrives. Think of it like planting seeds when the sun is warm and reliable – it just gives them the best chance to thrive.
Supplies You’ll Need
Gathering your tools beforehand makes the whole process so much smoother. Here’s what I always have on hand:
- Sharp Pruning Shears or a Clean Knife: Essential for making clean cuts.
- Well-Draining Potting Mix: I like to use a general-purpose potting soil mixed with a generous amount of perlite or coarse sand to ensure good aeration.
- Small Pots or Seed Trays: Whatever suits the size of your cuttings or divisions. Make sure they have drainage holes!
- Rooting Hormone (Optional but helpful): While not strictly necessary for Cenchrus flaccidus, it can give your cuttings a little boost.
- Watering Can with a Fine Rose: For gentle watering.
- Labels and a Pen: To keep track of what you’ve planted and when.
- A Dibber or Pencil: For making planting holes.
Propagation Methods
Let’s get our hands dirty! Cenchrus flaccidus is most commonly and successfully propagated through stem cuttings or division.
Stem Cuttings
This is my go-to method for increasing my collection.
- Select Healthy Stems: Look for non-flowering, vigorous stems that are at least 4-6 inches long. They should be green and firm, not woody or limp.
- Make the Cut: Using your sharp pruning shears or knife, make a clean cut just below a leaf node (where a leaf attaches to the stem).
- Prepare the Cutting: Gently remove the lower leaves from the cutting, leaving just the top few intact. This prevents them from rotting in the soil. If you’re using rooting hormone, dip the cut end into it now, tapping off any excess.
- Planting: Use your dibber or pencil to create a hole in your prepared potting mix. Gently insert the cut end of the stem into the hole, ensuring the leaf nodes you removed are below the soil surface. Firm the soil around the cutting.
- Water Gently: Water the pot thoroughly but gently, making sure the soil is moist but not waterlogged.
Division
If you have an established clump of Cenchrus flaccidus, division is a fantastic way to create new plants and invigorate the parent plant.
- Excavate the Plant: Carefully dig up the entire clump. It’s best to do this when the soil is slightly moist, not bone dry or saturated.
- Separate the Divisions: Gently pull or use your hands (or a clean spade if it’s a large clump) to separate the root ball into smaller sections. You’re looking for pieces that have a good amount of roots and some healthy foliage.
- Trim Excess Foliage (Optional): If the foliage is very dense, you can trim it back slightly to reduce water loss while the divisions establish themselves.
- Replant: Plant each division into its own pot filled with your well-draining potting mix. Make sure the base of the shoots is at soil level.
- Water Well: Water each division thoroughly after planting.
The “Secret Sauce” (Pro Tips)
Here are a few tricks I’ve learned over the years that seem to make all the difference:
- Humidity is Key: Especially for stem cuttings, keeping humidity high around your cuttings is crucial for root development. I often place a plastic bag over the pot, making sure it doesn’t touch the leaves, or group cuttings together in a tray to create their own humid microclimate.
- Bottom Heat is Your Friend: If you have the ability, placing your pots on a heated propagator mat can significantly speed up root formation. It mimicks the warmth of spring and encourages those roots to get going.
- Don’t Be Impatient: For Cenchrus flaccidus, patience is a virtue. Roots can take several weeks to develop, especially if you’re not using bottom heat. Resist the urge to constantly tug at your cuttings to check for roots; you’ll risk dislodging them.
Aftercare & Troubleshooting
Once you see signs of new growth, that’s your cue that roots are forming!
- Gradual Acclimatization: If you’ve been using a plastic bag for humidity, start slowly introducing your new plants to drier air by gradually opening it over a few days.
- Consistent Moisture: Keep the soil consistently moist but never soggy. Overwatering is the quickest way to invite problems.
- Light: Once roots are established, gradually move your new plants to a spot with bright, indirect light. Avoid harsh, direct sunlight initially.
The most common issue you might encounter is rot. This usually happens because of overwatering or poor drainage. If you see stems turning mushy and black, sadly, that cutting is likely lost. Don’t be discouraged! Just discard the affected cutting and assess your watering and soil drainage for your remaining ones.
A Encouraging Closing
There you have it! Propagating Cenchrus flaccidus is a wonderfully rewarding journey. It’s a chance to connect with a beautiful plant, expand your garden, and learn more about the magic of plant life. Be patient with your new green babies, trust the process, and most importantly, enjoy the process! Happy propagating!
Resource:
https://identify.plantnet.org/k-world-flora/species/Cenchrus%20flaccidus%20(Griseb.)%20Morrone/data