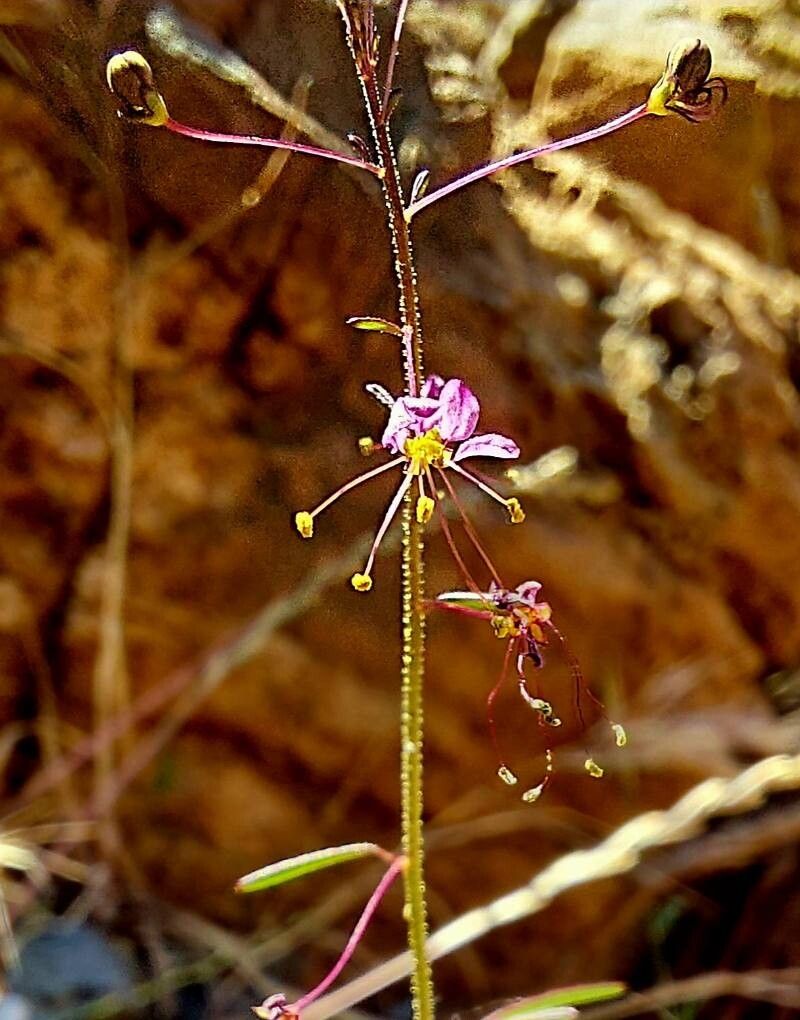
Oh, Cleome iberica! If you’ve ever seen these beauties gracing a garden, you know exactly why they capture our hearts. Their delicate, spider-like blooms are simply enchanting, adding a whisper of whimsy and a burst of color. And the best part? Propagating your own Cleome iberica is a deeply rewarding experience, like coaxing a little magic into existence right in your own home. For beginners, I’d say it’s moderately easy, a delightful challenge that offers a great learning opportunity.
The Best Time to Start
My go-to time for striking Cleome iberica cuttings is late spring or early summer. When the plant is actively growing, full of vigor from the warmer temperatures and longer days, the cuttings are much more likely to root successfully. Look for healthy, non-flowering shoots.
Supplies You’ll Need
Gathering your tools beforehand makes the whole process so much smoother. Here’s what I usually have on hand:
- Sharp pruning shears or a clean knife: For making clean cuts.
- Well-draining potting mix: A mix formulated for cuttings or seedlings works best. You can also add perlite to your regular potting soil to improve drainage.
- Small pots or seed trays: Clean and with drainage holes.
- Rooting hormone powder or gel: This is optional but can give your cuttings a helpful boost.
- Plastic bags or propagation domes: To create a humid environment.
- Watering can with a fine rose or spray bottle: For gentle watering.
- Labels or plant markers: Because we all forget what we planted where!
Propagation Methods
Let’s get our hands dirty! I find stem cuttings to be the most reliable method for Cleome iberica.
- Take the Cuttings: Select a healthy shoot that’s about 4-6 inches long. Using your clean shears or knife, make a cut just below a leaf node. A leaf node is where a leaf attaches to the stem; this is where roots will emerge.
- Prepare the Cuttings: Gently remove the lower leaves from the cutting, leaving just the top two or three leaves intact. If the leaves are very large, you can even snip them in half to reduce water loss. If you’re using rooting hormone, dip the cut end into the powder or gel, tapping off any excess.
- Plant the Cuttings: Fill your small pots or trays with your prepared potting mix. Moisten the mix thoroughly. Make a small hole in the center of the pot with your finger or a pencil.
- Insert the Cuttings: Carefully place the prepared cutting into the hole, ensuring that the leaf nodes you stripped are below the soil surface. Gently firm the soil around the stem.
- Create Humidity: Water the soil lightly again. Then, I like to place a plastic bag over the pot or use a propagation dome to trap moisture. Make sure the leaves aren’t touching the plastic. You can use stakes to prop it up if needed. Open the bag or dome for about 30 minutes each day to allow for airflow and prevent fungal issues.
The “Secret Sauce” (Pro Tips)
Here are a couple of things I’ve learned over the years that make a real difference:
- Bottom Heat is Your Friend: If you can, place your potted cuttings on a gentle heating mat. For Cleome iberica, a little warmth from below can significantly speed up root development and boost your success rate. Just make sure it’s set to a low to medium temperature.
- Don’t Drench, Just Dampen: When watering your cuttings, you want the soil to be consistently moist but never waterlogged. Soggy conditions are a fast track to rot, and nobody wants that! A light misting with a spray bottle is often enough once you’ve got them covered.
Aftercare & Troubleshooting
Once you start seeing signs of roots, which can take anywhere from 3 to 6 weeks, it’s time for a little adjustment. Gradually remove the plastic bag or dome over a few days, allowing the new plant to acclimate to the ambient humidity. Continue to keep the soil consistently moist.
The most common issue you might face is rot. If the stem of your cutting turns mushy or black, it’s likely succumb to rot. This is usually due to overwatering or poor air circulation. If you spot it early, you might be able to salvage a healthy section, but often it’s best to discard the infected cutting and start fresh. Another sign of failure is simply no new growth. This can happen if the cutting was unhealthy to begin with, or if conditions aren’t quite right.
A Encouraging Closing
Growing new plants from cuttings is such a rewarding journey. Be patient with your Cleome iberica; sometimes they take their time. Don’t be discouraged if your first attempt isn’t perfect. Each time you try, you learn a little more. Enjoy the process, and soon you’ll have a whole garden of these charming blooms! Happy gardening!
Resource:
https://identify.plantnet.org/k-world-flora/species/Cleome%20iberica%20DC./data