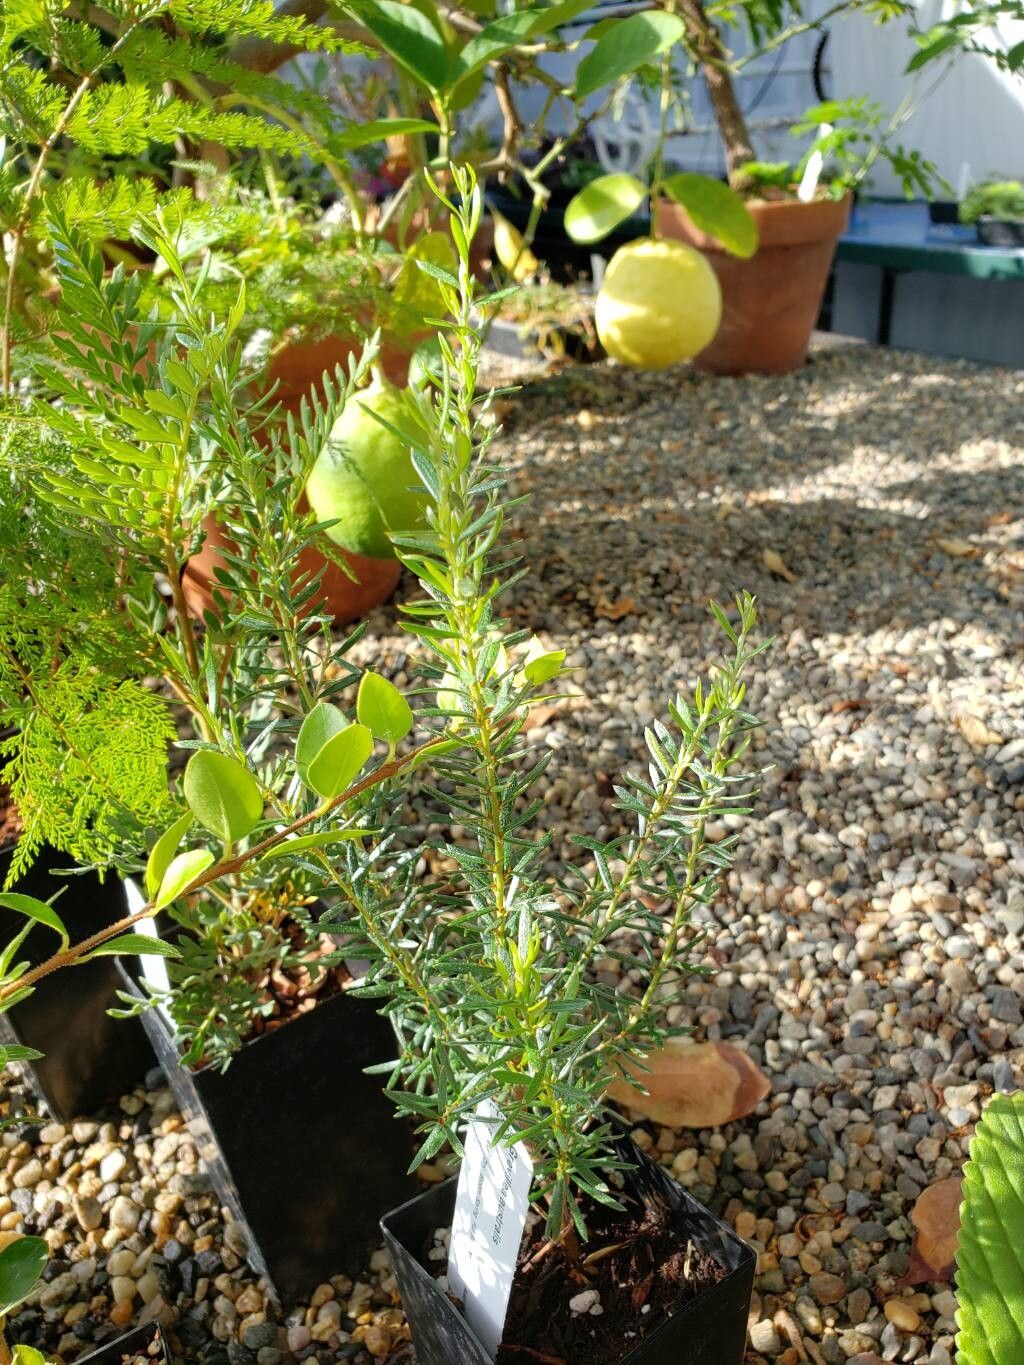
Welcome, fellow plant lovers! Today, we’re going to dive into a plant I absolutely adore: Grevillea australis, or the Australian native rosemary (though it’s not a true rosemary, the scent is wonderfully similar!). Its delicate, leathery leaves and charming little flowers make it a real standout in any garden. And the best part? Propagating it is incredibly rewarding, bringing the satisfaction of growing more of these beauties right from your own home. While it might seem a tad specific, I find Grevillea australis to be quite manageable, even for seasoned beginners willing to give it a little love.
The Best Time to Start
For the highest success rate with your Grevillea australis cuttings, I always aim for late spring to early summer. This is when the plant is actively growing, and the new shoots, known as semi-hardwood cuttings, are usually just right. Avoid taking cuttings from old, woody stems or brand-new, soft growth. You want something in between – firm but still a little flexible.
Supplies You’ll Need
Gathering your tools beforehand makes the whole process smoother. Here’s what I usually have on hand:
- Sharp pruning shears or a clean, sharp knife: For taking precise cuttings.
- Rooting hormone powder or gel: This is a game-changer! It significantly boosts your chances of success.
- A sterile potting mix: I prefer a mix that offers good drainage, like perlite, coarse sand, and a good quality peat-free potting compost, often in equal parts.
- Small pots or seed trays: Make sure they have drainage holes. Terracotta pots are great as they breathe.
- A clear plastic bag or propagator lid: To create a humid environment.
- Labels and a permanent marker: To keep track of what you’ve planted and when.
Propagation Methods: Stem Cuttings
This is by far my favorite and most successful method for Grevillea australis.
- Select your cutting: Look for a healthy stem from your mature plant. You’re aiming for a length of about 10-15 cm (4-6 inches). Gently remove the leaves from the bottom two-thirds of the stem.
- Prepare the cutting: Make a clean cut just below a leaf node (where a leaf attaches to the stem). This is where new roots are most likely to form.
- Apply rooting hormone: Dip the cut end of the stem into your rooting hormone, tapping off any excess. Be sure to follow the product’s instructions.
- Potting up: Fill your chosen pots with your sterile, well-draining potting mix. Make a hole in the soil with a pencil or dibber.
- Plant the cutting: Insert the treated end of the cutting into the hole, ensuring the leaves you left at the top don’t touch the soil. Firm the soil gently around the base of the cutting.
- Water gently: Water thoroughly but be careful not to dislodge the cutting.
- Create humidity: Cover the pot with a clear plastic bag, or use a propagator lid. This traps moisture, which is crucial for the cuttings to root. You can secure the bag with a rubber band around the rim of the pot.
The “Secret Sauce” (Pro Tips)
Here are a few things I’ve learned over the years that really make a difference:
- Bottom heat is your friend! If you can, pop your pots onto a heated propagator mat. This artificial warmth from below encourages root development like nothing else.
- Never let the leaves touch the water. If you’re using propagation domes that might collect condensation, or if your humidity dome is very close to your cuttings, ensure no leaves are submerged. This can lead to rot rather than rooting.
- Don’t be afraid to experiment with leaf arrangement. Sometimes, stripping off every single leaf except the very top few can encourage the plant to put its energy into rooting, rather than leaf production.
Aftercare & Troubleshooting
Once your cuttings are potted, place them in a bright spot away from direct, harsh sunlight. They don’t need intense light to root. Keep the soil consistently moist but not waterlogged. You can tell if they’re rooting when you see new leaf growth or gently tug on the cutting, and it resists. This can take anywhere from 4 to 12 weeks, sometimes longer.
The main thing to watch out for is rot. If your cuttings start to look mushy, dark, or slimy, it’s usually a sign of too much moisture or poor air circulation. If you see this, remove the affected cutting immediately to prevent it from spreading. Don’t despair if a few don’t make it; it’s part of the learning process!
A Little Patience, A Lot of Joy
Propagating Grevillea australis is a wonderful way to connect with your plants and increase your collection. Be patient, give your cuttings the right conditions, and enjoy the journey. Watching those tiny roots form and new growth emerge is a truly magical experience. Happy propagating!
Resource:
https://identify.plantnet.org/k-world-flora/species/Grevillea%20australis%20R.Br./data