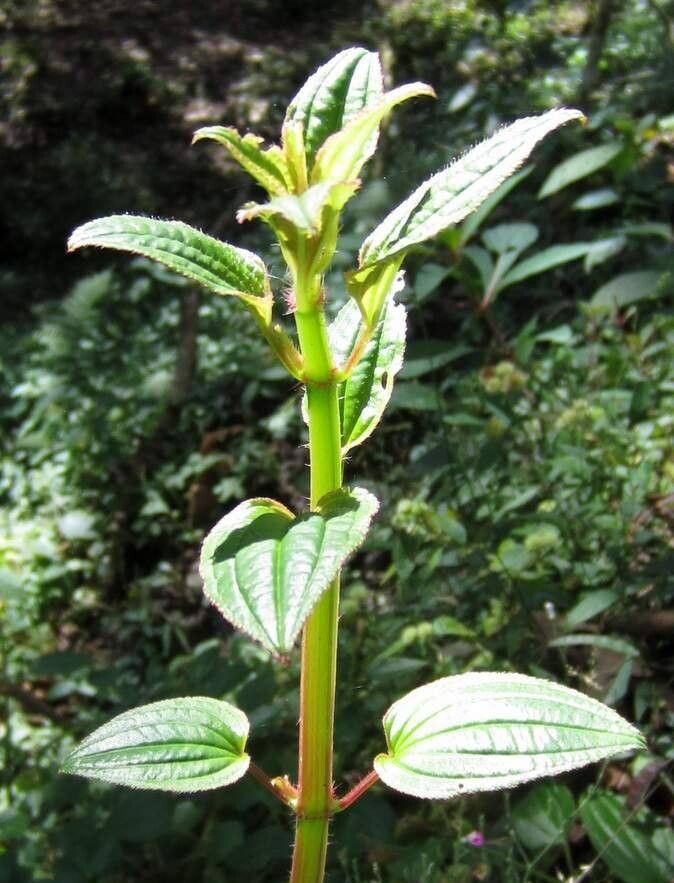
Oh, Aciotis rubricaulis! Isn’t she a stunner? Those vibrant, almost jewel-toned leaves have captured my heart for years. If you’re looking for a plant that brings a pop of dramatic color to your indoor jungle, this is definitely one to consider. And the best part? Propagating it is wonderfully rewarding. Don’t let its exotic looks fool you; Aciotis rubricaulis is surprisingly forgiving. Even if you’re just dipping your toes into the world of plant propagation, you’ll find this a delightful specimen to work with.
The Best Time to Start
For the highest success rate with Aciotis rubricaulis, I always aim to propagate in late spring or early summer. This is when the plant is actively growing and has plenty of energy to put into developing new roots. You’re looking for healthy, actively growing stems, not those that are woody or showing signs of stress. A good indicator is when the plant feels robust and is producing new leaves.
Supplies You’ll Need
Gathering your supplies beforehand makes the whole process so much smoother. Here’s what I usually have on hand:
- Sharp pruning shears or a clean knife: For taking clean cuts.
- Potting mix: A well-draining mix is key. I often use a blend of coco coir, perlite, and a bit of potting soil.
- Small pots or propagation trays: Clean ones are a must to prevent disease.
- Rooting hormone (optional but recommended for faster results): I find it gives stem cuttings a nice boost.
- Plastic bag or propagation dome: To create a humid environment.
- Water: For water propagation.
- Clear glass or jar: For water propagation.
Propagation Methods
Aciotis rubricaulis is quite versatile, and I’ve had great luck with a couple of straightforward methods.
Stem Cuttings
This is my go-to method for Aciotis rubricaulis, and it’s incredibly effective.
- Select your cutting: Look for a healthy stem that has at least two to three sets of leaves.
- Make the cut: Using your clean shears or knife, make a cut just below a leaf node. This is the point where a leaf attaches to the stem, and it’s where new roots are most likely to form. Aim for cuttings that are about 3-5 inches long.
- Prepare the cutting: Gently remove the bottom leaves from the cutting, leaving at least one or two sets of leaves at the top. If the top leaves are very large, you can snip them in half to reduce water loss.
- Apply rooting hormone (optional): Dip the cut end into your rooting hormone, tapping off any excess.
- Plant your cutting: Fill your small pot with your well-draining potting mix. Make a hole in the center with your finger or a pencil and gently insert the cut end of the stem. Firm the soil gently around the cutting.
- Water and cover: Water the soil lightly until it’s evenly moist. Then, cover the pot with a clear plastic bag or a propagation dome. This creates a mini greenhouse effect, keeping the humidity high, which is crucial for successful rooting. You can secure the bag with a rubber band around the pot.
Water Propagation
This method is satisfying because you can watch the roots develop!
- Select and cut: Follow steps 1 and 2 from the stem cuttings method.
- Remove lower leaves: Just like with stem cuttings, remove the leaves from the bottom portion of the stem.
- Place in water: Fill a clear glass or jar with fresh water and submerge the cut end of the stem, ensuring the leaf nodes are underwater. Crucially, make sure no leaves are submerged in the water. This will cause them to rot and hinder root development.
- Find a suitable spot: Place the jar in a bright spot with indirect light.
- Change the water regularly: Change the water every few days to keep it fresh and prevent bacterial growth.
The “Secret Sauce” (Pro Tips)
Beyond the basics, here are a few things I’ve learned that really make a difference.
- Bottom Heat is Your Friend: If you’re using stem cuttings, placing your pots on a heat mat specifically designed for seedlings can dramatically speed up root formation. Aciotis rubricaulis loves a bit of warmth to get those roots going.
- Don’t Overwater the Soil: While humidity is vital, soggy soil is the enemy of new cuttings. You want the soil to be consistently moist but not waterlogged. Feel the soil every day or two; if the top inch feels dry, it’s time to water.
- Patience with Potting: When propagating in water, it’s tempting to pot up as soon as you see a tiny root. I like to wait until the roots are at least 1-2 inches long before transplanting them into soil. This gives them a stronger start.
Aftercare & Troubleshooting
Once you see signs of new growth – tiny leaves unfurling or roots peeking out the bottom of the pot – that’s a good sign your baby Aciotis is happy!
- Acclimatization: If you used a plastic bag or dome, gradually introduce your new plant to lower humidity over a week or so. Start by opening the bag for a few hours each day before removing it completely.
- Light: Continue to provide bright, indirect light. Direct sun can scorch those delicate new leaves.
- Watering: Water when the top inch of soil feels dry. As the plant grows, it will become more tolerant of drying out slightly between waterings.
- Common Issues: The most common problem you might encounter is rot. This is usually due to overwatering or lack of air circulation. If the stem turns mushy or black, sadly, it’s likely lost. Prevent this by ensuring good drainage, not overwatering, and providing some airflow. Yellowing leaves can sometimes indicate too much direct light or overwatering.
A Little Encouragement
See? It’s not so intimidating, is it? Propagating Aciotis rubricaulis is a journey, and each little cutting you take holds the promise of a new, beautiful plant. Don’t get discouraged if one doesn’t make it; that’s part of the learning process. Just keep trying, pay attention to your plant’s needs, and most importantly, enjoy the magic of watching new life emerge. Happy propagating!
Resource: