Ah, Allium angulosum! If you’re anything like me, you’ve fallen for its charming, informal clusters of starry, pinky-purple flowers that dance above elegant foliage. It’s an absolute gem for adding a touch of wild beauty to borders, cottage gardens, or even containers. And the best part? Sharing this beauty is wonderfully straightforward. Propagating it yourself is not only rewarding but also incredibly economical. For beginners, I’d say Allium angulosum is a truly great plant to start with for propagation. You’ll be surprised at how easily you can multiply your collection!
The Best Time to Start
When it comes to getting new Allium angulosum plants, summer is your prime time. After the plant has finished flowering and the seeds have matured, that’s when you’ll have the most luck. Generally, this means late July through September. You can also divide established clumps in early spring just as they’re waking up, but I find the propagation success rate from seed or division after flowering is even higher.
Supplies You’ll Need
Gathering your supplies beforehand makes the whole process so much smoother. Here’s what I always have on hand:
- Clean potting mix: A well-draining blend is key. I often use a mix of 50% peat moss or coco coir and 50% perlite or coarse sand.
- Small pots or seed trays: Make sure they have drainage holes.
- Sharp pruning shears or a clean knife: For taking divisions or preparing cuttings.
- Watering can with a fine rose: To avoid disturbing delicate seedlings.
- Labels and a marker: Trust me, you’ll thank yourself later!
- Optional: Rooting hormone powder: While Allium angulosum is quite easy to root without it, a little dip can speed things up.
Propagation Methods
Allium angulosum is primarily propagated through division and seed. Let’s dive into how I get it done!
Division
This is my absolute favorite method for Allium angulosum, as it’s so simple and gives you mature plants faster.
- Dig Up the Clump: In late summer or early fall, after flowering, gently dig up your established Allium angulosum plant. You can use a shovel or a garden fork, working your way around the root ball.
- Separate the Divisions: Gently shake off excess soil. You’ll see that the main clump is made up of several smaller bulbs or offsets. Use your hands or a clean trowel to carefully pull apart these divisions. Each division should have at least one bulb and some healthy roots. If a division seems a bit stubborn, use your pruning shears to cut through the roots.
- Replant Immediately: Choose a sunny spot in your garden with well-draining soil, or pot them up individually. Plant the divisions at the same depth they were growing before. Water them in well.
Seed Propagation
If you’re patient and enjoy watching things grow from scratch, seeds are a wonderful option.
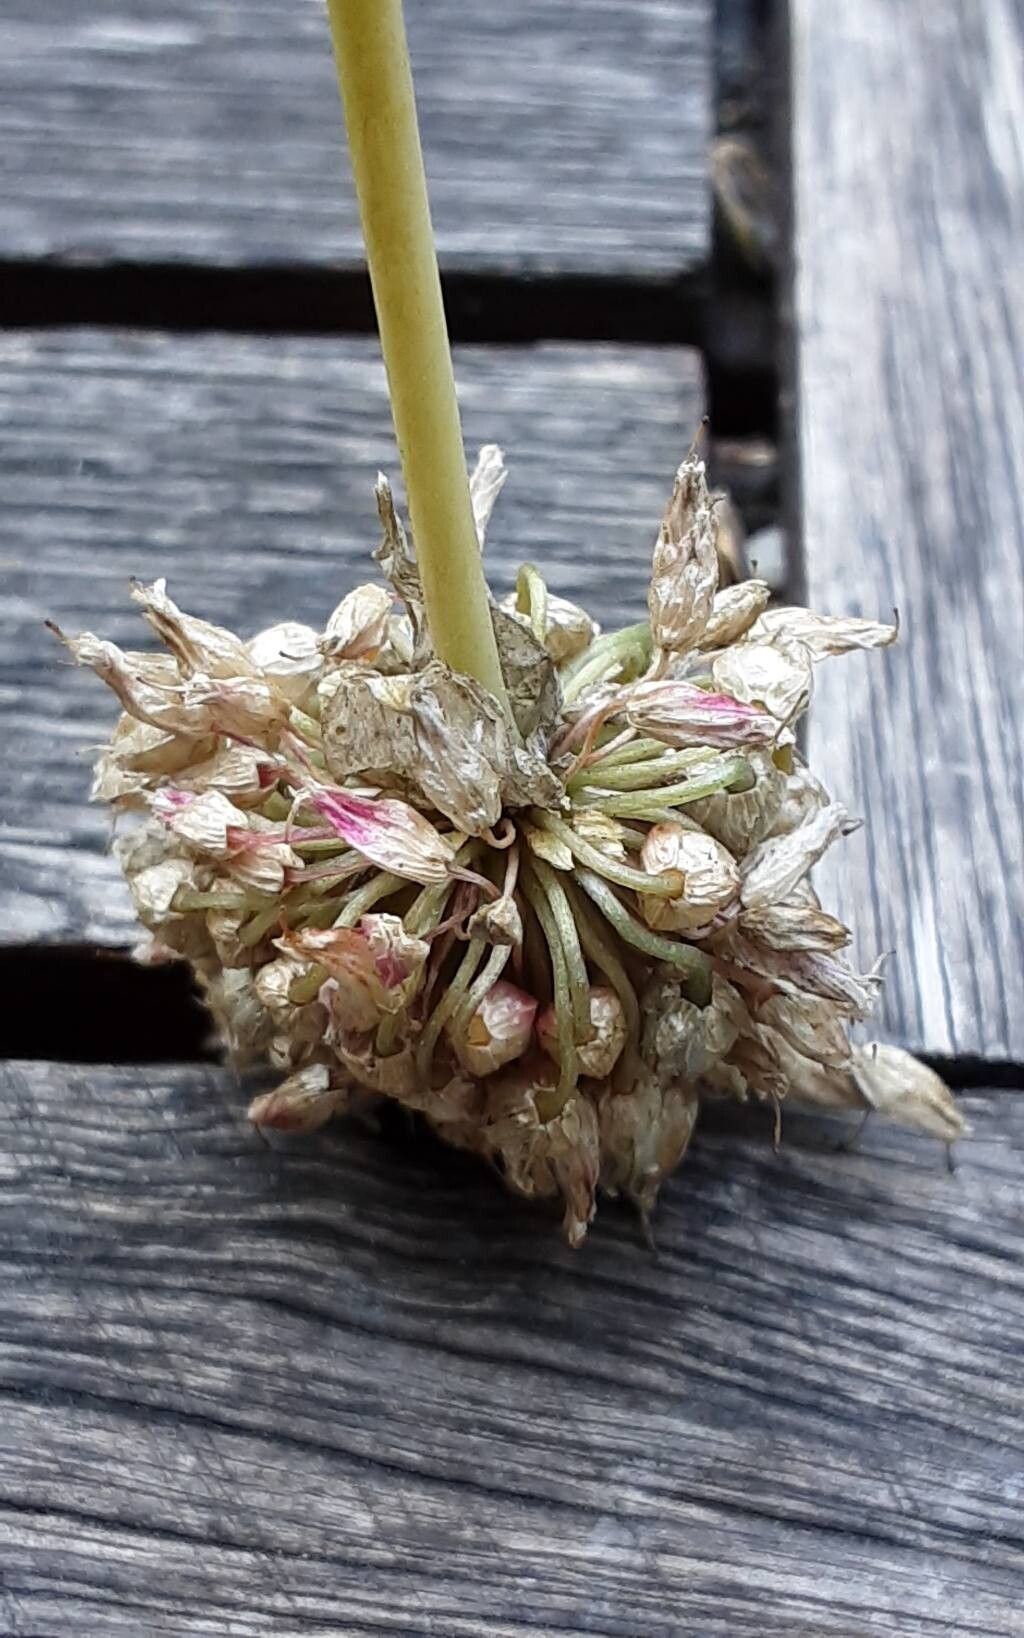
- Collect Mature Seeds: Once the flower heads have faded but before the seed pods shatter, cut the dried seed heads. Place them in a paper bag in a warm, dry, and airy place. The seeds will dry and fall from the pods.
- Sow the Seeds: In the fall (or you can try late winter/early spring for a slightly slower start), fill your seed trays or small pots with your seed-starting mix. Sow the seeds thinly on the surface and cover them with about a quarter-inch of your mix.
- Water Gently: Mist the surface of the soil until it’s evenly moist. Keep the trays in a cool, bright spot, but out of direct sunlight.
- Patience is Key: You can expect germination within a few weeks to a couple of months, depending on the temperature. Don’t be discouraged if it takes a while!
The “Secret Sauce” (Pro Tips)
Here are a couple of little tricks that have made a big difference for me over the years:
- Don’t Overcrowd Your Divisions: When you’re dividing, try not to break your divisions into pieces that are too tiny. Aim for divisions that have a visible bulb and enough roots to establish themselves. Smaller divisions can often rot before they get going.
- Let Your Seeds Dry Completely: This is crucial for seed propagation. If the seed pods aren’t fully dry before you put them in a bag, you risk losing them to mold. I like to leave them out for a good week or two after cutting, turning them regularly.
Aftercare & Troubleshooting
Once your new Allium angulosum plants are established – whether they’re divisions or seedlings – they don’t need much fuss.
- Watering: Keep the soil consistently moist but not waterlogged, especially for young seedlings. As they grow, they become more drought-tolerant.
- Light: Provide them with plenty of sunlight.
- Fertilizer: Usually, good soil is enough. I might give them a light feed with a balanced liquid fertilizer in their first spring if they look a bit pale.
Now, if things go wrong (and sometimes they do!), here’s what to look out for:
- Rot: This is the most common issue, usually due to overwatering or poor drainage. If a bulb or seedling looks mushy and brown, it’s likely rotted. Discard any affected plants immediately to prevent it spreading. Ensure your soil drains well and you’re not keeping them too wet.
- No Growth: Sometimes, seeds just don’t germinate, or divisions struggle. This can be due to a few things – old seeds, not enough light, or perhaps being planted too deep. Don’t be too hard on yourself! Gardening is often about trial and error.
A Little Encouragement
So there you have it! Propagating Allium angulosum is really quite a joyful endeavor. Be patient with your seeds, give your divisions a good start, and before you know it, you’ll have a whole garden full of these delightful blooms. Enjoy the process, and happy gardening!
Resource:
https://identify.plantnet.org/k-world-flora/species/Allium%20angulosum%20L./data