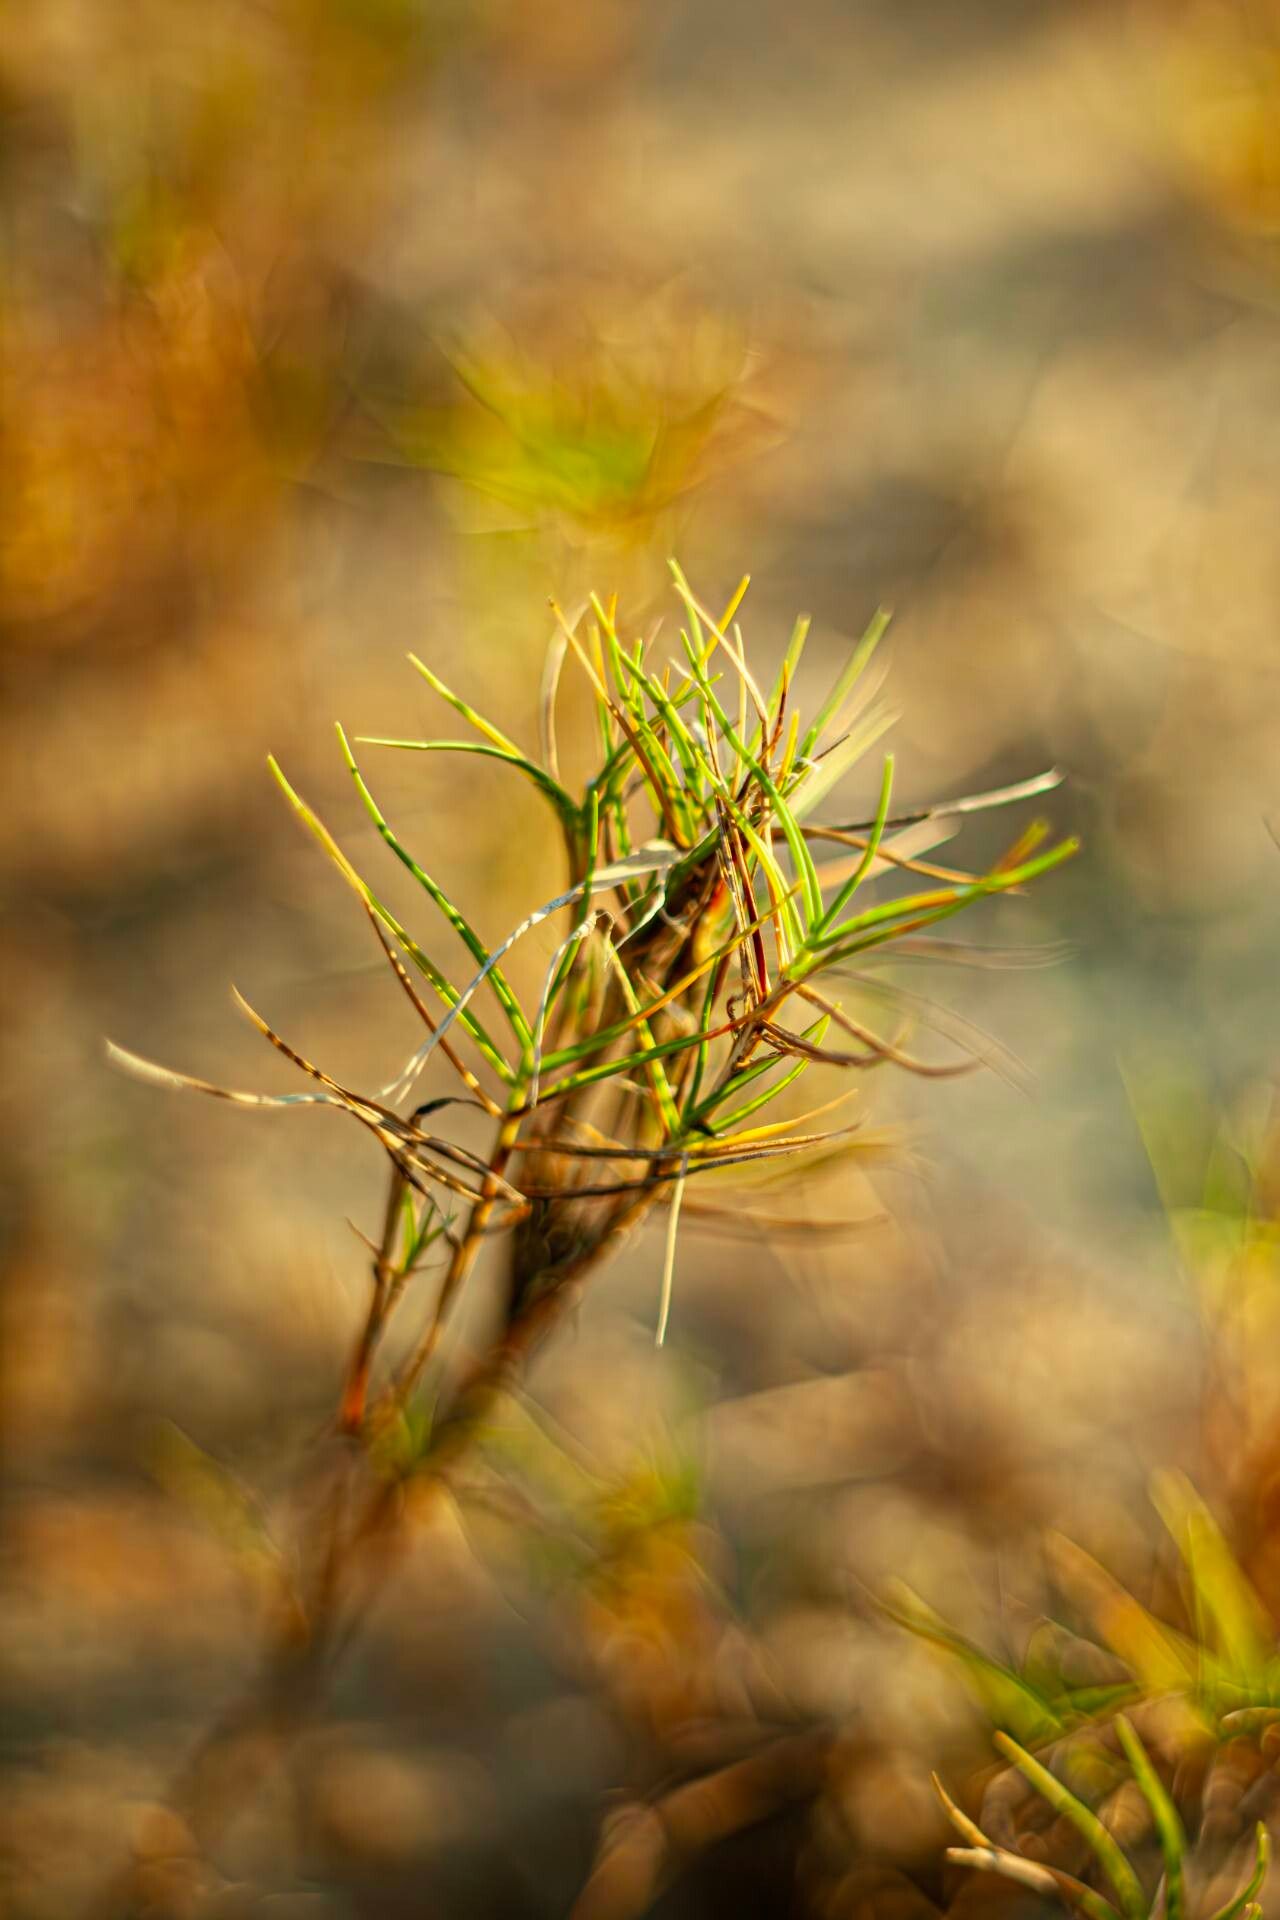
Hello garden friends! Today, we’re going to talk about a fantastic native grass: Sporobolus virginicus, also known as Virginia Saltmarsh Cordgrass. If you’re looking for a tough, beautiful, and surprisingly adaptable plant for your garden, you’ve come to the right place. Its graceful, arching blades add wonderful texture and movement, and it’s a champion for tough spots, especially along the coast or in areas that might get a little waterlogged. Best of all, propagating it is a wonderful and relatively straightforward endeavor. This is a great plant for anyone looking to expand their collection, and I’d say it’s a solid choice for someone just dipping their toes into plant propagation.
The Best Time to Start
For Sporobolus virginicus, I’ve found the sweet spot for propagation is late spring to early summer. This is when the plant is in its most vigorous growth phase. You want to work with healthy, actively growing material. Trying to propagate from dormant or stressed plants is like trying to get a sleepy cat to do jumping jacks – it’s not going to be very successful!
Supplies You’ll Need
Here’s what you’ll want to gather before you get started:
- Sharp pruning shears or a clean knife: Essential for making clean cuts.
- Pots or trays: Small pots (4-6 inch) are perfect for divisions and cuttings.
- Well-draining potting mix: I like a blend of equal parts potting soil, perlite, and coarse sand for cuttings. For divisions, a good quality potting mix will do.
- Rooting hormone (optional but recommended for cuttings): A powder or gel can give those new roots a helpful boost.
- Watering can or spray bottle: To keep things gently moist.
- Labels: To keep track of what you’ve planted and when!
- A sunny spot or grow lights: New plant babies need light.
- Optional: Heat mat: This is a game-changer for encouraging root development, especially for cuttings.
Propagation Methods
There are a couple of really effective ways to get more Sporobolus virginicus to call your own.
Division
This is probably the easiest and most foolproof method.
- Gently unearth the parent plant: If it’s in a pot, tip it out. If it’s in the ground, carefully dig around it.
- Inspect the root ball: You’re looking for clumps that can be easily separated. You might see distinct sections where new growth is emerging from the main root system.
- Separate the divisions: Use your hands or a clean spade to gently tease apart the root ball into smaller sections. Each division should have at least one or two healthy shoots and a good clump of roots.
- Pot them up: Plant each division in its own pot filled with your well-draining potting mix.
- Water thoroughly: Give them a good drink and place them in a bright spot.
Stem Cuttings
This method takes a little more patience but is very rewarding.
- Take your cuttings: From healthy, actively growing stems, take cuttings that are about 4-6 inches long. Make your cut just below a node (where a leaf attaches to the stem).
- Prepare the cuttings: Gently remove the lower leaves, leaving just a few at the top.
- Apply rooting hormone (if using): Dip the cut end into the rooting hormone, tapping off any excess.
- Plant the cuttings: Make a hole in your well-draining potting mix with a pencil or your finger. Insert the cut end of the stem into the hole and firm the soil around it.
- Water gently: You want the soil to be moist but not soggy. A light mist is often best.
- Provide humidity: You can cover the pots with a clear plastic bag or a propagation dome to keep humidity high, which helps prevent the cuttings from drying out. Make sure the leaves aren’t touching the plastic.
The “Secret Sauce” (Pro Tips)
Here are a couple of things I’ve learned over the years that make a real difference:
- Don’t let those leaves touch water! This is crucial for cuttings. If the foliage sits in standing water, it’s a fast track to rot. Even if you’re just misting, be mindful of this. If you’re misting, do it sparingly.
- Bottom heat works wonders for cuttings. Placing your pots or trays on a heat mat can significantly speed up root formation. It mimics the warm soil temperatures the plant loves during its growing season. Think of it as a cozy little spa treatment for your cuttings!
Aftercare & Troubleshooting
Once you see new growth or feel resistance when gently tugging on a cutting (a sign of root development!), you’ve been successful!
- Gradually acclimate your new plants: If you used a plastic bag for humidity, slowly start to open it over a few days to let them get used to drier air.
- Continue providing bright light: Keep them in a sunny spot, but avoid scorching direct sun for the very youngest, most vulnerable ones at first.
- Water regularly but allow the soil to dry slightly between waterings: Overwatering is the most common way to kill a young plant.
- Watch out for rot: If your cuttings turn mushy and black, or if a division starts to decline rapidly, it’s usually a sign of too much moisture and poor air circulation. Make sure your soil mix is excellent and that you’re not overwatering. Sometimes, a bad batch of soil can be the culprit too.
A Warm Encouragement
Propagating plants is such a rewarding journey. It’s a chance to connect with nature, learn from your plants, and fill your garden (or a friend’s!) with beauty. Be patient with your new Sporobolus virginicus babies, and don’t be discouraged if every single attempt doesn’t work out. Each attempt is a learning experience. Enjoy the process, celebrate your successes, and happy gardening!
Resource:
https://identify.plantnet.org/k-world-flora/species/Sporobolus%20virginicus%20(L.)%20Kunth/data