Growing New American Chestnuts: A Gardener’s Delight
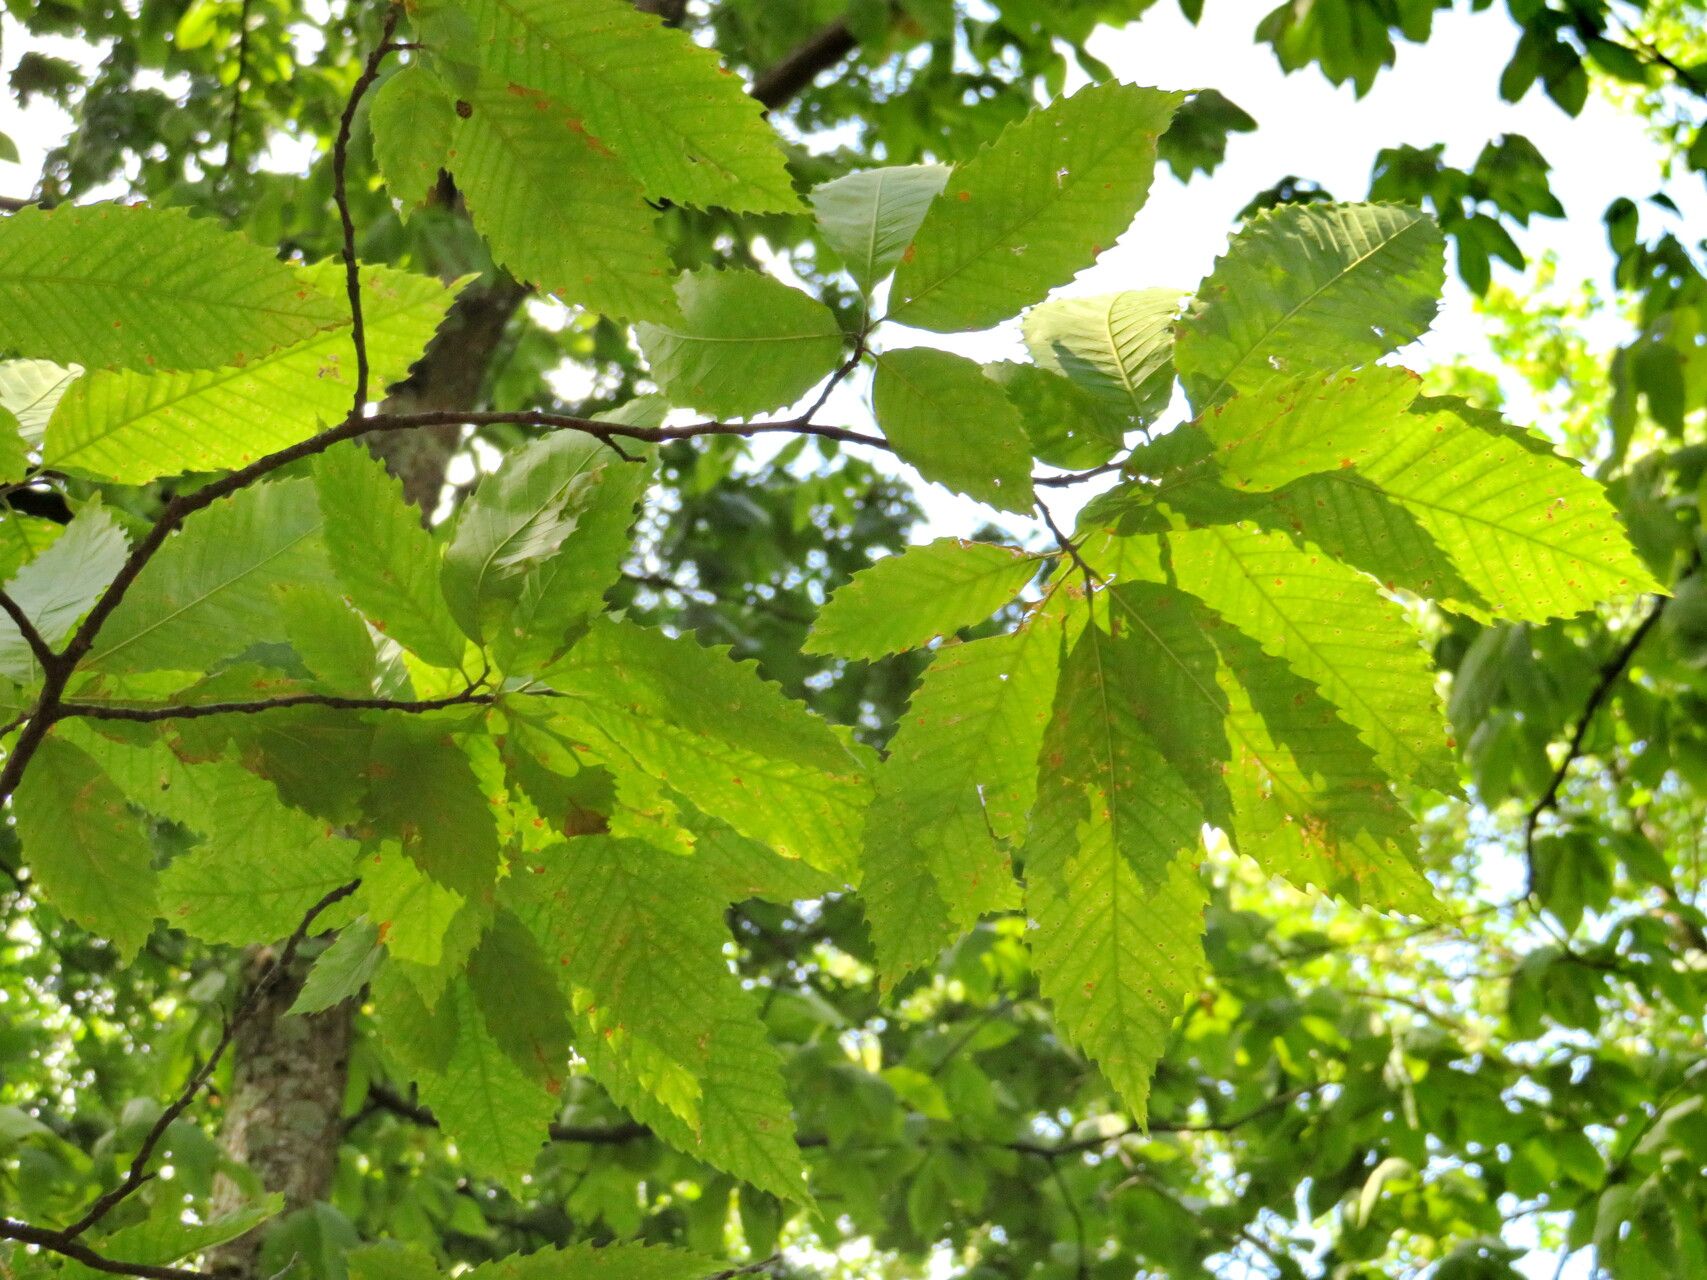
There’s something truly special about connecting with the history of our landscapes. The American Chestnut, Castanea dentata, is a prime example of a tree that once dominated our woodlands, offering delicious nuts and majestic beauty. Sadly, disease has dramatically impacted its numbers, making successful propagation a deeply rewarding endeavor. If you’re looking to play a small part in bringing back this magnificent tree, you’re in for a treat. Now, I won’t sugarcoat it – propagating the American Chestnut can be a bit of a challenge, especially for absolute beginners. It requires a touch of patience and a keen eye. But with a little guidance, you can absolutely do it!
When to Get Planting
The window of opportunity for propagating Castanea dentata is most generous in late spring or early summer. You’ll want to focus on collecting cuttings from actively growing, healthy shoots. This is when the plant’s energy is high, giving your cuttings the best chance to root.
Gather Your Gear
Before we dive in, let’s make sure you have everything you need. A well-prepared station is half the battle!
- Sharp Pruning Shears or a Knife: Clean cuts are crucial.
- Rooting Hormone: A good quality rooting powder or gel will significantly boost your success rate.
- Potting Mix: A well-draining, sterile mix is essential. I like to use a blend of peat moss, perlite, and a little bit of coarse sand. Avoid garden soil, as it can harbor diseases.
- Small Pots or Trays: Clean containers with drainage holes are a must.
- Plastic Bags or Humidity Domes: To create a humid environment.
- Labels and a Permanent Marker: To keep track of your cuttings.
- Optional: Bottom Heat Mat: For an extra boost, especially in cooler climates.
Bringing New Life to Your Branches
While the American Chestnut can be challenging, stem cuttings are generally your best bet for home propagation.
- Select Your Cuttings: Look for healthy, non-flowering shoots that are about pencil-thick and 6-8 inches long. Make your cuts just below a leaf node (where a leaf attaches to the stem).
- Prepare the Cuttings: Gently remove the leaves from the bottom half of each cutting. If the remaining leaves are very large, you can cut them in half to reduce water loss.
- Apply Rooting Hormone: Dip the cut end of each cutting into your rooting hormone, tapping off any excess.
- Plant Your Cuttings: Fill your pots with the prepared potting mix. Then, use a pencil or your finger to make a hole in the center of the soil. Carefully insert the cuttings into the holes, ensuring the hormone-coated end is well within the soil. Gently firm the soil around the base of each cutting.
- Provide Humidity: Water the soil thoroughly until it drains from the bottom. Then, cover the pots loosely with a plastic bag or place them under a humidity dome. Make sure the plastic doesn’t touch the leaves directly.
My Little “Secret Sauce”
Here are a couple of things I’ve learned over the years that can really make a difference with trickier plants like these:
- Bottom Heat is Your Friend: If you have a spare corner and a heat mat, use it! Placing your pots on a bottom heat mat set to around 70-75°F (21-24°C) can significantly speed up root development. It’s like giving your cuttings a warm blanket to encourage growth.
- Don’t Let Those Leaves Drip: I mentioned this before, but it bears repeating. Ensure that no leaves are touching the inside of the plastic bag or dome. Condensation is good, but constantly wet leaves will lead to rot, and we want happy, healthy roots.
Gentle Nurturing and What to Watch For
Once your cuttings are planted, place them in a bright spot that gets indirect light. Keep the soil consistently moist, but not waterlogged.
You’ll know your cuttings are rooting when you see new growth or when you gently tug on a cutting and feel resistance – a sign that roots have formed. This can take anywhere from 4 to 12 weeks, so patience is key!
The most common issue you’ll encounter is rot. If you see a cutting turning black and mushy, it’s a sign of too much moisture and not enough air circulation. Pull out the affected cutting immediately and try to improve drainage and air flow for the others.
Keep Planting, Keep Growing!
Propagating American Chestnuts is a journey, and sometimes it’s a learning experience. Don’t be discouraged if not every cutting takes. Each attempt sharpens your skills, and every success is a wonderful testament to your green thumb. Enjoy the process, celebrate your small victories, and know that you’re contributing to something truly special. Happy gardening!
Resource:
https://identify.plantnet.org/k-world-flora/species/Castanea%20dentata%20(Marshall)%20Borkh./data