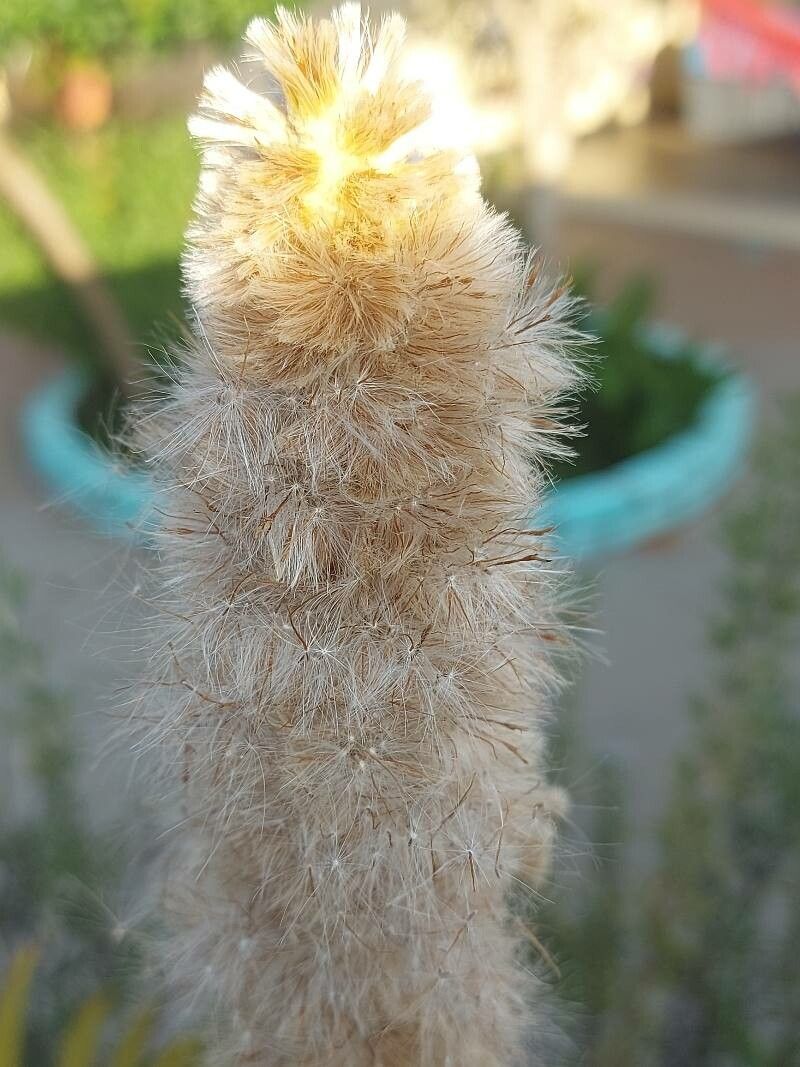
Hello there, fellow plant enthusiasts! Today, we’re diving into the wonderful world of propagating Pterocaulon lanatum. You know, the one with those soft, fuzzy leaves that just beg to be touched? It’s a real charmer for any garden, adding a unique texture and a lovely, understated beauty. And the best part? Growing more of these lovely plants from your existing ones is incredibly rewarding. It’s a fantastic way to expand your collection or share the joy with friends. Honestly, I find Pterocaulon lanatum to be quite the amenable propagator, making it a good choice for those just dipping their toes into the propagation waters.
The Best Time to Start
For the highest success rate with Pterocaulon lanatum, the spring and early summer are your golden ticket. This is when the plant is actively growing and has plenty of energy to put into developing new roots. You’ll want to look for healthy, vigorous stems that aren’t flowering. Those are the ones that will be most eager to branch out and form new life.
Supplies You’ll Need
Before we get our hands dirty, let’s gather our tools. It’s always best to be prepared!
- Sharp, clean pruning shears or a clean knife: For making precise cuts.
- Rooting hormone (optional but recommended): This little helper gives cuttings a real boost.
- Well-draining potting mix: A good blend for succulents or cacti works wonderfully. You can also mix potting soil with perlite or coarse sand.
- Small pots or trays: With drainage holes, of course!
- Watering can or spray bottle: For gentle hydration.
- A warm spot: A windowsill or a propagation mat can be beneficial.
Propagation Methods
Pterocaulon lanatum is a plant that’s quite happy with a few different propagation approaches. I’ve found success with both stem cuttings and division.
Stem Cuttings
This is my go-to method for Pterocaulon lanatum. It’s efficient and yields quick results.
- Take Your Cuttings: Using your sharp shears, snip healthy stems about 3-4 inches long. Make the cut just below a leaf node (the point where a leaf grows from the stem).
- Prepare the Cuttings: Gently remove the lower leaves from the cutting. You want to expose at least two nodes where roots can form.
- Apply Rooting Hormone (Optional): Dip the cut end of the stem into rooting hormone powder, tapping off any excess.
- Plant Your Cuttings: Fill your small pots with your well-draining mix. Make a small hole in the soil with your finger or a pencil and insert the cut end of the stem. Gently firm the soil around it.
- Water Lightly: Give the soil a gentle watering. You want it moist, not soggy.
Division
If your Pterocaulon lanatum has grown into a nice clump, dividing it is another easy win.
- Remove from Pot: Gently slide the entire plant out of its pot.
- Examine the Roots: You’ll likely see multiple stems growing from a central root ball.
- Separate Gently: Tease apart the root ball with your fingers or use a clean knife to make cuts to separate it into smaller sections. Aim for sections with both roots and several stems.
- Replant: Pot up each division into its own pot filled with fresh, well-draining soil.
- Water Gently: Water each new pot lightly.
The “Secret Sauce” (Pro Tips)
Here are a couple of little tricks I’ve learned over the years that can really make a difference.
- Let the cuttings callus: Before planting stem cuttings, let them sit out of water for a day or two in a dry spot. This allows the cut end to dry out and form a protective callus. It helps prevent rot and encourages better root development.
- Don’t overcrowd: When planting multiple cuttings in one pot, give them a bit of space. They need good air circulation to prevent fungal issues. Plus, you don’t want them competing too much for resources right from the start.
Aftercare & Troubleshooting
Once your cuttings are planted or your divisions are in their new homes, the real magic begins. Keep the soil lightly moist, but never waterlogged. A little misting with a spray bottle can be beneficial, especially in drier environments. You can encourage root growth by placing them in a warm location, away from direct, harsh sunlight.
What to watch out for? The most common issue is rot. If your cuttings start to look mushy or discolored, it’s usually a sign of too much moisture. If this happens, remove the affected cutting and let the remaining ones dry out slightly more. If you see no new growth after a few weeks, don’t despair! Some plants are just a bit slower to get going. Patience is key.
A Encouraging Closing
See? Propagating Pterocaulon lanatum is a joy, not a chore! It’s about watching life multiply and appreciating the resilience of these green wonders. Be patient with your new little plants, offer them good care, and you’ll soon have more of those lovely, fuzzy friends to enjoy. Happy propagating!
Resource:
https://identify.plantnet.org/k-world-flora/species/Pterocaulon%20lanatum%20Kuntze/data