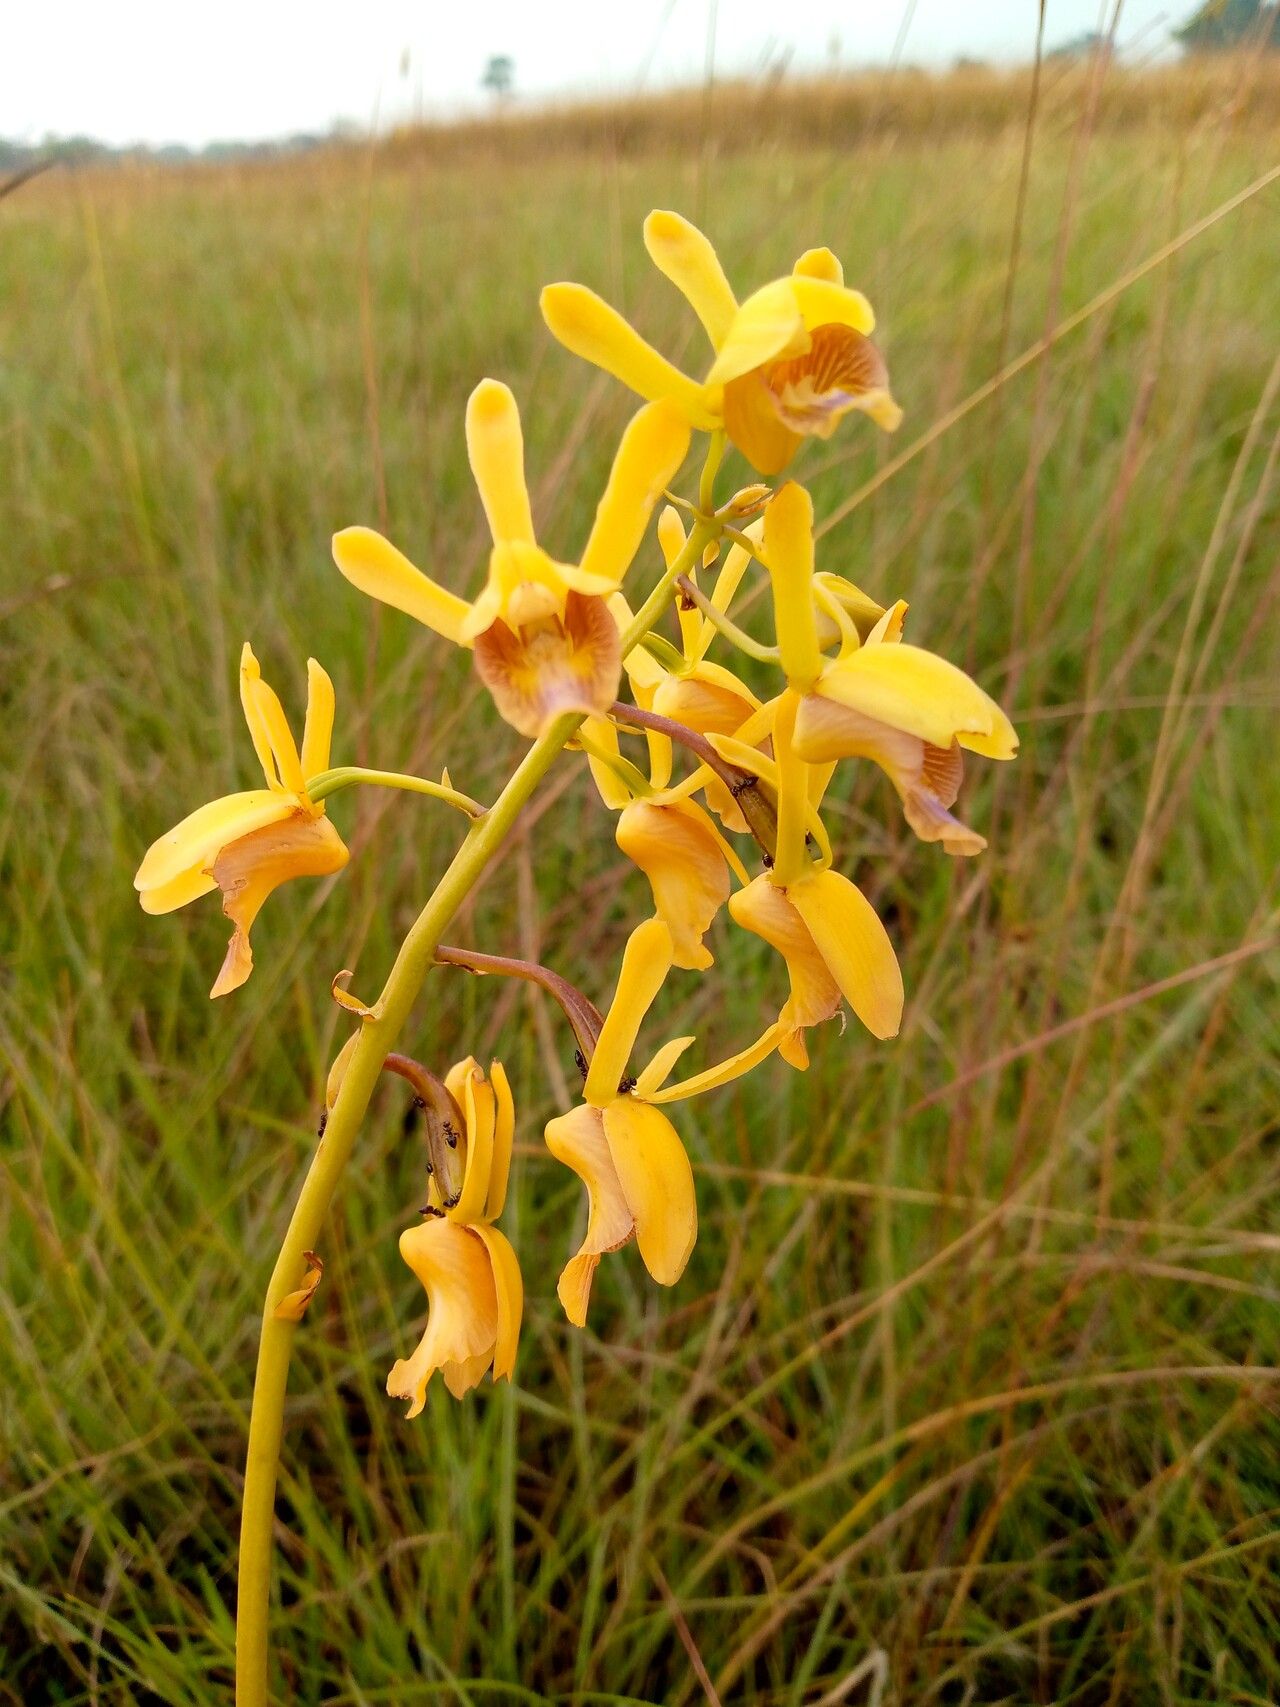
Oh, welcome! Pull up a chair, let’s chat about something truly special: Eulophia angolensis. If you haven’t met this beauty yet, you’re in for a treat. I’ve been growing and propagating them for years, and honestly, their charm never fades. For those new to the orchid world, don’t be intimidated! While some orchids can be a bit fussy, I find Eulophia angolensis to be surprisingly forgiving, making it a fantastic plant to try your hand at propagation. Witnessing a new plant emerge from a piece of its parent is one of the most rewarding feelings, pure gardening joy!
The Best Time to Start
Timing is everything, right? For Eulophia angolensis, I’ve found the sweet spot is early spring, just as new growth is beginning to emerge from the pseudobulbs. This is when the plant is actively investing its energy into new development, and cuttings or divisions are more likely to have the vigor they need to establish themselves. Avoid propagating when the plant is dormant or in full bloom – it’s just not feeling the urge to reproduce then!
Supplies You’ll Need
Gathering your tools before you begin makes the whole process smoother. Here’s what I always have on hand:
- Sharp, sterile pruning shears or a clean knife: To make neat cuts and prevent disease.
- Orchid bark mix or a well-draining potting mix: Eulophia angolensis hates soggy feet. A blend of orchid bark, perlite, and a tiny bit of coco husk usually does the trick for me.
- Small pots or trays: With good drainage holes, of course!
- Rooting hormone (optional but recommended): A little boost can really speed things up.
- Clean water: For misting and watering.
- Labels: Trust me, you’ll thank yourself later for keeping track!
Propagation Methods
Eulophia angolensis is usually propagated by division. It’s the most straightforward and successful method for this particular orchid.
- Gently remove the parent plant from its pot. Don’t be afraid to loosen the old potting mix. You’re looking for the pseudobulbs, which are those swollen stem-like structures.
- Identify natural divisions. You’ll see where the pseudobulbs are attached to each other. Look for sections that have at least two or three healthy pseudobulbs and a good-looking root system attached.
- Using your sterile pruning shears or knife, carefully separate the divisions. Make a clean cut right between the pseudobulbs. If the roots are tangled, you might need to gently tease them apart, or even sacrifice a few older roots to free up a healthy division.
- Inspect the cuts. If there’s a lot of moisture, you can let the cut end air dry for a few hours in a cool, dry spot to prevent rot. This is an important step!
- Pot up your new divisions. Plant them in your prepared orchid bark mix. Make sure the pseudobulbs are sitting mostly above the soil line, with the roots nestled within. Don’t pack the mix too tightly.
The “Secret Sauce” (Pro Tips)
Here are a couple of things I’ve learned over the years that make a difference:
- The power of patience after dividing: After you’ve potted up your divisions, resist the urge to water them heavily right away. Let them sit for a few days to a week. This allows any small nicks or cuts on the roots to callus over, drastically reducing the risk of rot. When you do water, water sparingly.
- Bottom heat is a game-changer: If you can provide a little warmth from underneath, it really encourages root development. A seedling heat mat set on a low setting is perfect for this. It mimics the warmth of a tropical environment and gives your new Eulophia a real head start.
Aftercare & Troubleshooting
Once your new Eulophia angolensis has been potted, the real nurturing begins.
For the first few weeks, mist the potting medium lightly every few days rather than a full watering. You want the medium to be slightly moist, not waterlogged. Keep them in bright, indirect light – no harsh sun!
The first sign of success? You’ll start seeing new root tips emerging. They’ll look bright green or sometimes a lovely pinkish-white. This is when you can gradually increase watering frequency to a more regular schedule, still ensuring excellent drainage.
Now, about those common issues. The biggest enemy of new orchid propagations is rot. If you see a pseudobulb turning mushy and brown, or if a whole division suddenly wilts and dies, rot is likely the culprit. This usually happens from overwatering or poor air circulation. If you spot it early, you might be able to save a healthy part by cutting away the rotten bits and letting it dry before repotting.
A Encouraging Closing
Propagating Eulophia angolensis is a wonderful journey. There might be a bit of a learning curve, and not every single attempt might be a runaway success – that’s just part of gardening! But with a little patience, the right conditions, and these tips, you’ll be well on your way to enjoying more of these lovely orchids. Be gentle with them, observe their needs, and most importantly, have fun with the process! Happy growing!
Resource: